Review sample provided by Logitech.
As 4K becomes more widely adopted by consumers, content creators are beginning to update their setups to match. This is the Brio 4K webcam from Logitech, a company that is no stranger to many streamers who have employed the C920 and 922 webcams in their setups previously. Now the Brio boasts an impressive 4K resolution but is it the next logical step up for content creators looking to improve their presentation?
What's In The Box
The Brio comes in a straight forward box without a lot of eye-grabbing details. Seriously this thing is all business with the name, picture, and brand being the first things you see. More info about the camera can be found on the back with extra details given to some of its features. System requirements for 4K video capture can also be found along the bottom. Inside the box is the Brio camera, USB-A to USB-C cable, privacy guard, and a nice bag to store everything in while not in use. There is also a user guide outlining operation and warranty.
Aesthetics And Build Quality
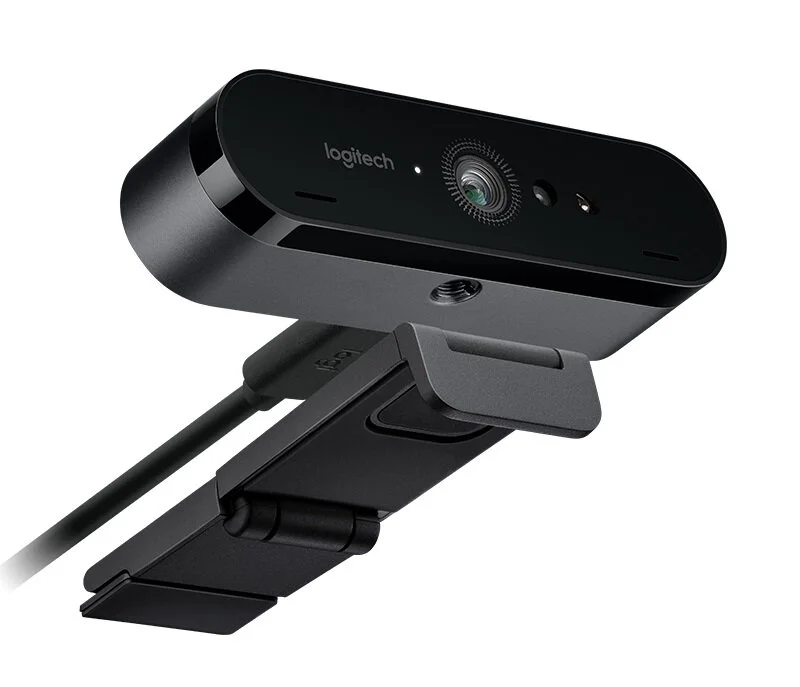
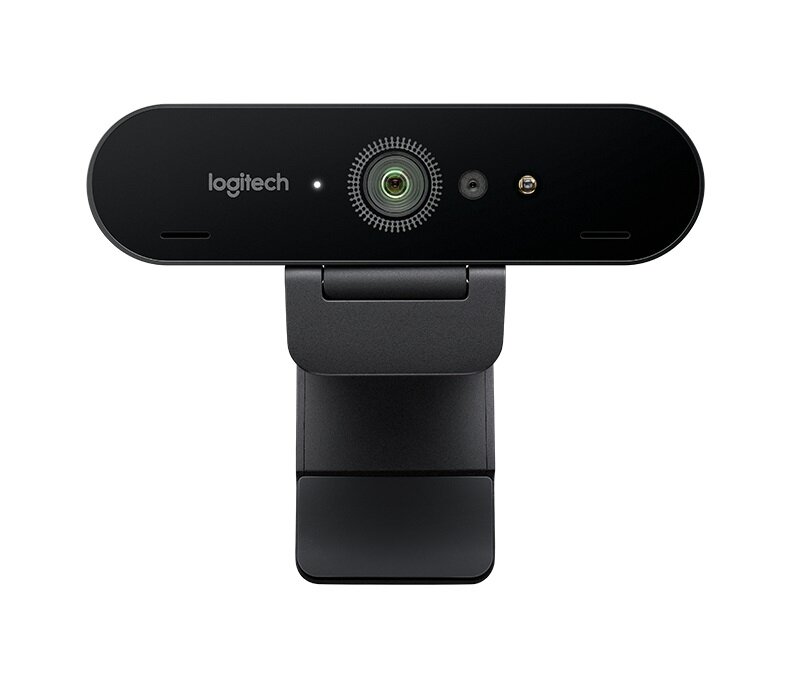
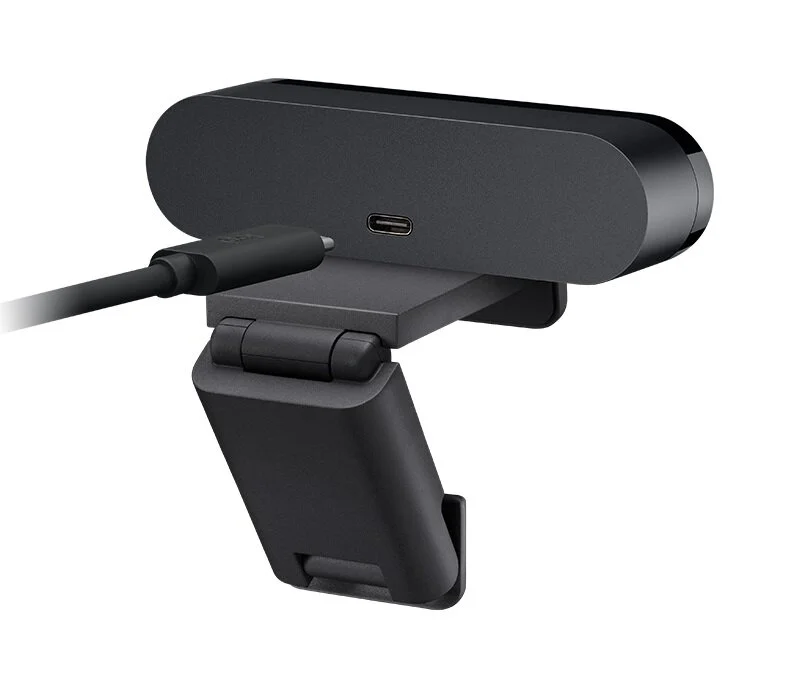
The all-level oval design looks very sleek and modern. I personally think it looks better than the C920/922 in every regard. The lens and extra sensors all look neat and nicely centered with the Logitech logo. A pair of slits are also visible that house the omnidirectional microphones. By default, the Brio comes with a monitor mount attached to allow for easy placement on your screen. This mount is removable so you can attach a tripod or mounting arm if you desire. On the back is the USB-C port for connection.
The Brio feels solidly constructed and has a good weight to it. I also love the thickness of the USB-C cable! This thing is thick so there shouldn't be any concerns about breaking it. To be honest though, I thought I was going to break something taking off the monitor mount. Instead of it being threaded and screwed into the bottom of the camera it is clawed in. If you decide to swap mounts be careful, it flies once you finally wrestle it free.
Usage
Getting the Brio setup on Windows 10 is very straight forward, plug it into an available USB 3.0 port and voila. If you don't have a USB 3.0 port the Brio can still be used but it will be limited to 1080P max resolution. The Brio ties into Logitech's G HUB software so if you're already using another Logitech peripheral you won't need to do any additional downloads. G HUB is where you can adjust a number of settings for the camera, but more on this in a bit. I want to say this now: if you are hoping to get the Brio as a simple plug and play 4K camera solution you will be disappointed. There are a lot of cool features advertised for the Brio that make it seem like it will just work and look amazing no matter where you use it and lighting conditions. This just is not the case. Now the default image quality isn't the worst I have seen, but it paints a vastly different picture than what the box would have you expect.
You can check out my unboxings for the Retro-Bit 2.4 GHz Sega controllers to see a great real-world use of right out of the box performance the Brio offers in a fairly lit room with some natural light. Yeah, it doesn't look as good as I had hoped it would (and I feel a little bad to Retro-Bit for not giving their controllers a nicer video presentation). But again, this is right out of the box performance with no additional lighting given, which is how some creators operate. Adding a few lights can drastically improve the Brio's image quality quite a bit, as was the case when I unboxed the Logitech G915 keyboard. Things definitely look better but still not as good as they could be.
Opening G HUB and selecting the Brio camera will let you begin to fine-tune the camera to give the best performance it is capable of. There are a number of presets but just ignore those and make your own. One thing I found particularly cool was that the field of view was selectable with 90°, 78°, and 65° as potential choices for you to frame your scene. This page also lets you adjust the zoom, focus, and exposure levels. Disable "auto" on everything and spend the time dialing in the settings that look best for your room! On the video tab, you are going to want to do the same and spend the time to dial in the white balance, brightness, and contrast. White balance and exposure are the big ones for Brio image quality!
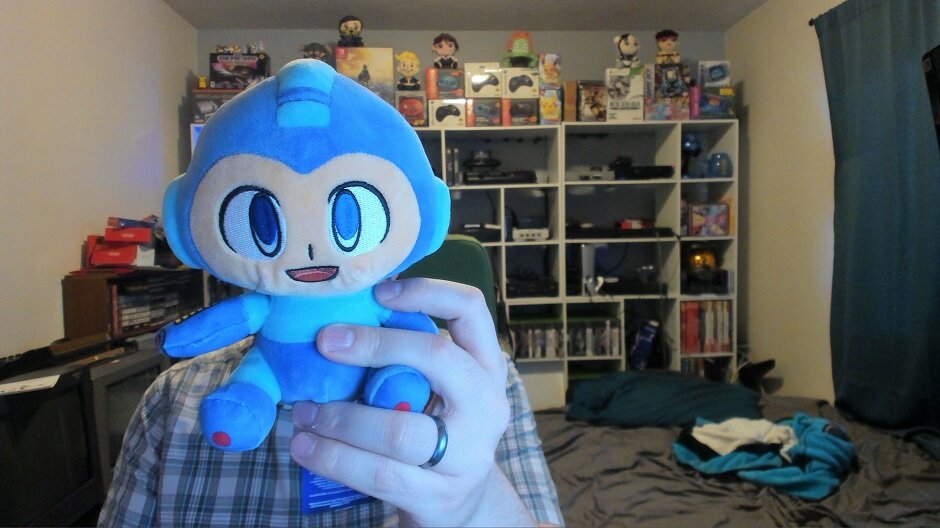


Pic 1: no lighting out of the box
Pic 2: single ring light out of the box
Pic 3: no lighting tuned
Pic 4: single ring light tuned
Pic 5: LED flash lamps tuned
Now again, lighting is a huge factor to bring out the best from the Brio in terms of image quality. If you don’t have any extra lights you can only get so far. A simple ring light can make a drastic difference and should be considered at a minimum. I have a couple of LED light panels and I am pretty happy with the results it was able to give after a few minutes of tinkering!
Now you might be asking yourself why we are dialing settings in on G HUB instead of recording software like OBS. Well, it’s simple really: OBS still doesn’t save webcam settings for the Brio just like it didn’t on the C920/922. G HUB, on the other hand, does save these settings so when you load up OBS they are in effect! I do have to say it is much nicer to have my lighting setup and tune my camera once instead of always having to mess with it before a stream like I used to with the C920/922. One thing you can mess with in OBS is to adjust the resolution and frame rate of the Brio. The camera supports 4K at 30 FPS, 1080P at 60 FPS, or 720P at 90 FPS! I personally stick to 4K 30 as fast-moving face cams wig me out a bit, but having the choice is always a good thing.
What It Could Have Done Better
There are a few things I would like to discuss now that have been bugging me about the Brio. First, despite getting lighting setup and tuning settings I have not been able to find a way to get rid of grainy pixelation that appears on dark objects. Shrinking the image down to a typical face cam size for a stream overlay does a good job of hiding it, but if you are planning to use the camera for vlogging or filming objects, keep the noise in mind. Speaking of tuning settings, while you are messing with the camera’s exposure you will notice that it will begin to drop frames if you turn the exposure up to high. I had nearly the best picture I could have ever hoped for at one point but the image was unusable thanks to the exposure settings. My last issue comes from the amount of heat the Brio generates during a recording or streaming session. This thing gets warm and that gives me concerns about its life expectancy with sustained use. So far I have been using my Brio for almost 2 months of near-daily usage and it is still going strong. If that changes I will, of course, let you all know!
Verdict
After spending the time to get everything set up and dialed in, the Brio makes a fantastic addition to a streaming setup for those looking to get into the 4K market at a budget. There are some limitations to what you can expect from a webcam image-wise, like the grain on darker objects, but that really comes down to the price point. Until you can pick-up a higher-end solution like a DSLR camera and capture card, you are going to have to make concessions like this. For the Brio’s current asking price of $150 for a 4K capable setup, what you are getting for the price is a good trade-off in my mind.