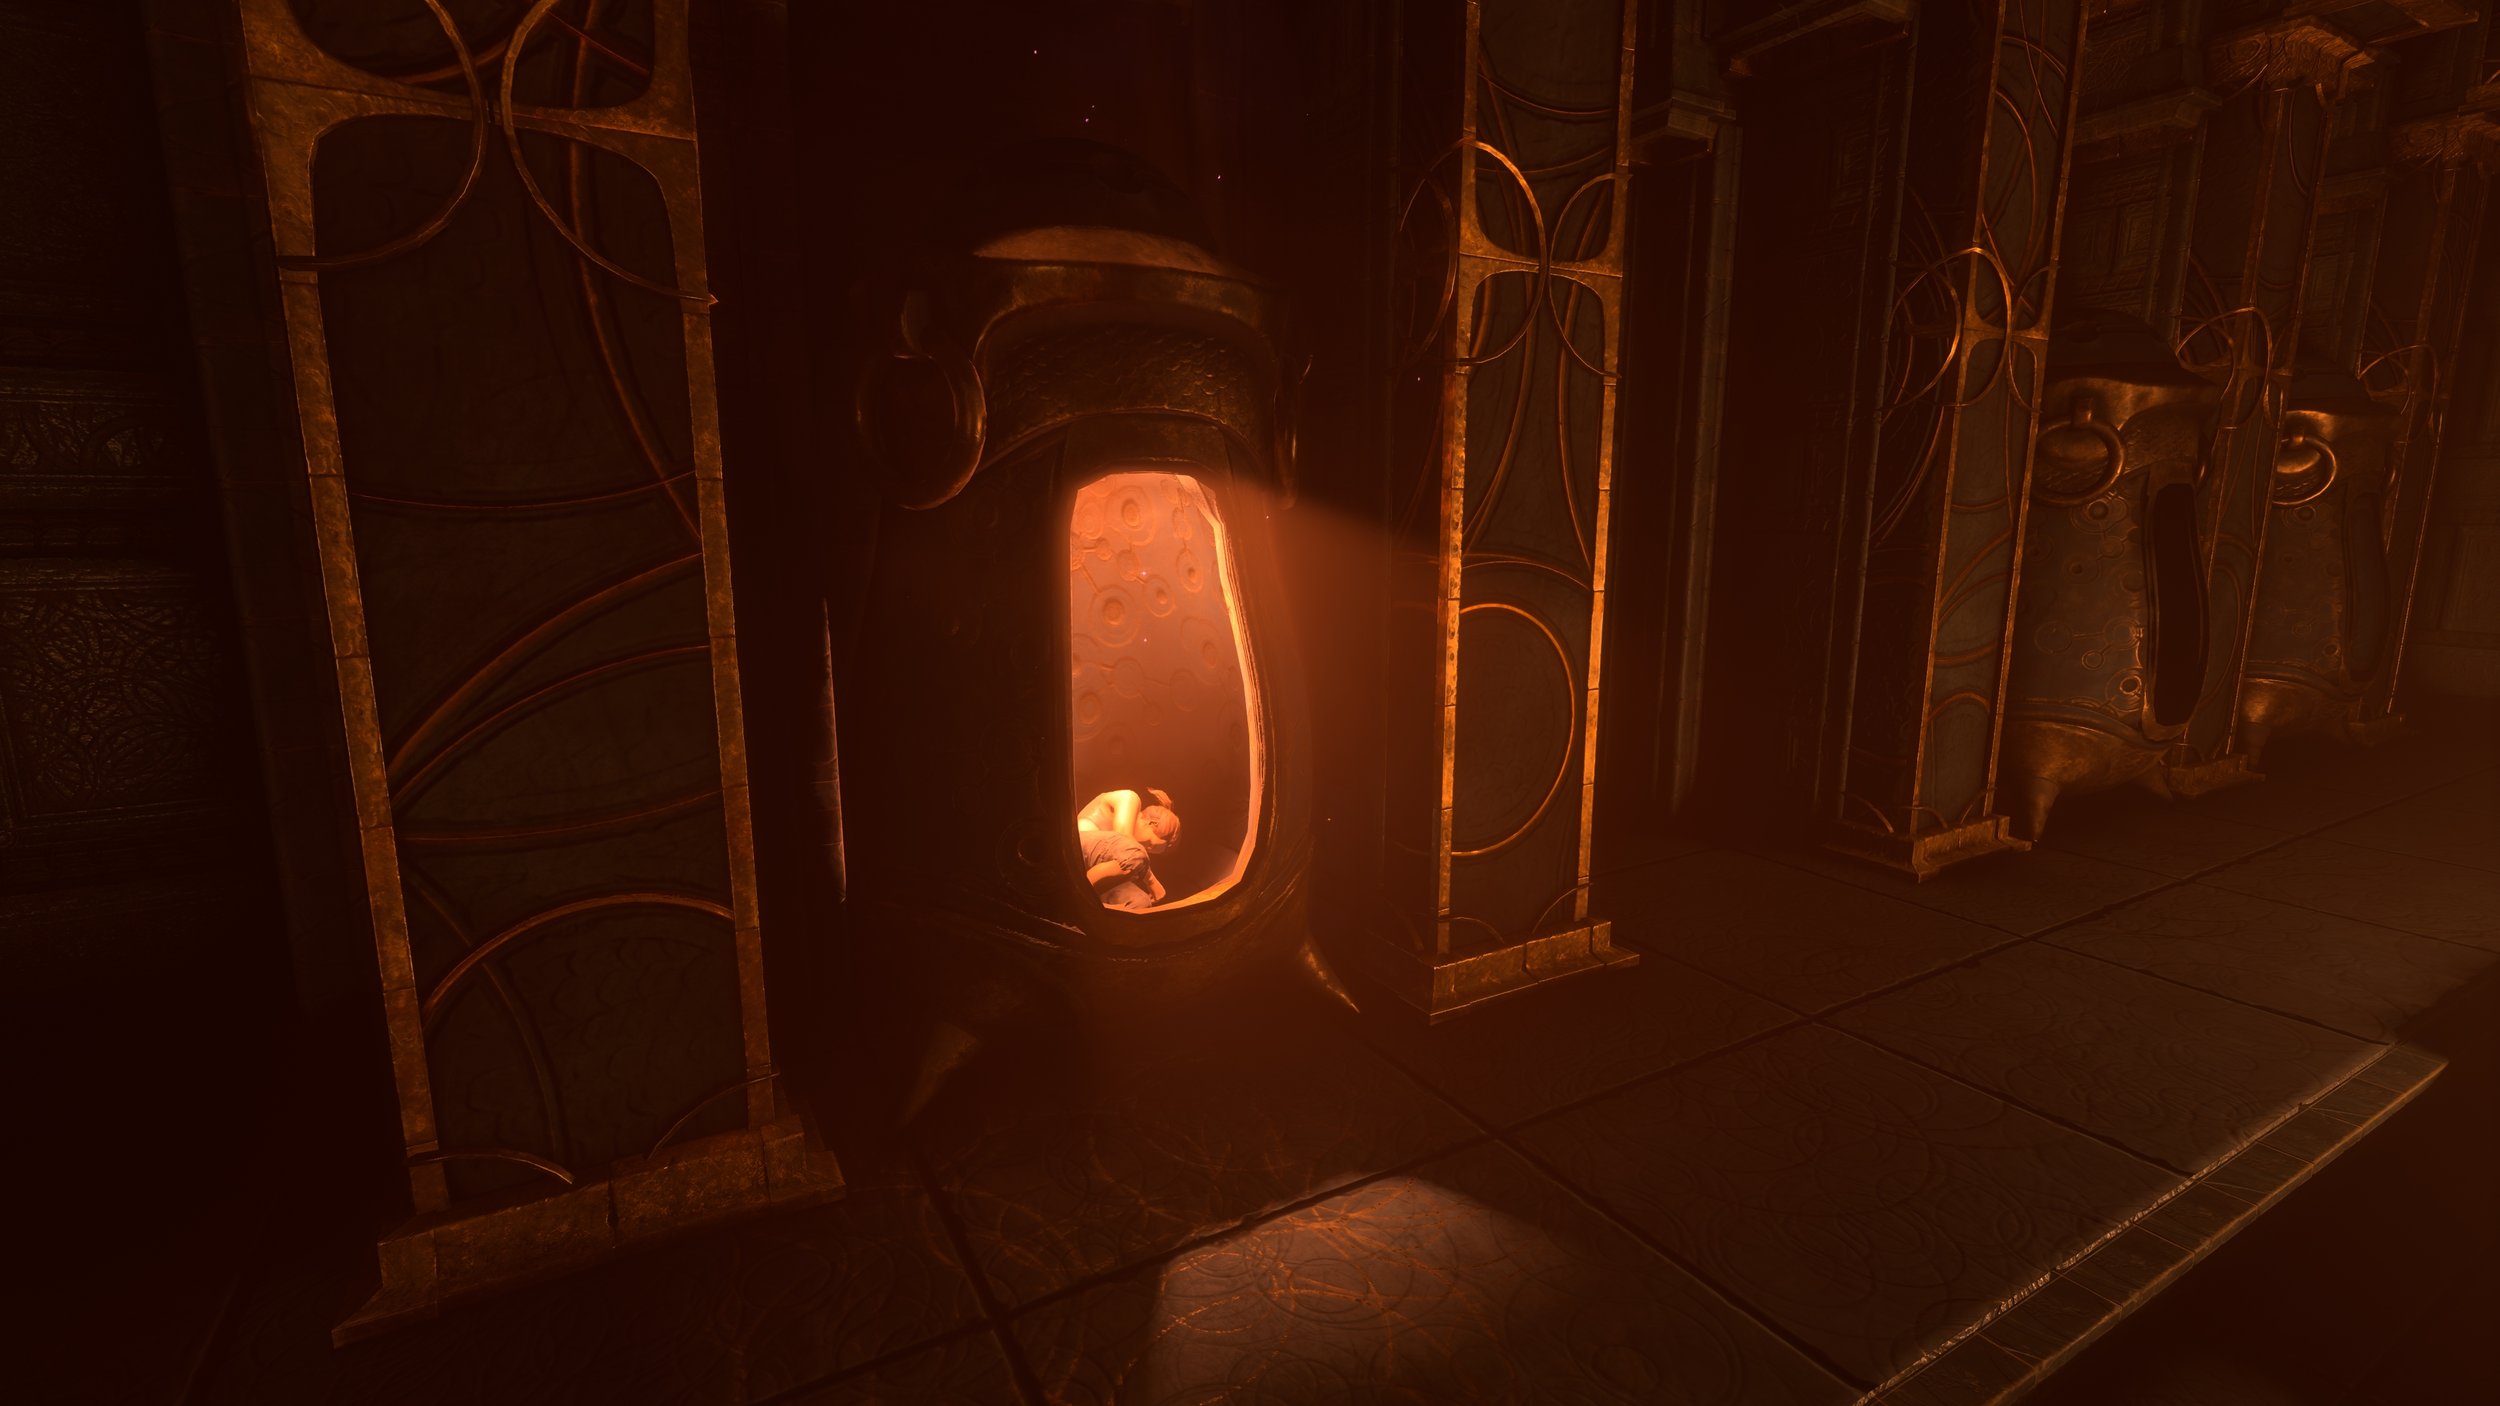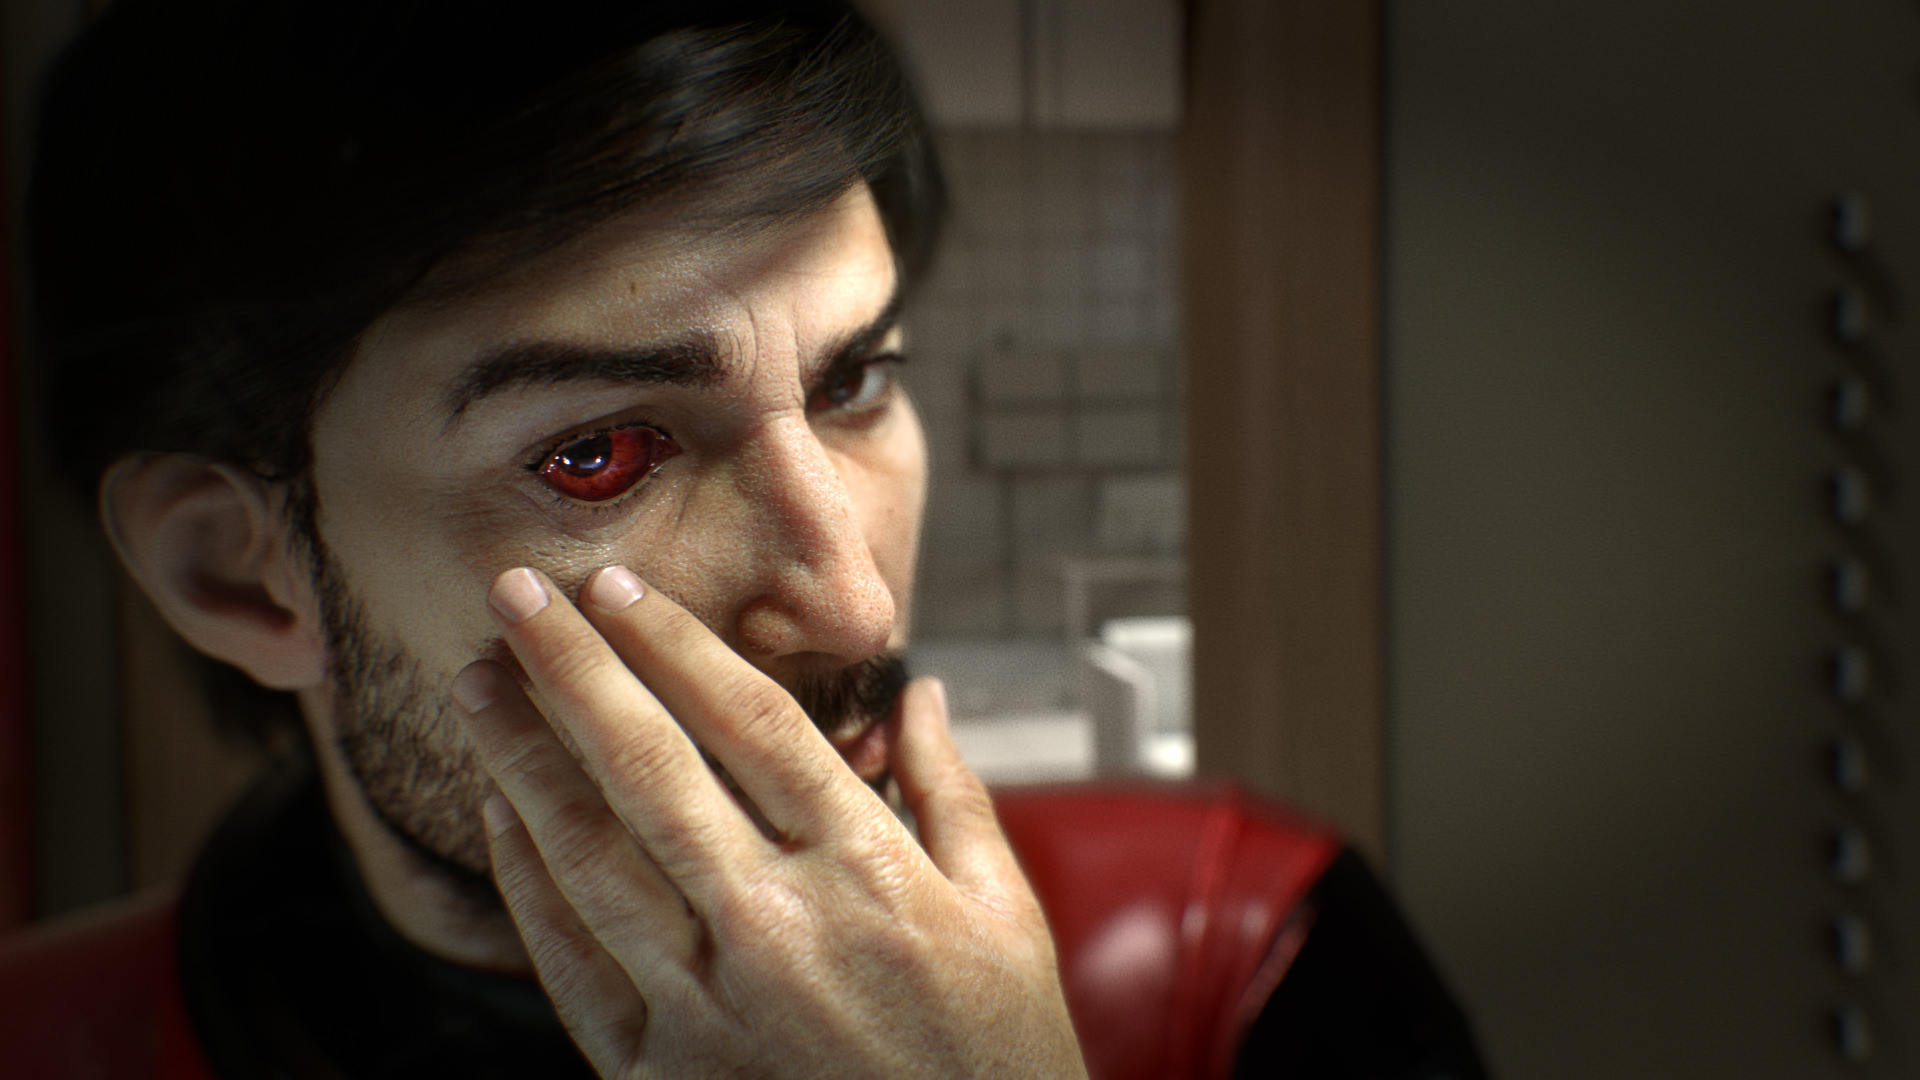
In case you didn't know, there's more than one ending to Bethesda's latest scifi adventure Prey. If you haven't seen all of them, and you aren't too worried about spoilers, take a look at the video below.
Here's All The Possible Endings To PREY
 Get A Look At The Marvelous First Hour Of PREY
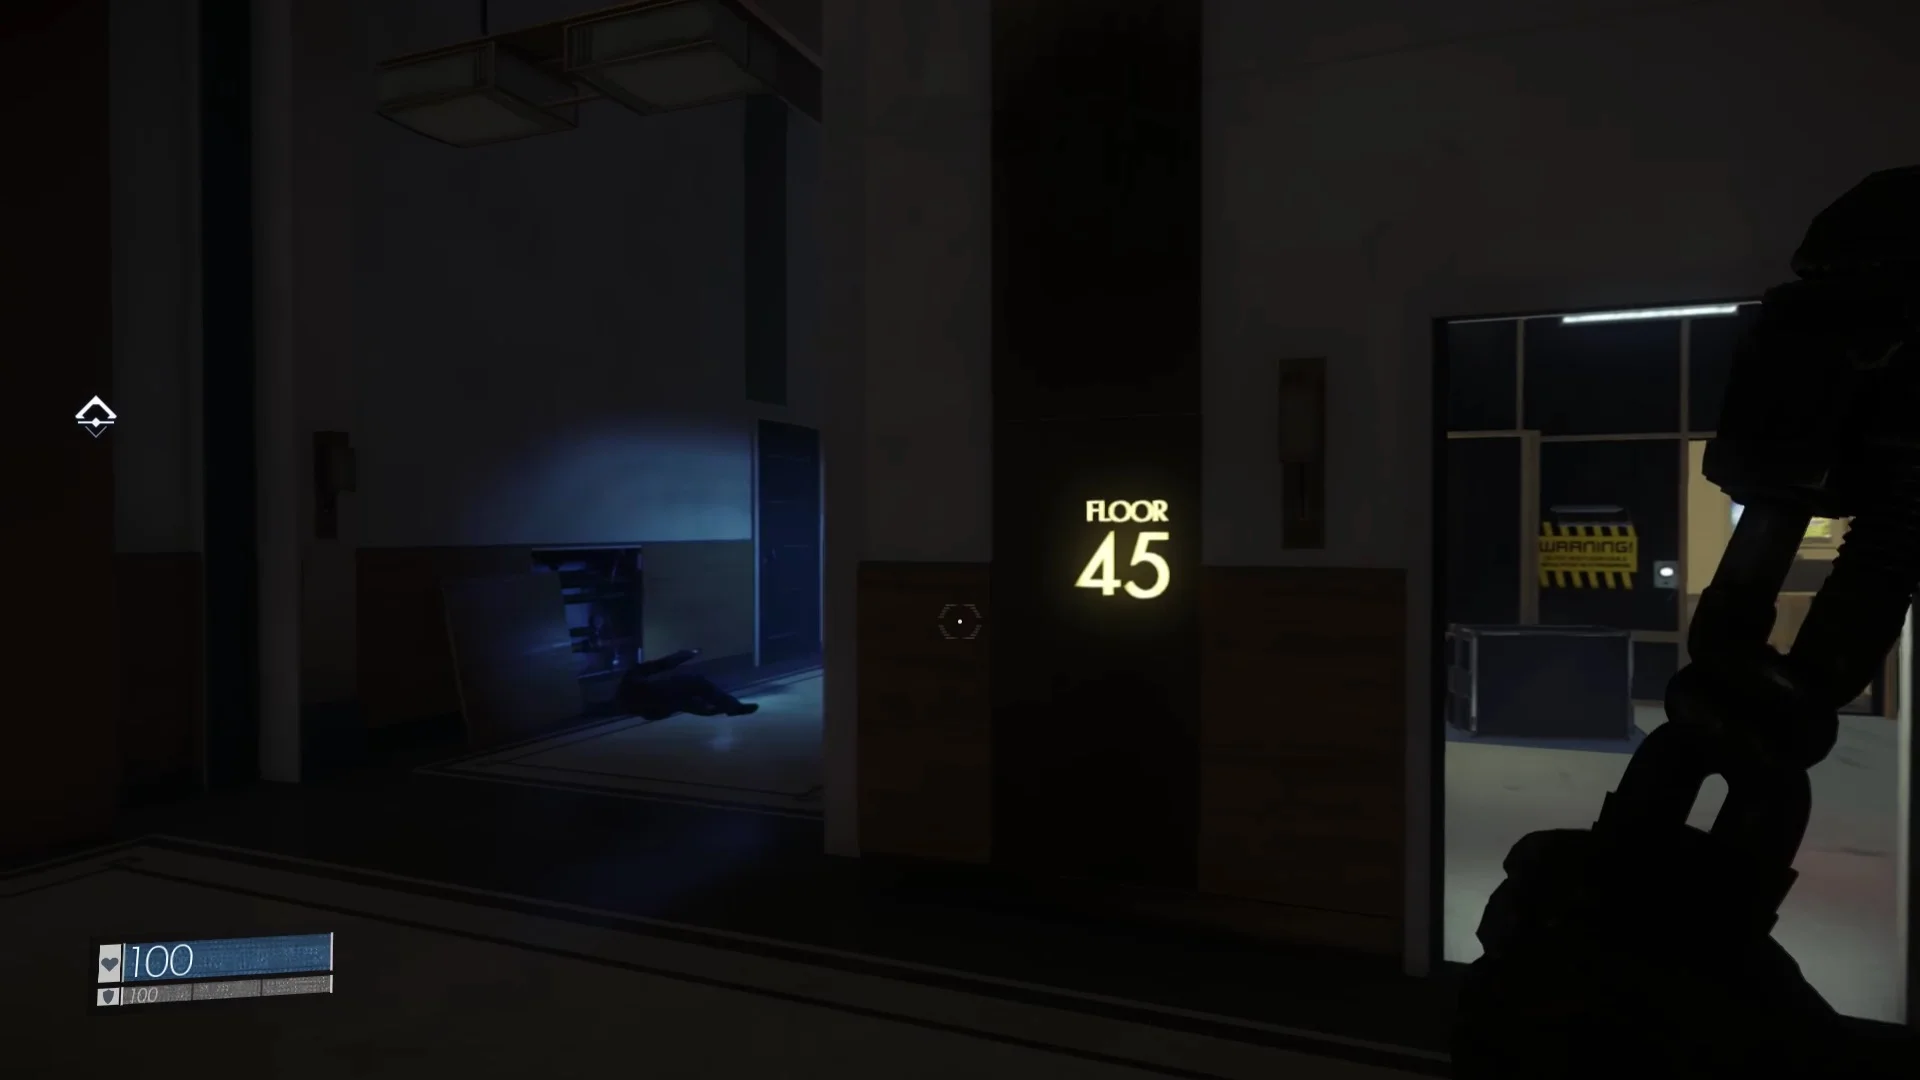 Check Out The First 35 Minutes Of PREY
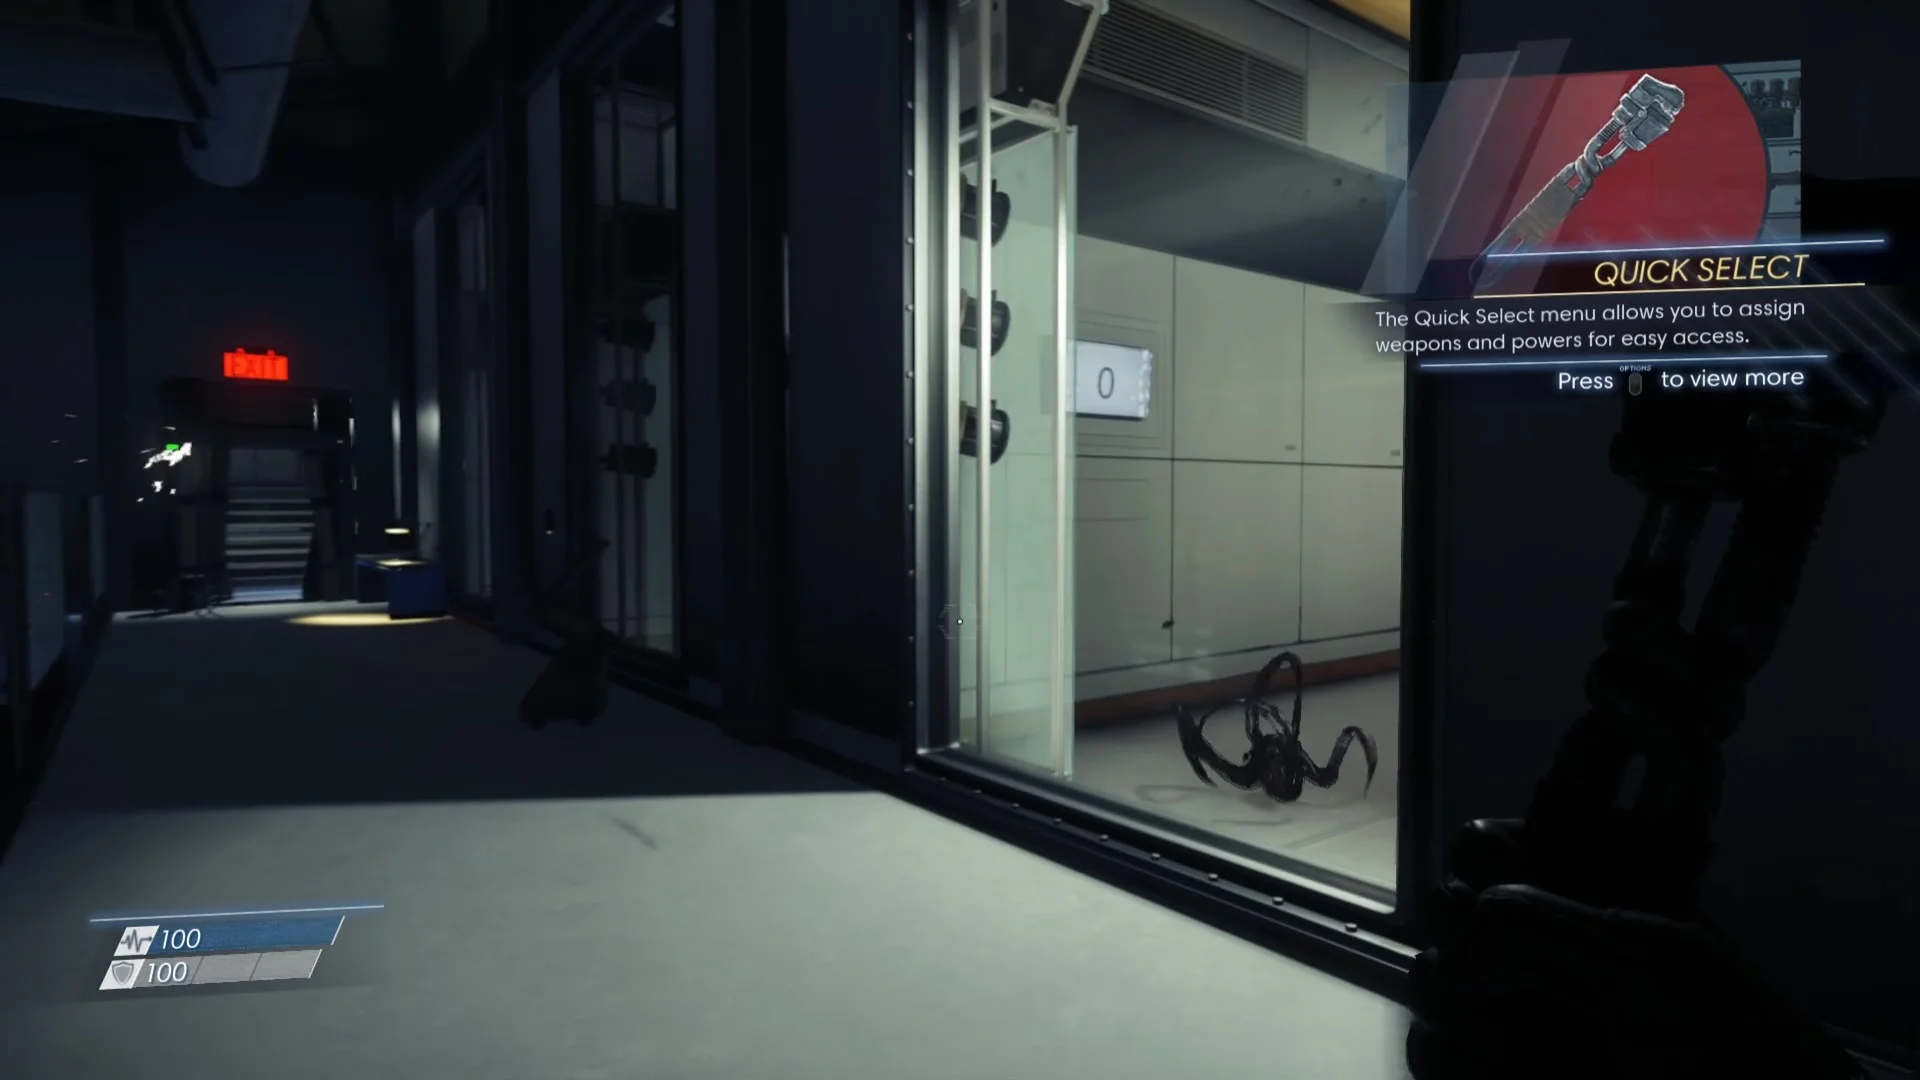 Check Out How PREY Runs On Xbox One And PS4
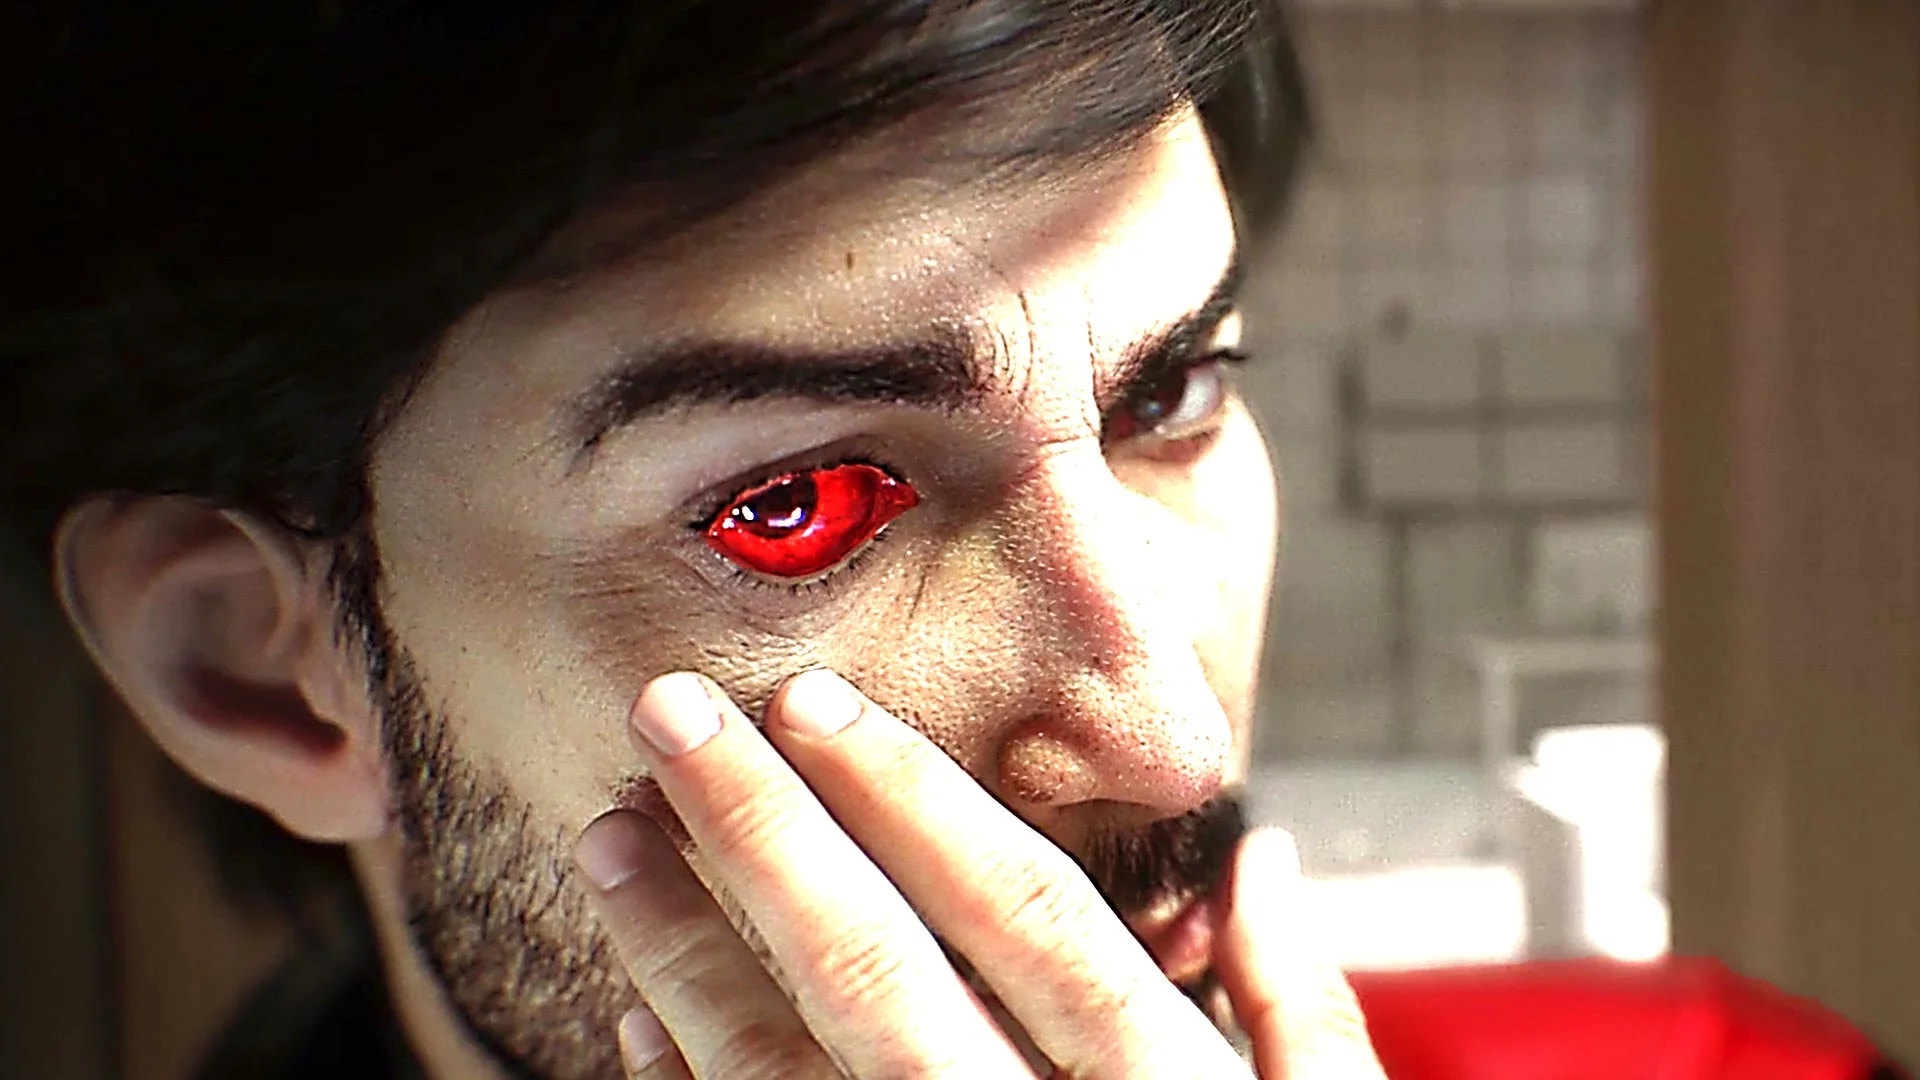 Watch: Guy Completes PREY In Under 7 Minutes
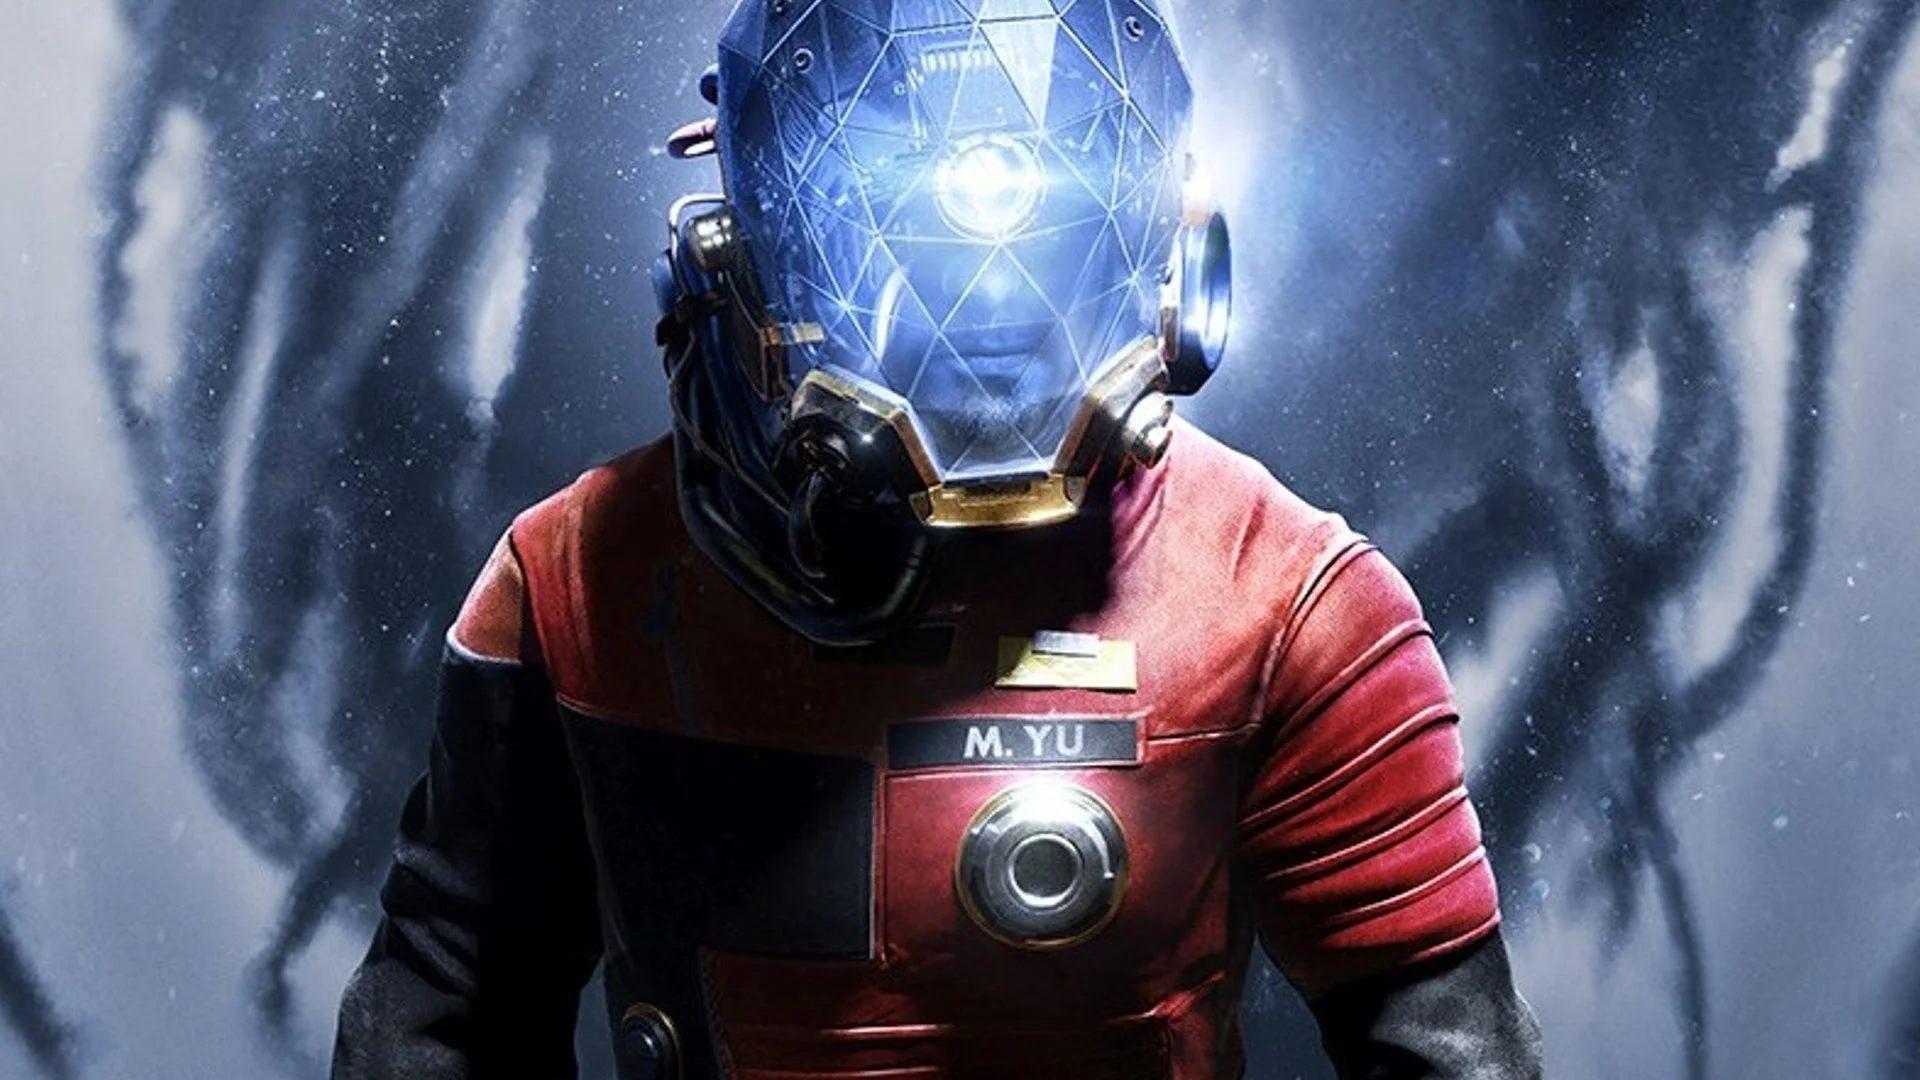 Deal: PREY Is $29.99 Across All Platforms
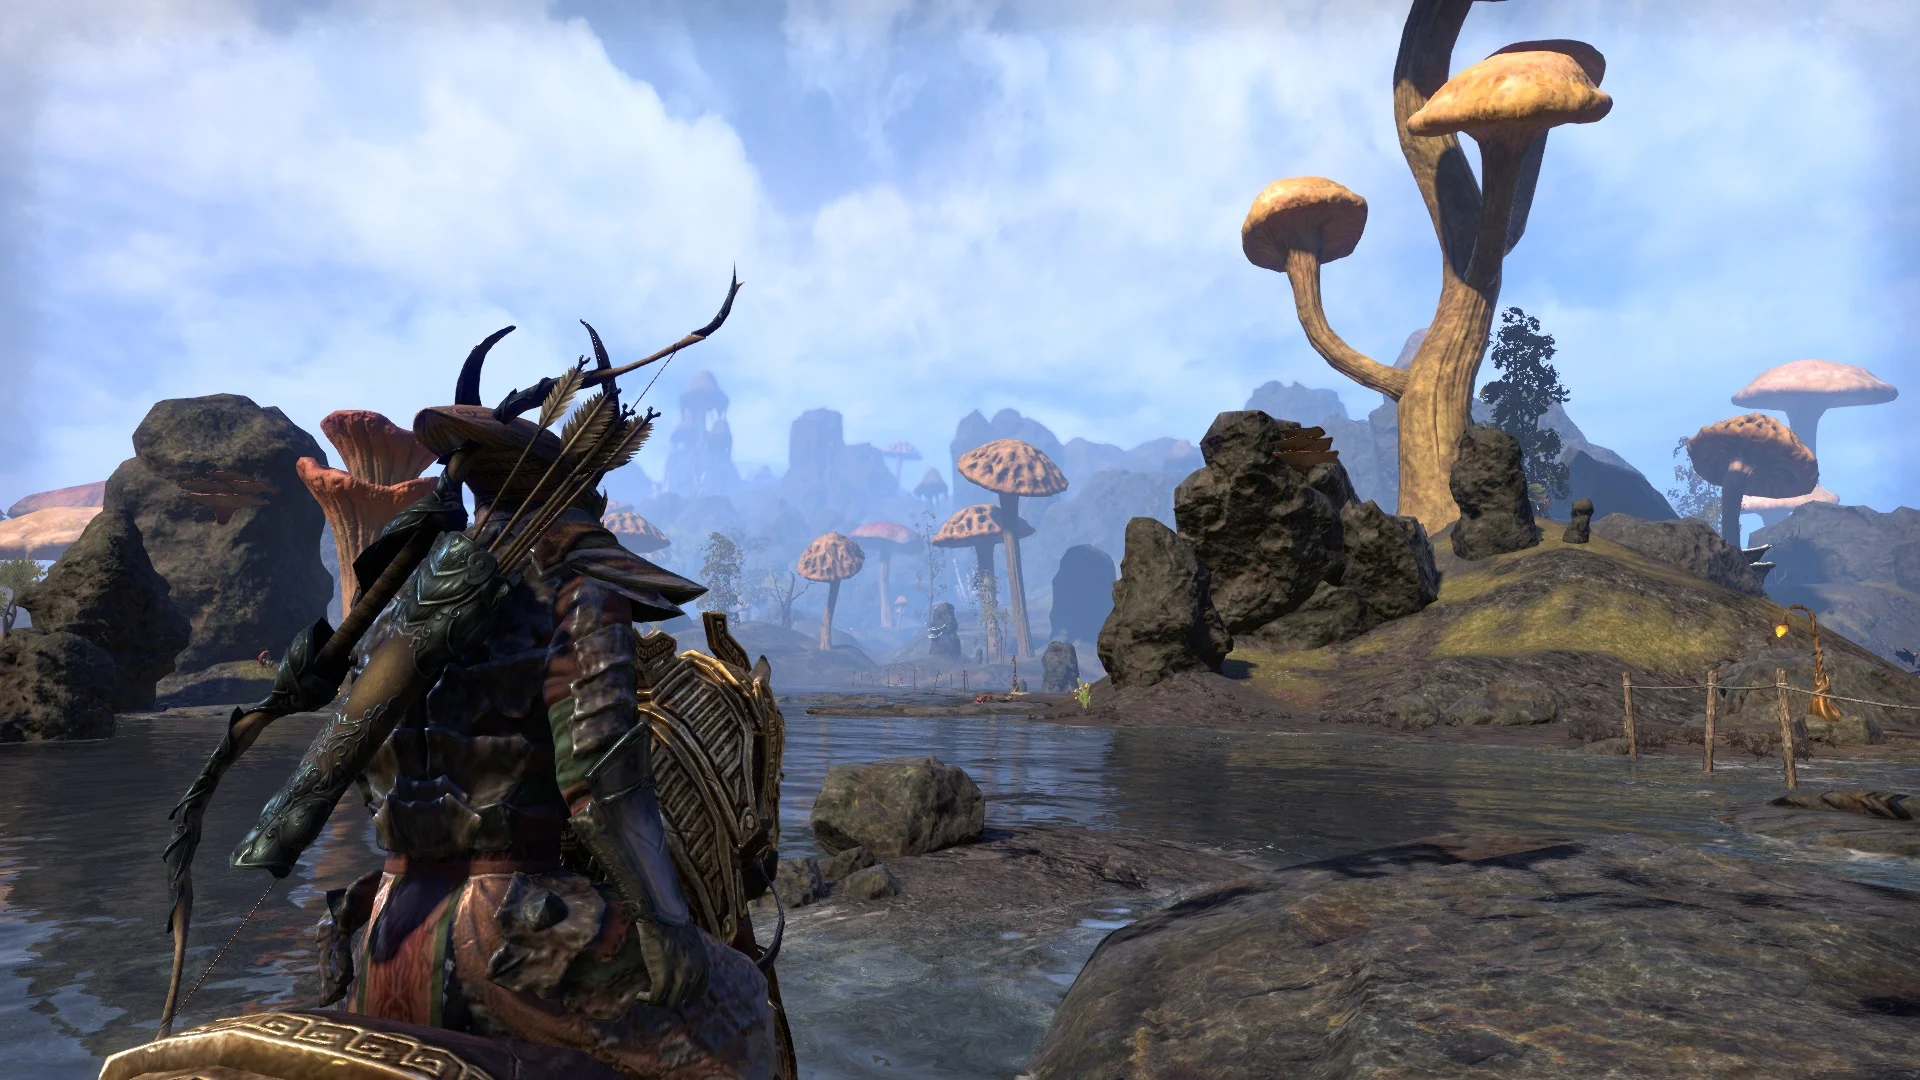 DEAL: GameStop's QUAKECON Sale Has PREY And ELDER SCROLLS ONLINE MORROWIND For $30