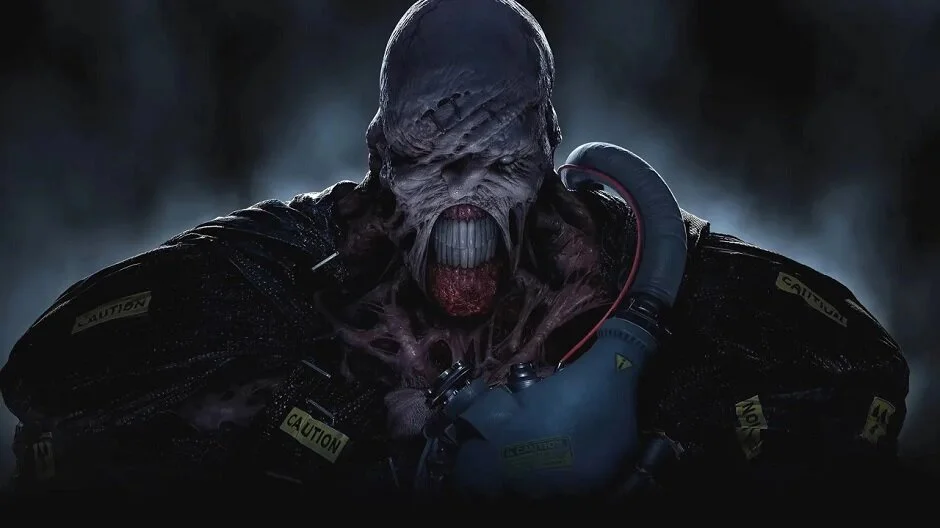
The Resident Evil 3: Raccoon City Demo’s main goal is to give players a taste of what the game will be like in its completely remastered format, and introduce them to the new populace; including the hulking Nemesis. But it also offers a little challenge for those looking to get more out of the demo.
There are 20 Mr. Charlie bobbleheads hidden around the map, and destroying all 20 of them will grant players 100 ambassador points on ResidentEvil.net.
This guide contains all 20 locations of the sneaky buggers, so whether you are just looking for the 4 that you are missing, or all 20, this guide will certainly help.
You can obtain the first seventeen Mr. Charlies on your first playthrough of the demo, but the last three require you to have beaten the demo at least once. The bobbleheads can also be found while playing on Assisted Mode.
With that in mind, let’s get started.
Bobblehead #1

Bobblehead #1 can be found on the North end of the Subway Station, opposite where the game wants you to go.
Looking towards Carlos and Victor, turn right and leave the subway car. Keep going down the platform until you reach the end of the car and look left across the tracks.
Bobblehead #2

Bobblehead #2 is found in the first Safe Room, just before you leave the Subway Station.
Making your way up to the surface you will come across the first Safe Room. On the table in the middle of the room is the second bobblehead.
Bobblehead #3
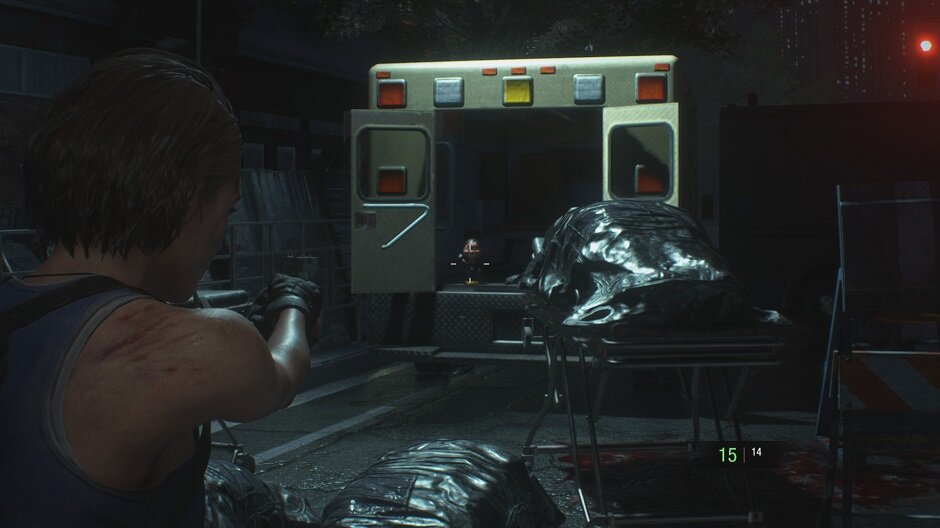
Bobblehead #3 is found immediately after bobblehead #2
After exiting the first Safe Room, to your right is an ambulance with body bags surrounding it. Inside the back of the ambulance is the third bobblehead.
Bobblehead #4

Making your way through the alley-way and to the end of the street, you will find bobblehead #4 behind three zombies surrounded by fire banging on the fence.
Don’t worry, they can’t get you.
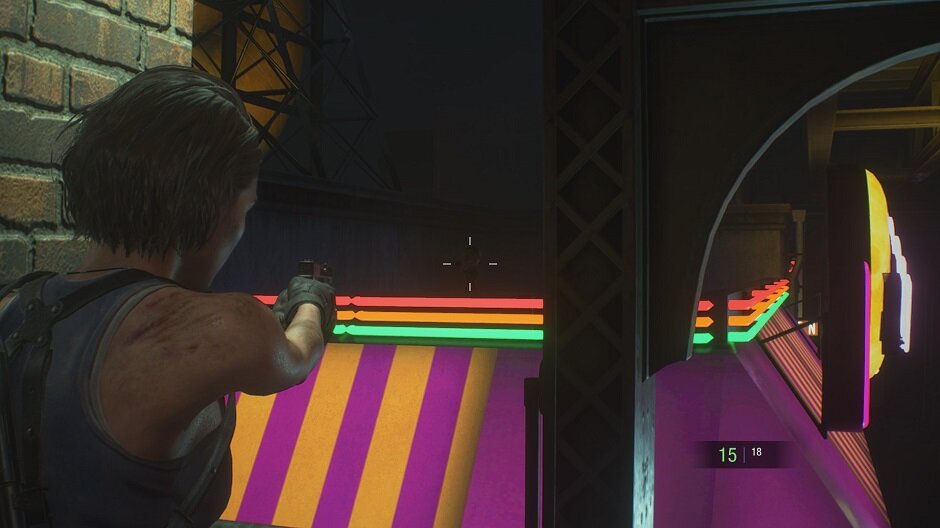
Bobblehead #5
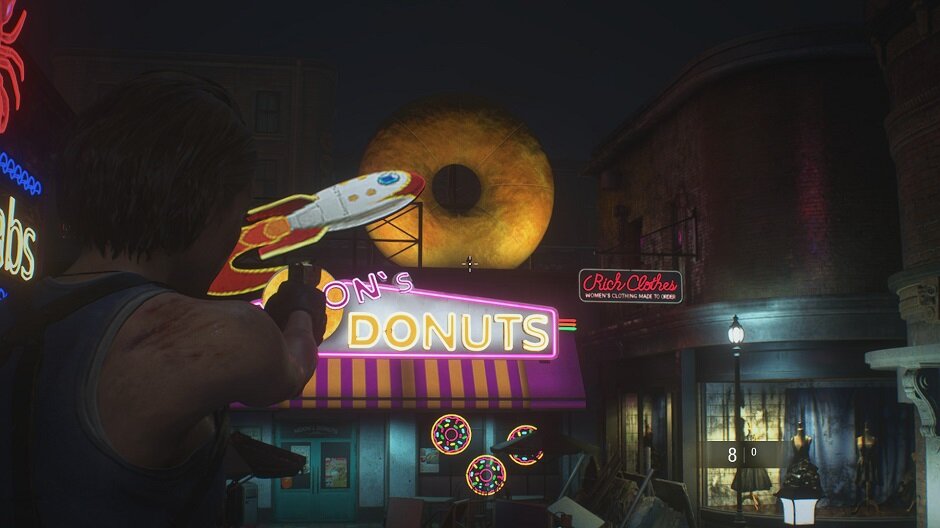
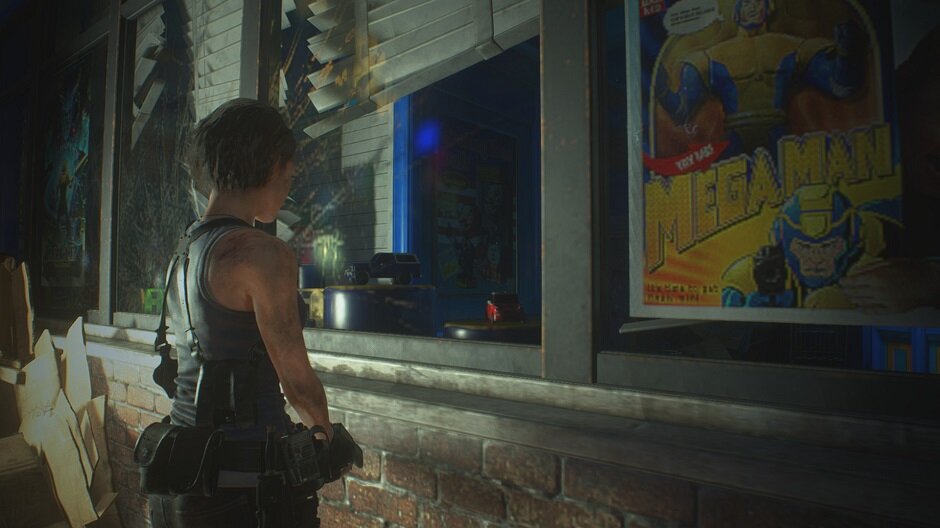
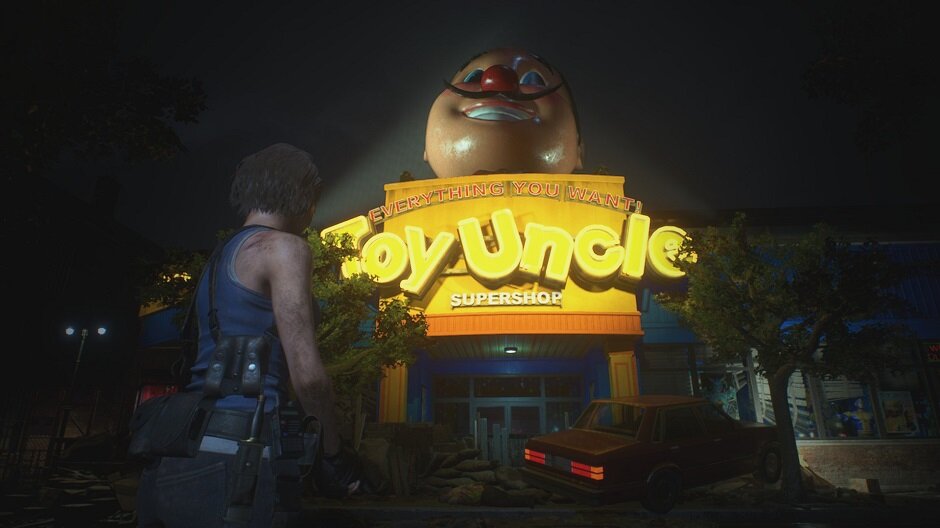
Bobblehead #5 requires a trigger. On the same street you found bobblehead #4 there is a toy store. To the right side of the main entrance, there is a Mr. Charlie poster that is visible through a window.
You must stare at the poster for around 10 seconds, and the bobblehead will spawn on the roof of the donut shop across from the toy store. If it does not spawn the first time, just keep trying and the bobblehead will spawn eventually.
Bobblehead #6

Bobblehead #6 can be found to the right side of the staircase leading to the donut shop, under some scaffolding.
Bobblehead #7
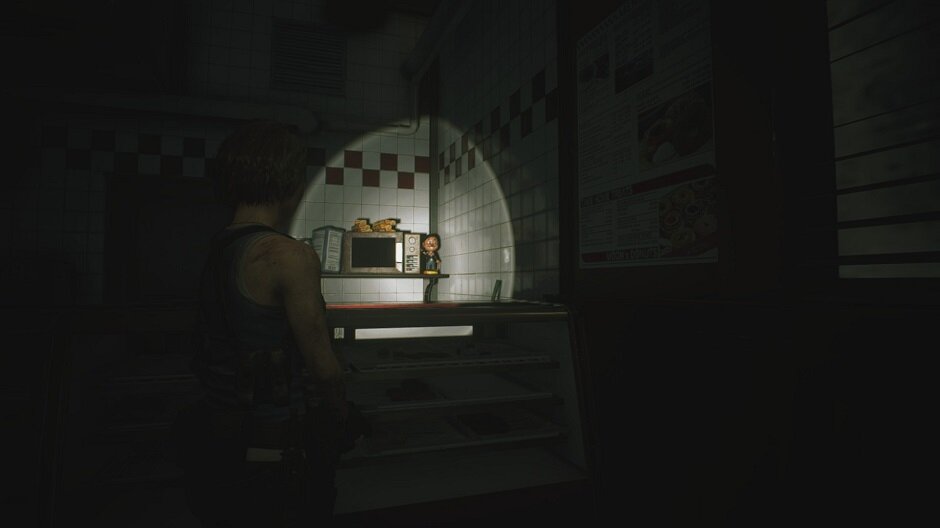
After entering the donut shop, bobblehead #7 can be found behind the counter, tucked away next to the microwave.
While you are here, be sure to grab the bolt cutters in the Safe Room, and have at least one inventory spot available before leaving. Two if you want to grab the shotgun.
Bobblehead #8
Bobblehead #8 can be found at the end of the the alley-way directly across from the donut shop, next to the box of shotgun shells.
You will need the bolt cutters to gain access to the alley-way, so make sure you have them.
Bobblehead #9

After exiting the alley-way where bobblehead #8 is found, turn left and enter the Kite Bros Subway Office.
Upon entering the room where the shotgun can be found, be careful not to pick up the fire hose, as we don’t want Nemesis to spawn in yet. Bobblehead #9 is found in a cabinet on the left side of the door.
Bobblehead #10

Exiting the railway office, move left and make your way into the Pharmacy. Watch out for the zombie playing dead.
Turn left after entering the Pharmacy, and bobblehead #10 can be found on a set of shelves to your right on the other end of the building.
While you are here, make sure you grab the high-grade gunpowder on the same set of shelves. We will need it later.
Bobblehead #11
Make your way up the set of stairs directly across from the Pharmacy, and on the roof of the donut shop is where bobblehead #11 is found.
Bobblehead #12
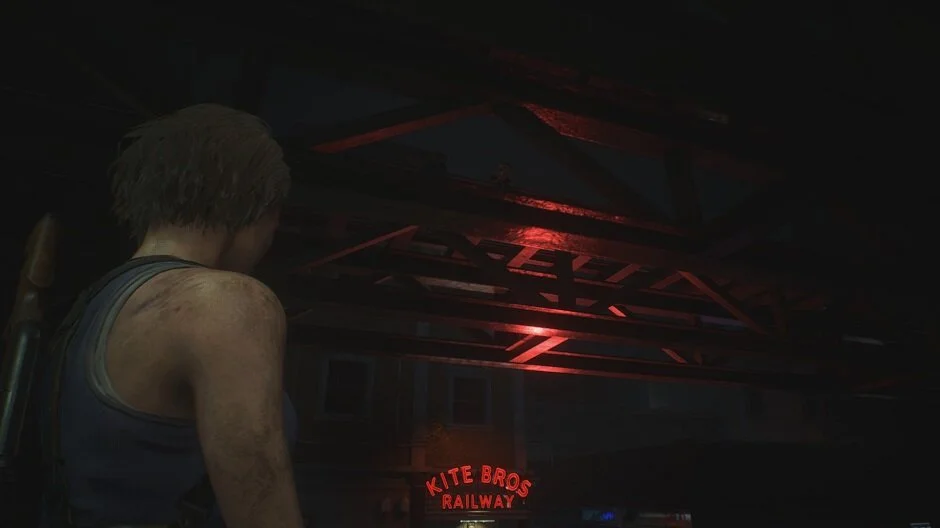
Standing in the same spot where you shot bobblehead #11, turn right and look up. Bobblehead #12 is sitting up on the railway.
Bobblehead #13

Enter the door directly behind you after shooting bobblehead #12, and make your way down the hall. Be careful entering the room to your left, as there is a zombie waiting for you.
After dispatching the undead, if you directly face the shelf from the door you entered, on the right side is where bobblehead #13 is hiding.
Bobblehead #14
Leaving out the other door of the room where #13 is found, make your way across the catwalk and up a set of stairs.
Bobblehead #14 is found on top of a generator immediately after reaching the top of the stairs.
Bobblehead #15

Upon further exploration of that area, you will find a ladder that takes you back to the street where bobblehead #4 is found. Climb down the ladder and make your way to the dept. store that is right next to the gate leading back to the subway. You will need the bolt cutters to enter the dept. store.
Bobblehead #15 is found right next to the cash register to your right upon entering the dept. store. While you are here, grab the second high-grade gunpowder and combine it with the first one. This combination will create MAG ammo.
Unfortunately we don’t have access to a Magnum in the demo, but the ammo is required to trigger the spawn of the next bobblehead.
Bobblehead #16
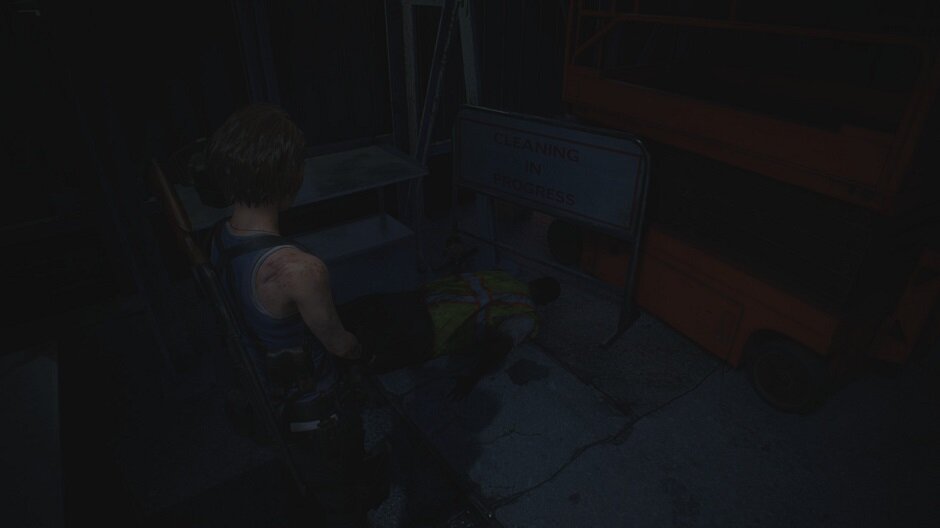
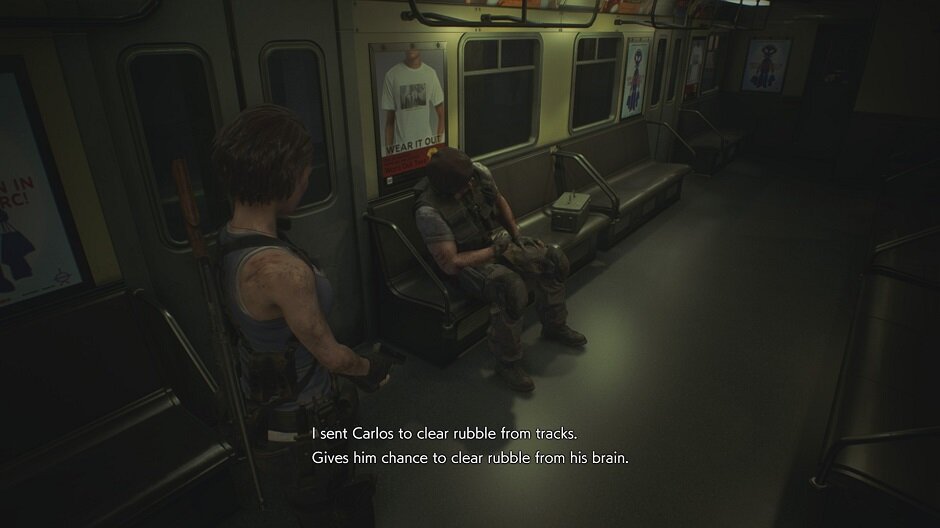
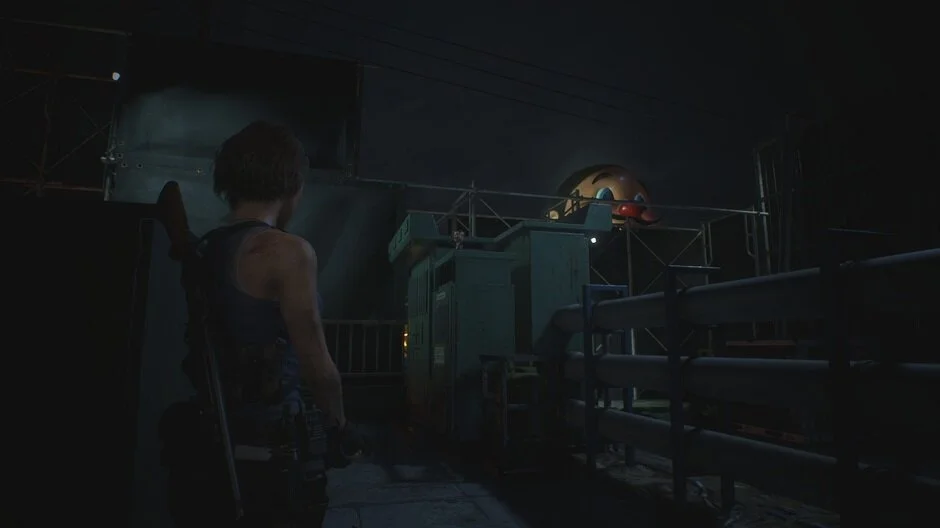
Make your way back to the subway car at the start of the demo. Walking up to Victor will trigger him to say something about Carlos. After triggering the quote, make your way back to the same rooftop where bobblehead #14 is found.
Sitting next to an orange lift and a zombie in a construction vest, you will find bobblehead #16.
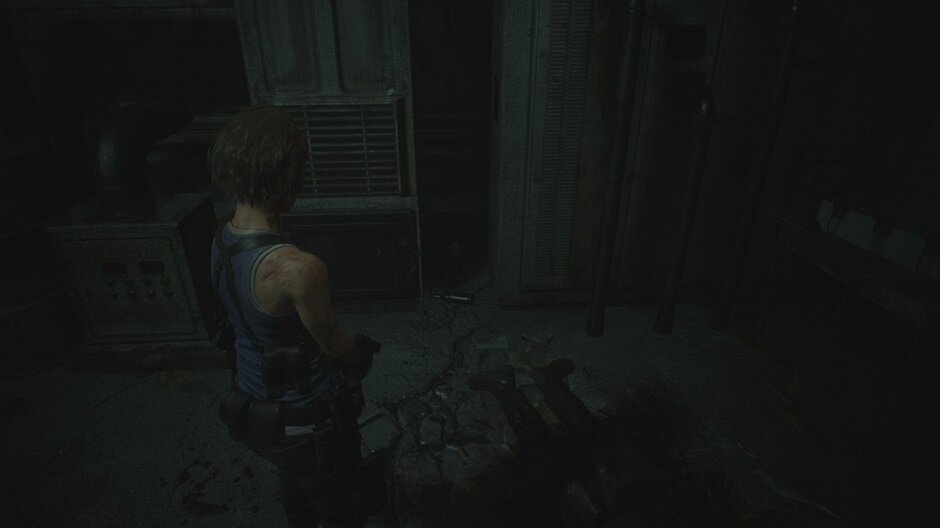
Bobblehead #17
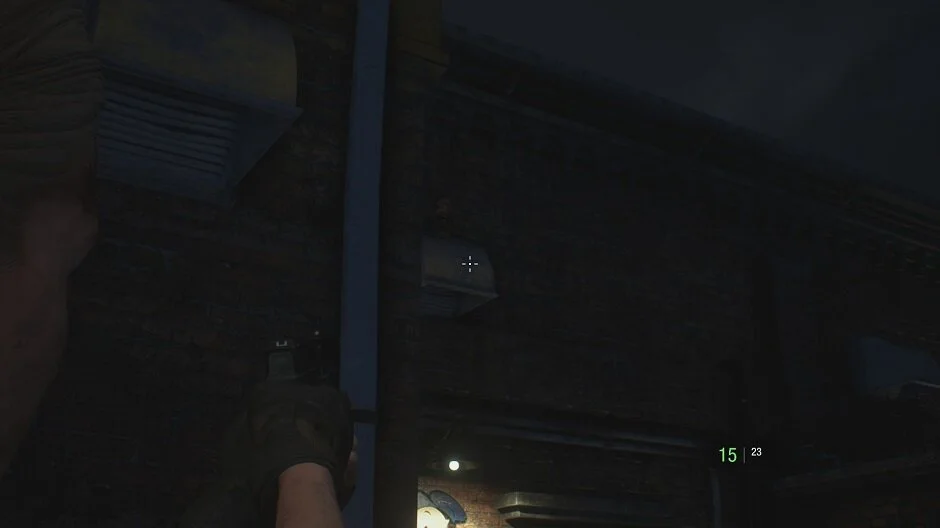
If you decided to grab the first seventeen Mr. Charlies on your first run through the demo, then go ahead and grab the fire hose and make your way back to where you found the fire hydrant.
After putting out the fire, edge your way past the fire hydrant, and bobblehead #17 can be found sitting on an air duct just above the door around the corner.
If you accidentally trigger the cutscene, don’t worry, you will have another chance when you go for the last few bobbleheads.
Bobblehead #18

Assuming you have beat the demo at least once by now, performing around 25 perfect dodges will trigger the driver side door of the police car, that is located next to the alley-way where bobblehead #8 is found, to open. Bobblehead #18 is just chilling on the driver’s seat.
This bobblehead can be triggered before spawning in Nemesis, and the dodges don’t have to be performed in one life. I would know…
Bobblehead #19

For bobbleheads #19 and #20, you are forced to trigger Nemesis.
Go ahead and put out the fire, and go for bobblehead #17 if you missed him the first time. Return back to the street with the toy store, and make your way to the blockade of cars next to the gate that takes you back to the subway. The police car’s passenger side door will be opened after you down Nemesis around 5 times.
If the door doesn’t open after you’ve downed Nemesis 5 times and are out of ammo, just let Nemesis kill you and try again. These triggers aren’t 100% consistent unfortunately.
Upon the car door opening, you will find Mr. Charlie sitting just in front of the passenger’s seat.

Inside the blockade of cars where #19 is found, there is a lone zombie. Pop him in the back of the head and make your way back to the pharmacy.
To the left of where you found bobblehead #10, where the zombie was originally, you will find #20.