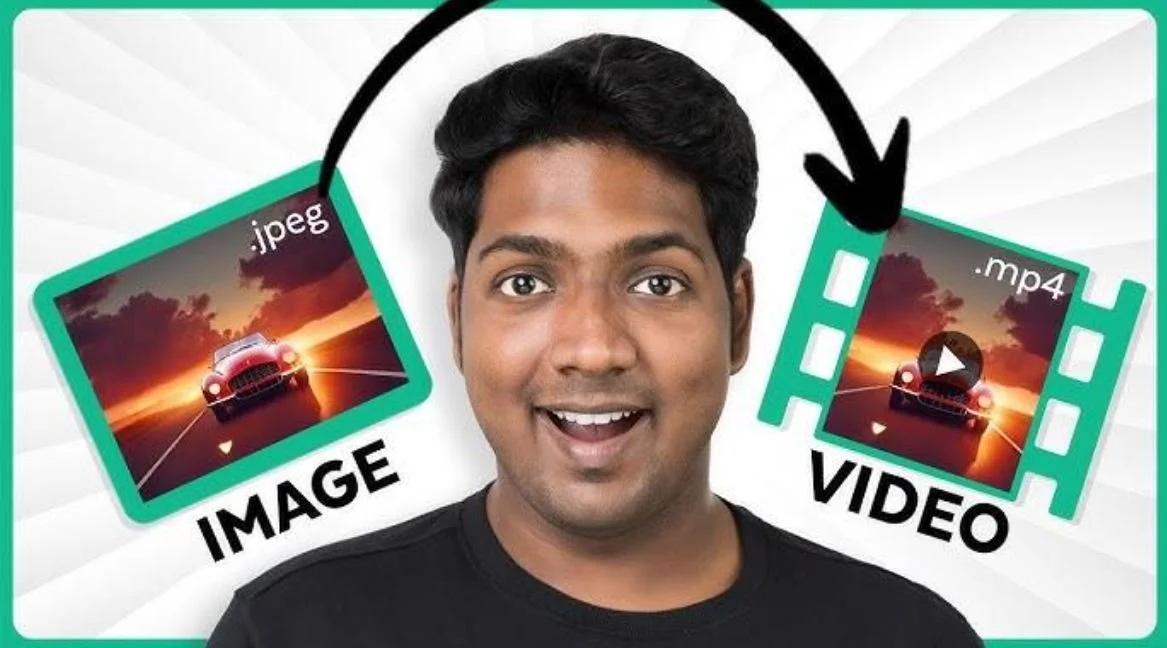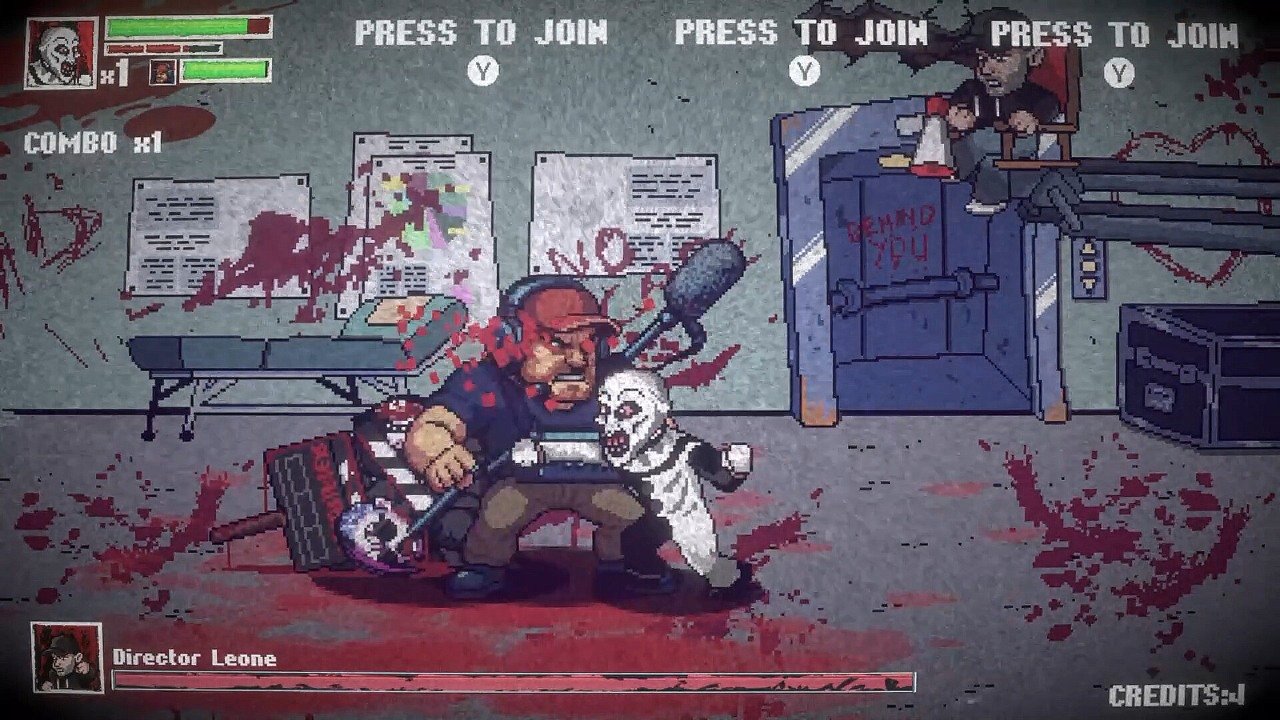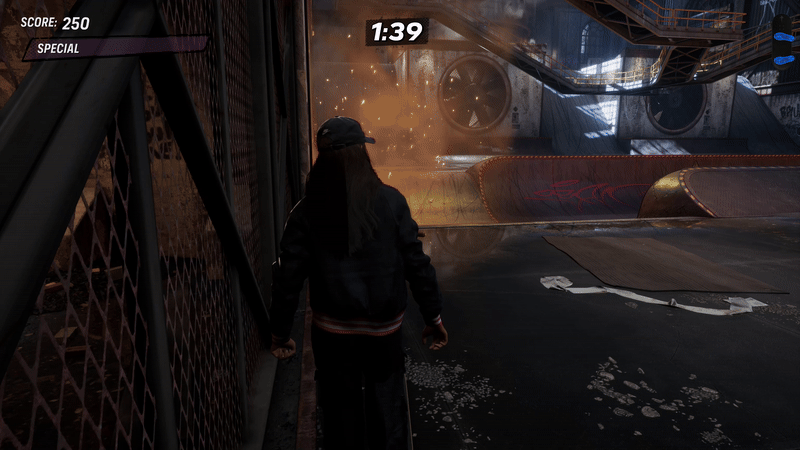
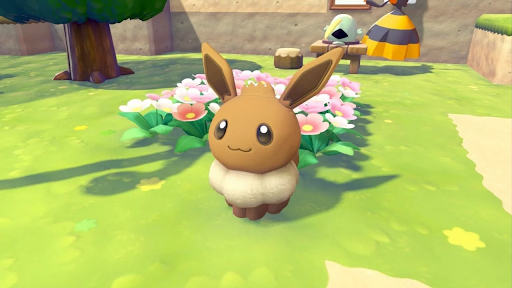
You didn’t miss the shot, but your screenshot did. One second ago, you were capturing a perfect moment: the boss mid-attack, the sunset hitting your character’s armor, the UI neatly framing the scene. But right after that moment, when you upload it to show your achievement of the day, all you can see is the softness, full of noisy or strangely “muddy” textures. All seem like the game suddenly forgot how to render detail.
Frustrated? You are not alone. You can find hundreds, even thousands of discussions on this matter on Steam, Discord, Reddit or any other gaming platforms. There are lots of reasons for this frustrating problem including image compression from the social site, resizing, and in-game settings which look fine in motion but fall apart in a still image. The good news is you don’t need advanced editing skills to fix it. In this guide, you’ll learn why game screenshots often look blurry, what goes wrong when you “enhance” them the wrong way, how AI photo enhancers work, and how to make your screenshots clearer in minutes using Artguru photo enhancer.
Why Game Screenshots Often Look Blurry or Low-Quality
A game can look stunning while you’re playing, yet the screenshot ends up looking underwhelming. That’s because screenshots don’t just capture your scene, they also capture the side effects of how your game renders and how platforms handle images.
Compression might be the first caller for causing this annoying problem. Websites and apps have a tendency to shrink your image or let it through a compression process in order to save bandwidth. As a result, fine details like hair strands, grass, fabric texture, distant buildings can suddenly be turned into disastrously hideous smudges or blocky patterns after you upload. Even if your original image looks sharp locally, the online version may appear “washed” or pixelated.
Another factor is resolution mismatch. You have just taken a screenshot at 1080p, for example. All of a sudden, you want to show the finest details on a character’s face or some UI elements. You decided to crop in to highlight those incredible. Not surprisingly, the screenshot you have is a bigger image with no extra detail which is full of noise and softness at low quality.
Then there are in-game rendering settings that are great for smooth gameplay but not always great for still images. Temporal anti-aliasing (TAA), for example, can make edges look less jagged in motion, but it may also blend frames in a way that creates softness in a single frame. Sometimes, you may find the upscaling feature of no good as instead of creating the best experience ever, it produces a “painted” look in still shots.
Lastly, motion blur or depth of field, which is considered as the most beautiful cinematic effects, could be one of the culprits. It makes the action of your favourite character feel more dramatic and real while playing. However, the screenshot you get after all is unintentional blur somehow. When you put together all of these factors, the most frustrating result comes to life: a screenshot that should look premium turns out it doesn’t.
What Happens When You Enhance Game Screenshots the Wrong Way
What is the first thing that comes to your mind when you see a blurry screenshot? “Sharpen it” you might think. Sadly and unfortunately, sharpening is also the fastest way to ruin your image if you push it too far.
Over-sharpening often comes with halos described as bright outlines that appear around characters, weapons, or high-contrast edges. Instead of looking “clean,” your screenshot starts to look crunchy, with exaggerated borders that don’t exist in the game. This is especially noticeable around hair, armor edges, and text.
Another common mistake is aggressive noise reduction. Although it can remove grain, it can also erase the texture that makes a screenshot feel real. Leather turns into plastic. Skin becomes waxy. Foliage loses its structure. Shadows turn muddy. The unsurprising result you get is a technically smoother image but visually less detailed.
People also tend to push contrast, clarity, and saturation too hard. That can crush blacks, blow out highlights, and strip the scene of its original mood. Foggy fantasy landscapes become harsh. Neon cyberpunk shots lose subtle gradients. Dark horror scenes become flat and unnatural.
And perhaps the biggest “fake fix” is basic upscaling, simply resizing the image larger. This makes your screenshot bigger, but it doesn’t add real detail. In fact, it can make compression artifacts more obvious because you’ve magnified the flaws.
The key idea is this: the goal isn’t “more sharpness.” The goal is more believable detail with fewer artifacts, so your screenshot still feels like it came from a high-end game, not a heavy filter.
How AI Photo Enhancers Improve Game Screenshots
This is where AI photo enhancers outweigh manual sliders in terms of visual effectiveness. While you have to try many different adjustments to get it just right with sliders, AI enhancement automatically aims to unblur image and improve clarity while preserving its structure.
A typically powerful AI enhancer does several things at once:
● Denoising: gets rid of the grain that shows up in the shadows and in areas where the light's not very good without smearing textures.
● Deblurring: restores perceived clarity when an image looks soft due to rendering or compression.
● Super-resolution upscaling: increases resolution while reconstructing detail, so the image doesn’t just become “bigger,” it becomes clearer.
● Edge and text refinement: improves the readability of UI elements and crispness of fine lines.
In many cases, when the AI is not “finding” hidden pixels, it’s reconstructing detail based on learned patterns. That’s why results are sometimes unpredictably good or bad. Still, for the most common issues abovementioned, AI enhancement, without any efforts to say, is often the fastest route to a cleaner, more shareable image.
If you want a simple and time-saving tool, Artguru is a practical option. It’s designed to handle photo enhancement and upscaling in a surprisingly easy flow: upload your screenshot, select enhancement, let the AI process, and download your ready-to-share screenshots.
Step-by-Step: How to Make Game Screenshots Clearer with Artguru Photo Enhancer
Step 1: Prepare Your Game Screenshot
Start with preparing the best version of your screenshot. The original file locally saved on your device is always recommended. If you upload the image you sent to your friends on chat apps or social networking sites, the final result is not promising compared with the original file. Artguru supports most common picture formats like PNG, JPEG, JPG and so on. A light crop for highlighting a character or moment is acceptable. However, the more adjustments that you make to the original file, the less appealing the result is.
Step 2: Choose Photo Enhancement and Let Artguru Process
You don’t need to log in to get started. Just go to Artguru and choose Photo Enhancer from the navigation bar. Upload your screenshot by clicking on “Select photos” or dragging it to the Artguru window. All you need to do after that is let Artguru handle the rest of the process of turning it into an incredible piece of art. This is where Artguru combines lots of improvements simultaneously to bring the best outcome to your screen without you knowing it. Those include reducing noise, clarifying edges, and increasing perceived detail at the same
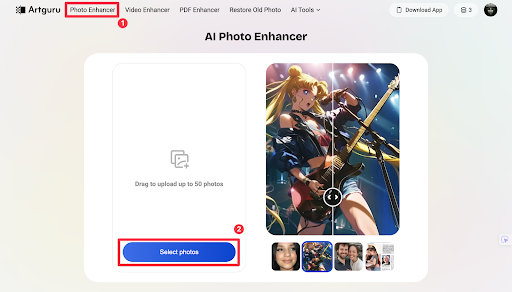
Step 2.png (Caption: Upload your game screenshots into Artguru)
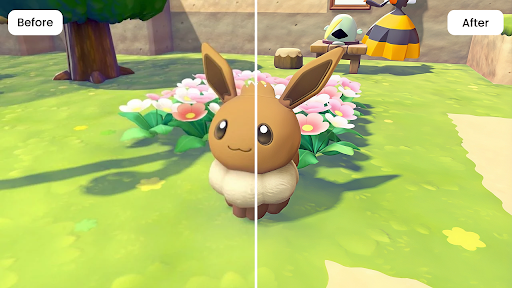
While reviewing the enhanced output, don’t just look at the main subject. A quick side-by-side comparison with the original can help you recheck the result. Artguru’s AI brings the best refinements to your screenshots by preserving natural and realistic details of the original photos. Besides, while some AIs have limitations with text enhancement, Artguru can recognize and sharpen the right text with the highest degree of accuracy.
Step 3: Download the Enhanced High-Resolution Image
Once you’re happy with the preview, you can download the enhanced screenshot to your device. From here, Artguru provides you with 2 optimal options. You can download the enhanced image with or without the Artguru watermark. As for the former option, the screenshot is immediately ready-to-share after you click the “Free download” button. You will have a standard 1K resolution image with Artguru’s Free Plan. The processing history of the image is stored up to 24 hours. So, you can revisit the page and download your screenshot anytime you want.
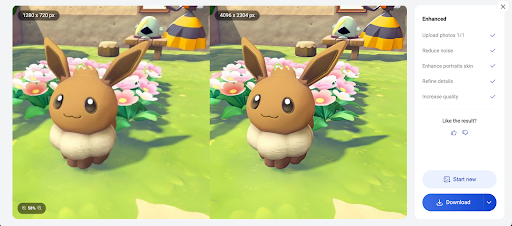
Image: Step 3.png (Caption: Download your enhanced screenshots with the best quality)
with the best quality at only $0.99 per image or $9.99 per month (1.000 credits). The downloadable image is up to 4K and 8K resolution with no watermark and a long-term image processing history is also provided when you select the Paid Plan. You can take advantage of the Pro Annual Membership at $59.99 for money saving.
From here, you can share your screenshot of the best gaming moment to your friends or your communities, opening an endless discussion of a proud and impressive experience. That’s when your shining moment actually shines!
Conclusion
Blurry game screenshots aren’t always your fault. Compression, resizing, and in-game rendering settings can quietly reduce clarity, especially after you share the image online. The tricky part is that “quick fixes” like heavy sharpening or strong noise reduction often create halos, plastic textures, and a filtered look that makes the screenshot feel less authentic.
Artguru handles the low-quality screenshot with the smartest approach. It not only removes the unwanted factors right after the image is uploaded but also keeps the textures intact. If you are looking for a simple workflow, Artguru makes it easier than any other tools. Simply upload your screenshot and let Artguru process the rest for you.