Have you ever wanted to create your own memes but did not know how to begin? Memes are a fast and fun way to share thoughts, humor, and reactions online. With just a few simple steps, you can turn regular pictures into viral content.
You do not need to be a designer to get started. All you need is the right image and the right tools. So, how can you make eye-catching memes from converted images in just a few minutes?
Choose the Right Image Format First
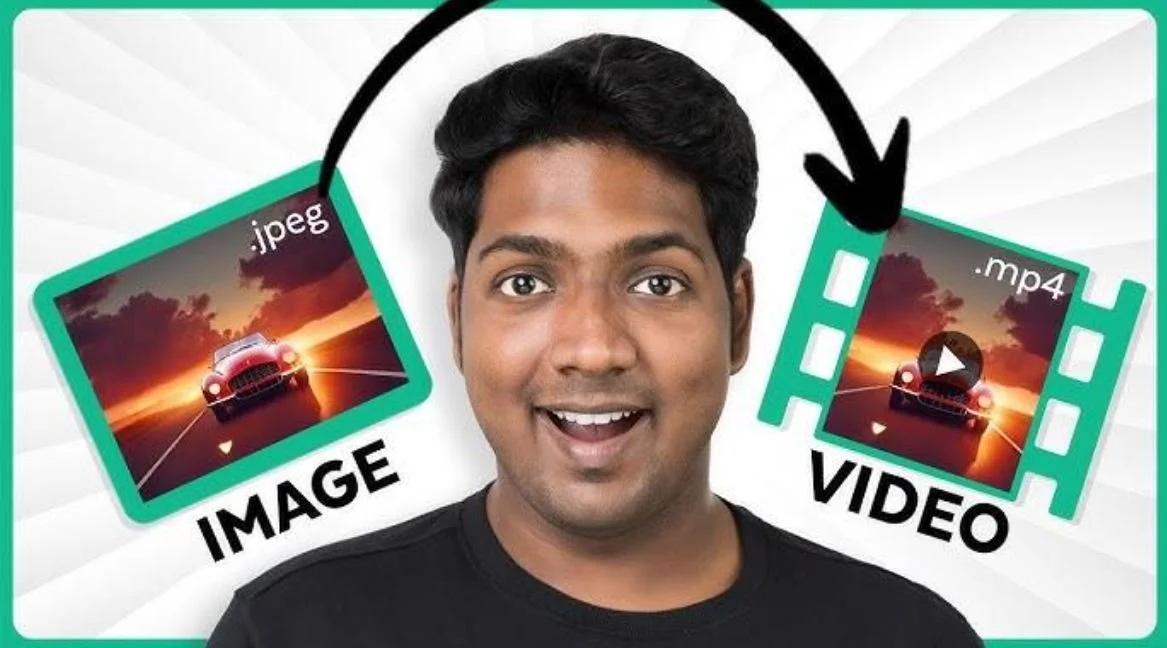
To start your meme-making process, you need an image in the right format. The most common and reliable formats for memes are JPG and PNG. These formats work well on almost all devices and platforms. If your image is in a different format, use an online tool to convert it to JPG or PNG.
Many free tools are available that allow you to upload your file and pick the format you need. This only takes a few seconds. Smaller file sizes are better because they load faster and are easier to share.
Avoid using blurry photos or screenshots with too much detail. Clean images make the text easier to read. Once you convert your image, double-check its quality. If it still looks good, you are ready for the next step.
Add Captions with Easy Text Tools
Text is what makes an image a meme. Once your picture is ready, add a caption that fits the image. Online meme makers and image editors let you add text in just a few steps. You can place words at the top, bottom, or center of the image.
Use large, bold fonts like Impact or Arial Black. These are easy to read on any screen. Keep your message short and clever. The best memes get straight to the point and make people smile or laugh quickly.
Make sure your text color contrasts with the background. If the image is light, use dark text. If it is dark, use white or light-colored text. You can also add outlines or shadows to make the text stand out more.
Position your text carefully so it does not block important parts of the image. Try a few different layouts until you find one that looks good.
Resize Your Meme for Social Media
Different social media platforms use different image sizes. To make your meme look right everywhere, resize it for each site. Square images are a safe choice and work well on Instagram and Facebook. Vertical images are better for stories and TikTok.
You can use online tools or apps to resize your image quickly. Some of these tools even have preset sizes for each platform. Upload your image, pick the size you need, and crop or adjust it if necessary.
Avoid stretching or squashing your meme. That can make it look odd and unprofessional. If you need to change the shape, crop the image instead of pulling its edges. Try to keep the most important parts of your meme in the center.
Add Filters and Effects for Style
If you want to give your meme a unique touch, try adding a filter or effect. A filter can change the mood or tone of your image. Some filters make colors brighter, while others give a vintage or black-and-white look. You can also adjust brightness, contrast, and sharpness.
Many editing apps and websites offer these tools for free. Just upload your image, pick a filter, and apply it. You can preview the effect before saving the final version. Simple effects can help your meme stand out without being too flashy.
Try not to over-edit your meme. The goal is to highlight the joke or message, not hide it. If your filter makes the text hard to read or the image unclear, go back to the original.
Use effects to fix image problems, too. For example, if your picture is too dark, raise the brightness. If it is blurry, sharpen it a little.
Create Memes from Short Video Clips
Sometimes, a video clip is better than a still image. You can turn short videos into memes using simple tools. Many online editors let you trim a video, add text, and save it as a GIF or MP4. This is great for capturing funny moments or reactions.
To make a GIF, choose a short clip, usually under 10 seconds. Use a converter to trim the part you want and add your caption. You can make gif from video in no time and share it across social media platforms.
GIFs work well on Twitter, Reddit, and messaging apps. They load fast and keep people's attention. Just like with still images, keep your captions short and easy to read. Place them where they do not block the action.
If you want to add music or sound, save the clip as a video instead of a GIF. Either way, keep the content simple, funny, or relatable.
Save and Share Your Meme
After editing your meme, it is time to save and post it. Save the file in a common format like JPG, PNG, GIF, or MP4, depending on what you created. Choose a file size that is not too large so it uploads quickly.
When sharing your meme, consider your audience. Choose platforms where your content will reach the most people. Facebook, Instagram, and TikTok are great places to start. Add a short caption or hashtag when you post to help people find your content.
You can also join meme-sharing groups or forums to get more feedback. Some users even go viral by sharing smart, simple content regularly. Keep a folder of your meme creations so you can reuse or update them later. As you gain more experience, you will create memes faster and with more creativity.
Start Making Memes with Converted Images Today
Making memes from converted images is easier than it may seem. All it takes is the right tools and a bit of creativity. Start by choosing the right format, then add your message using clear, bold text.
Resize your meme so it fits on different platforms and consider adding filters for extra flair. You can even make GIFs or videos for a more dynamic touch.
Once you create your meme, save it and start sharing. Memes are a quick way to express yourself, make others laugh, and connect online. Whether for fun or to grow your audience, meme-making is a skill worth learning.
Enjoyed this guide? Check out our other blog posts for more easy tips and fun how-to topics.