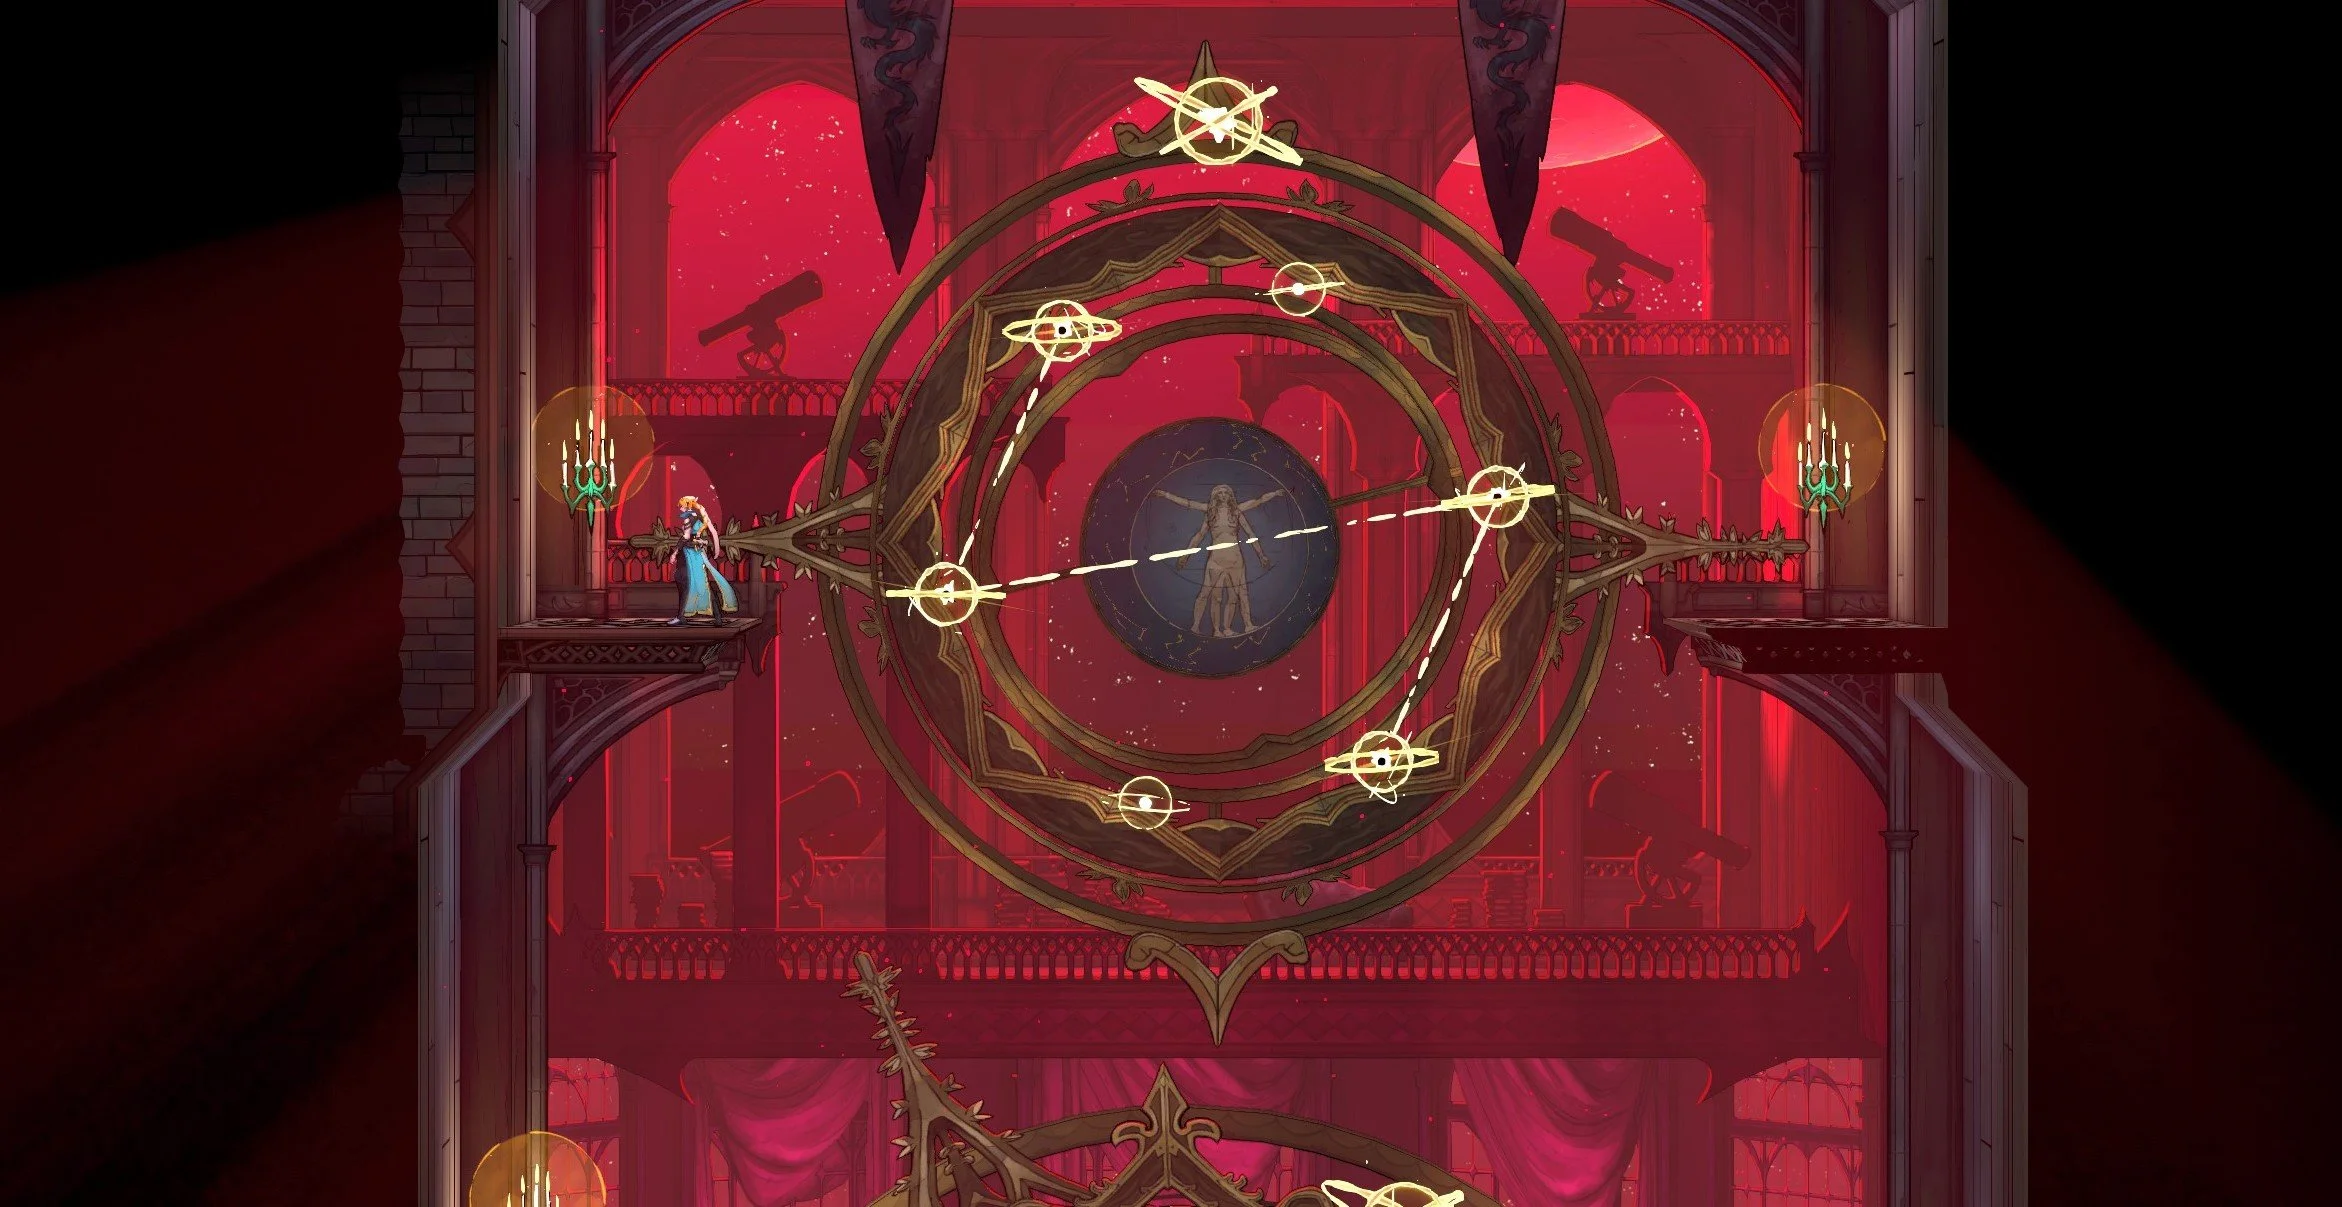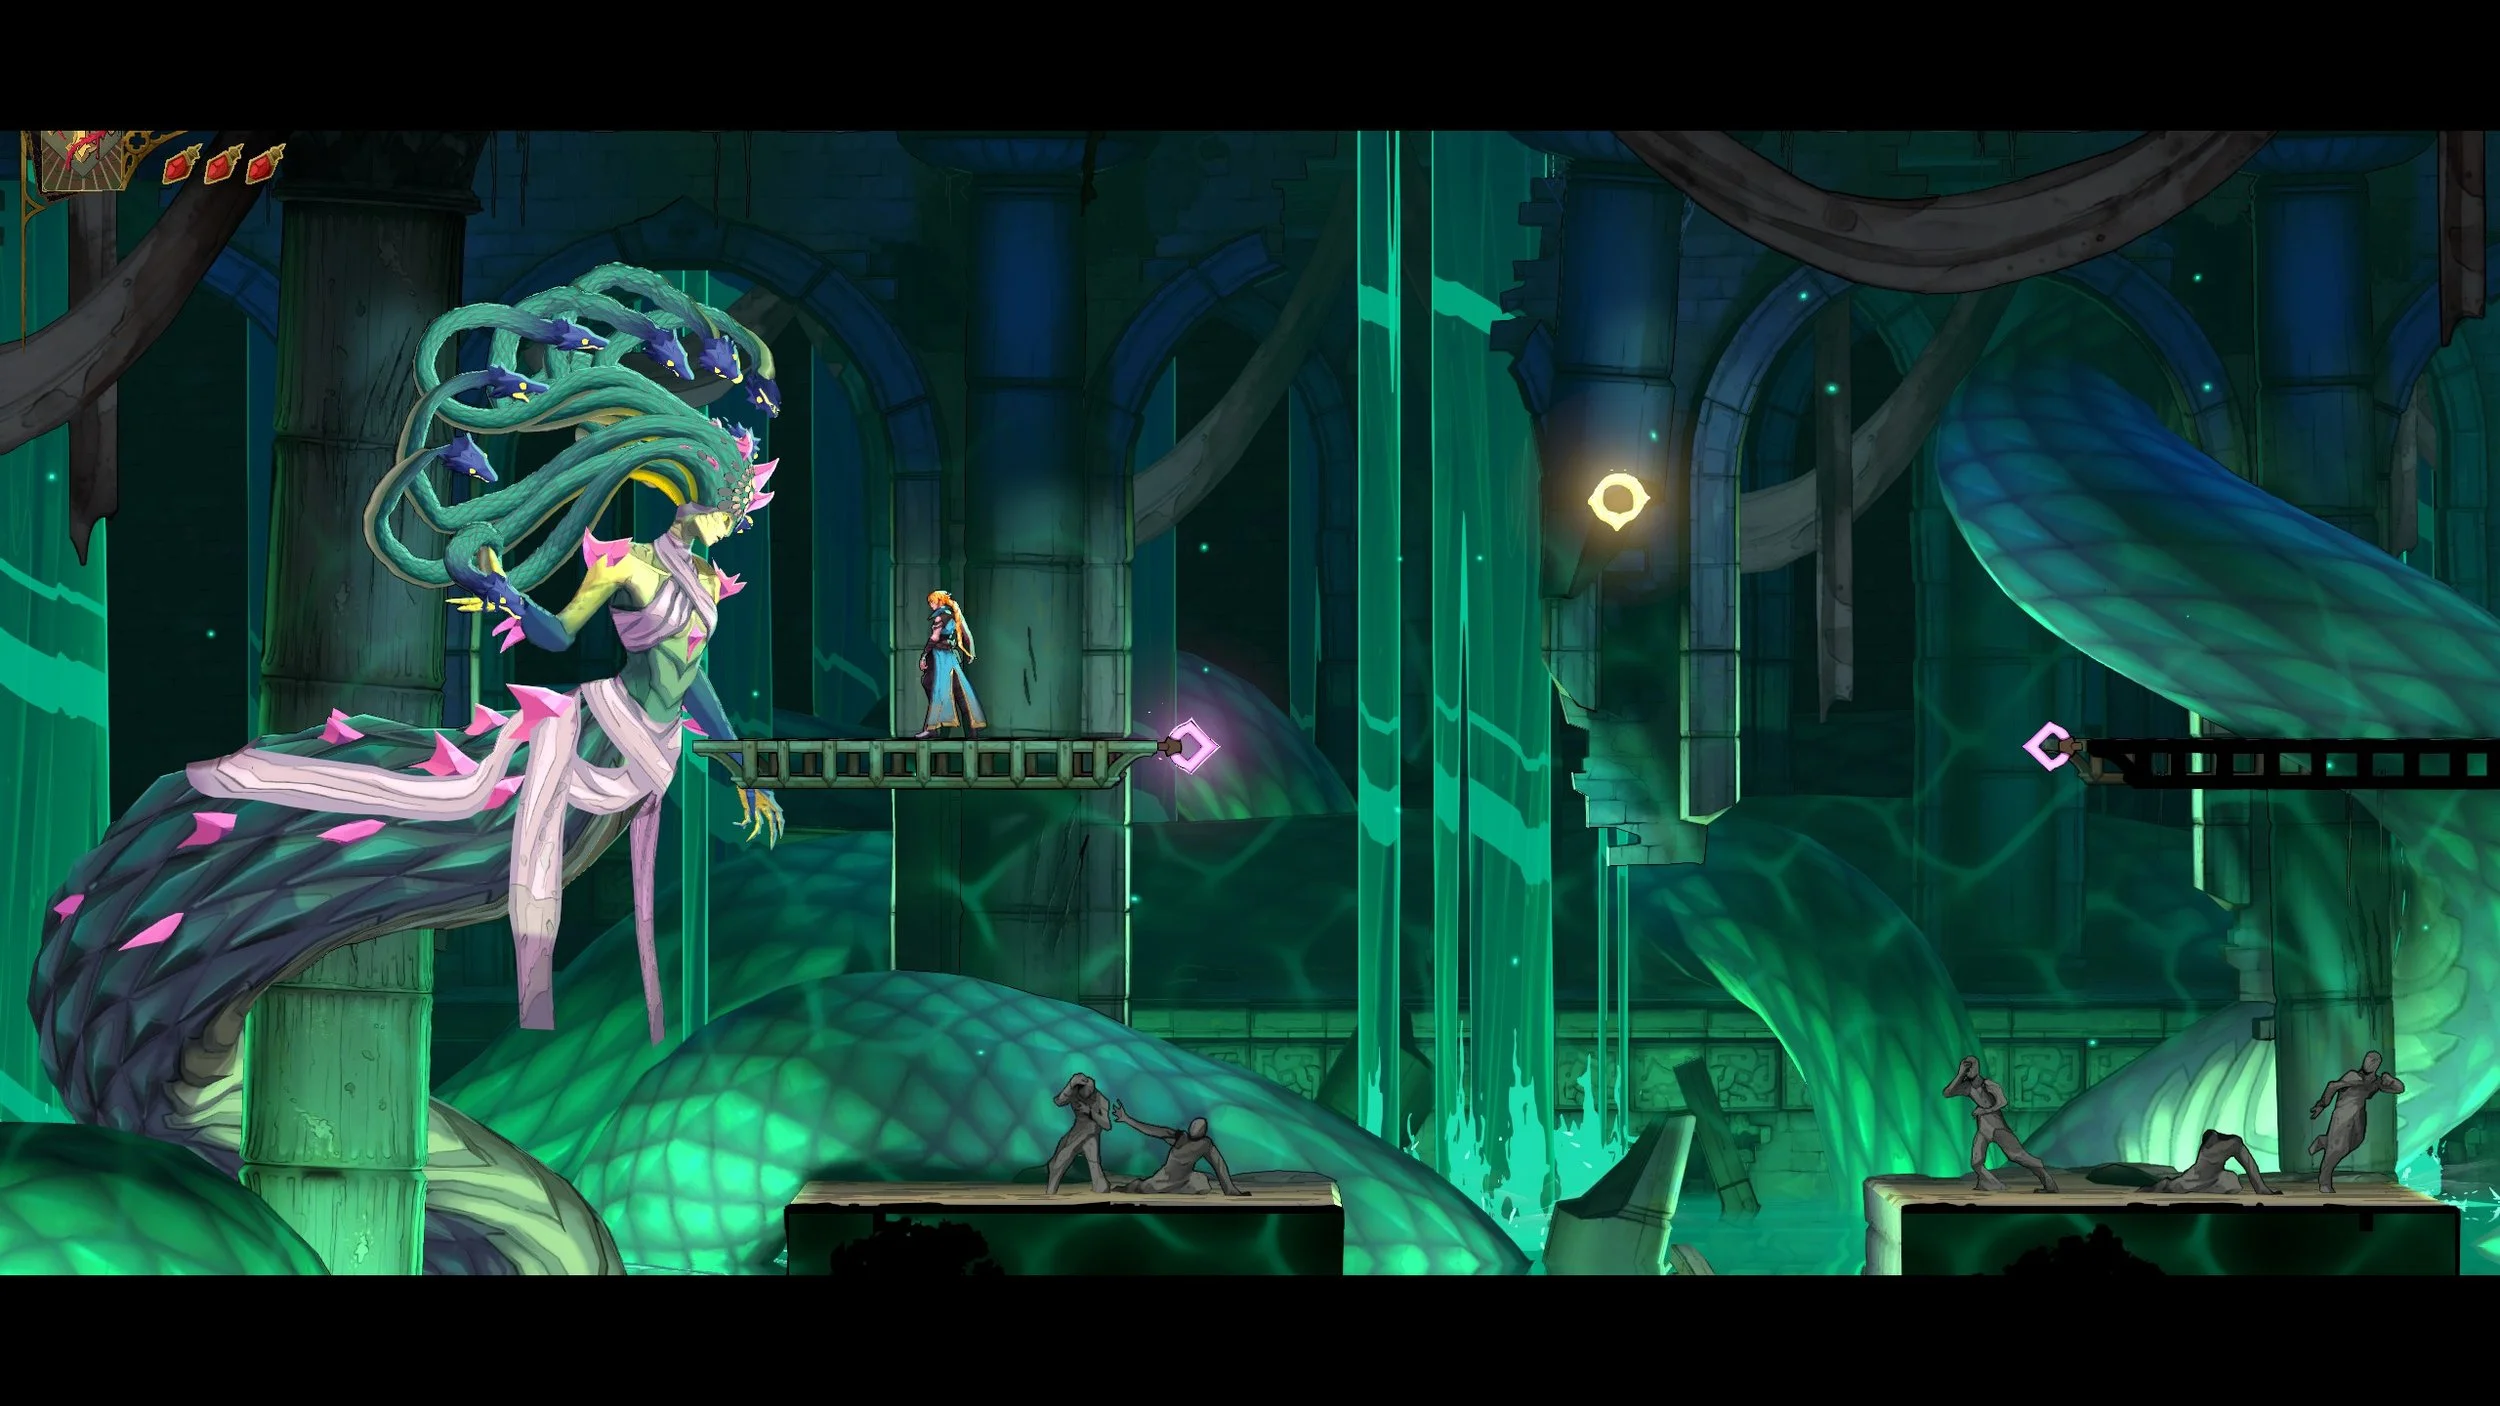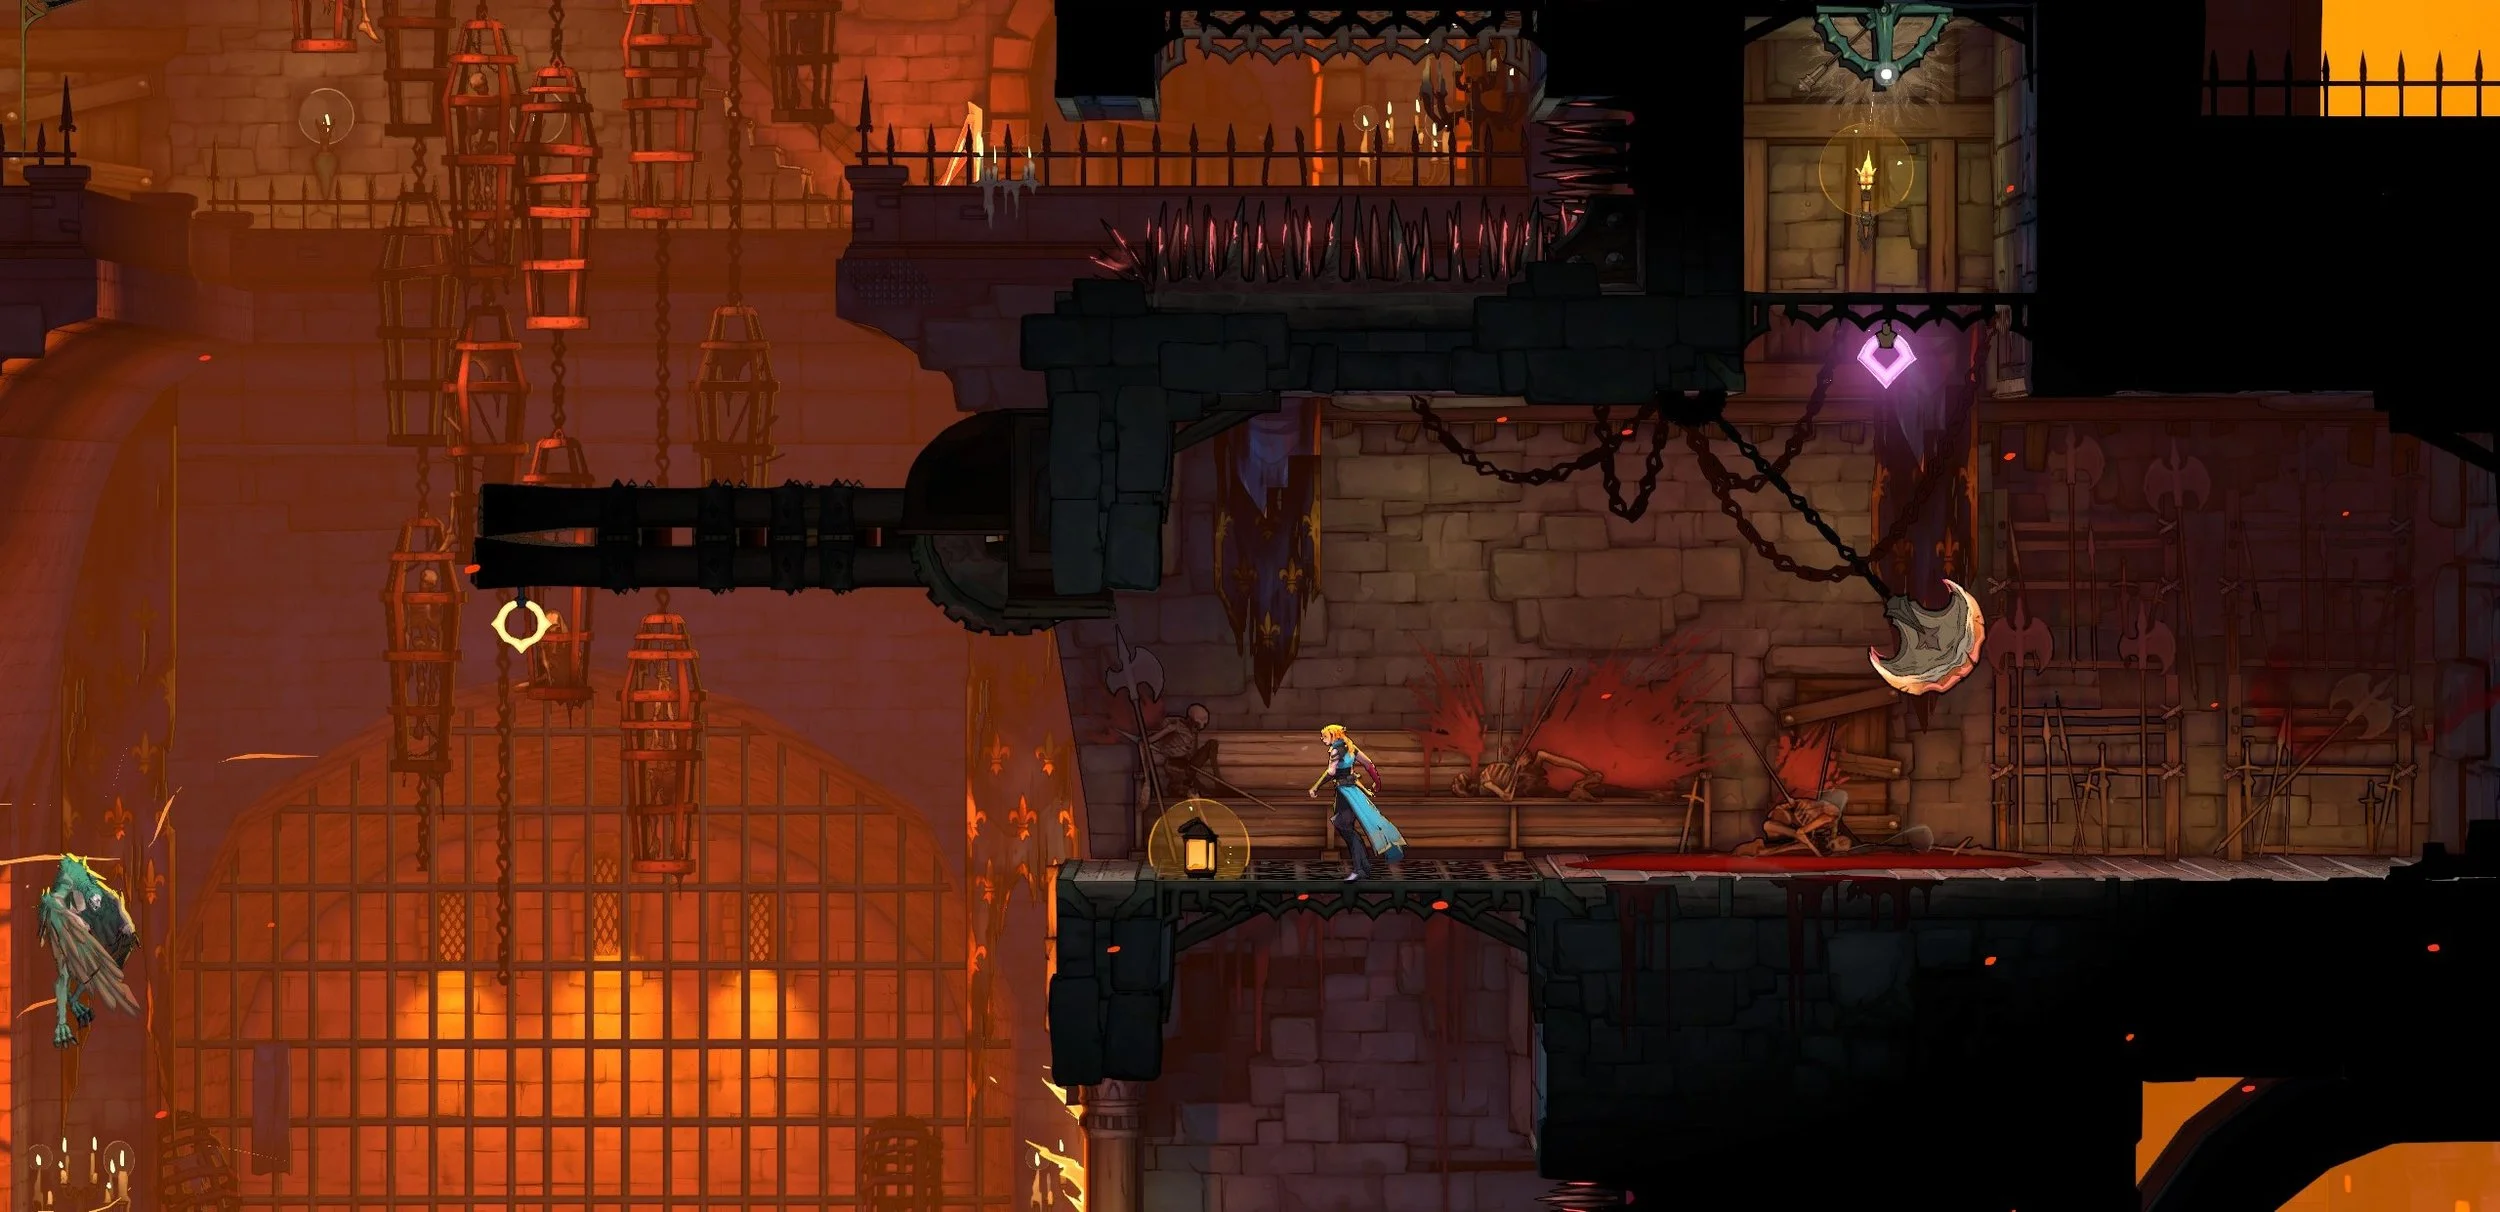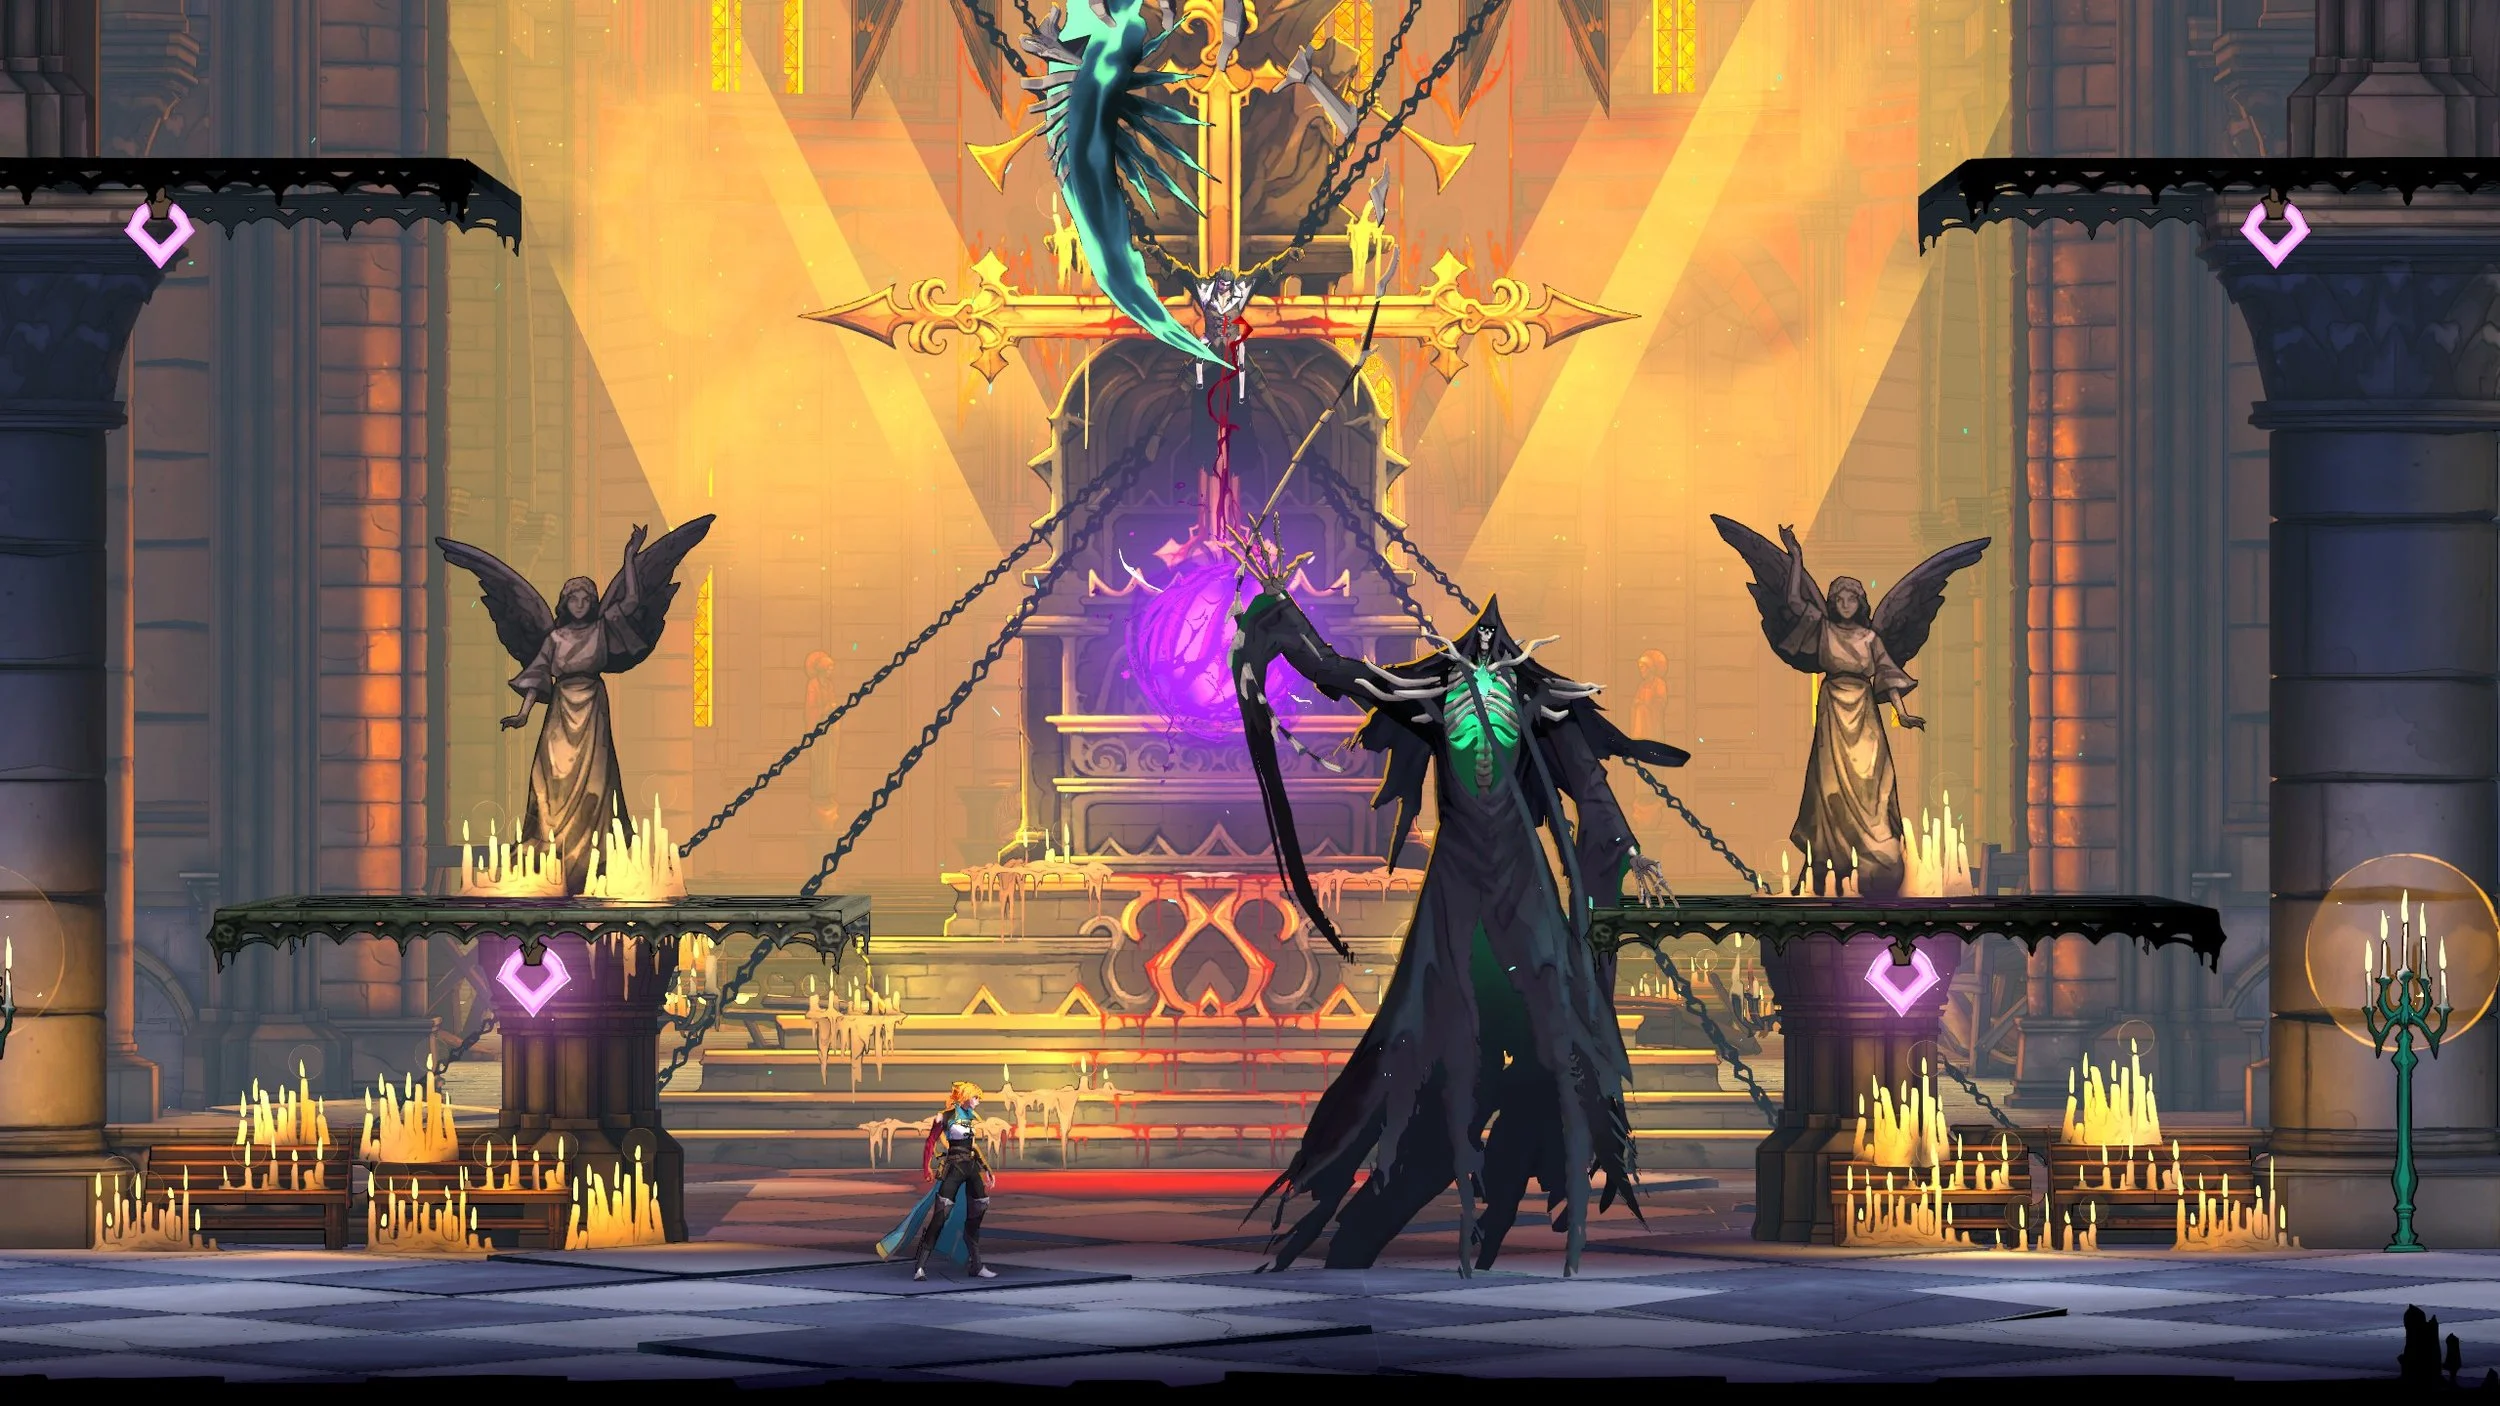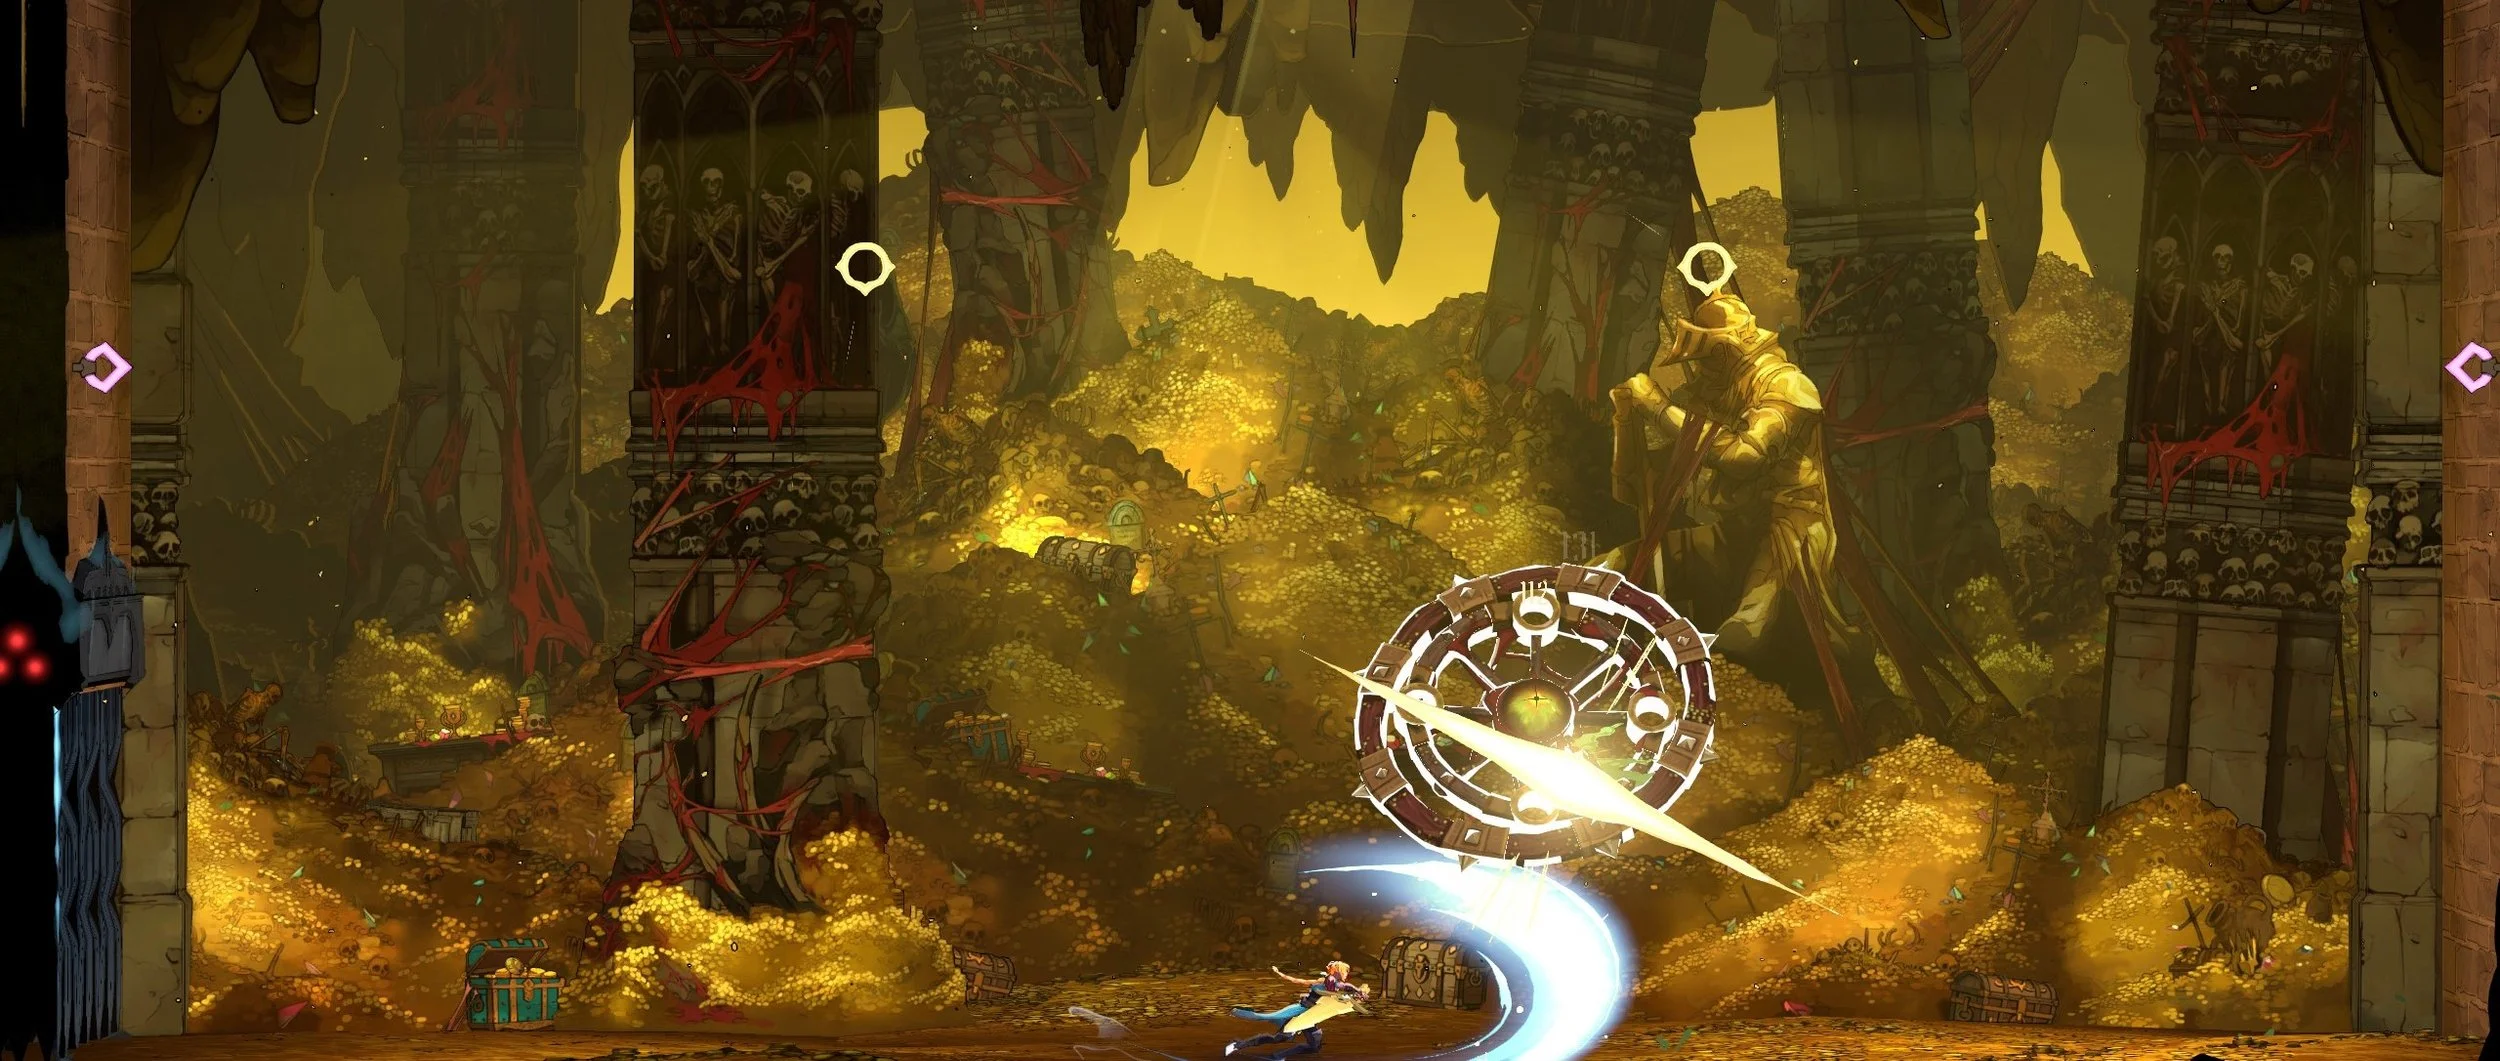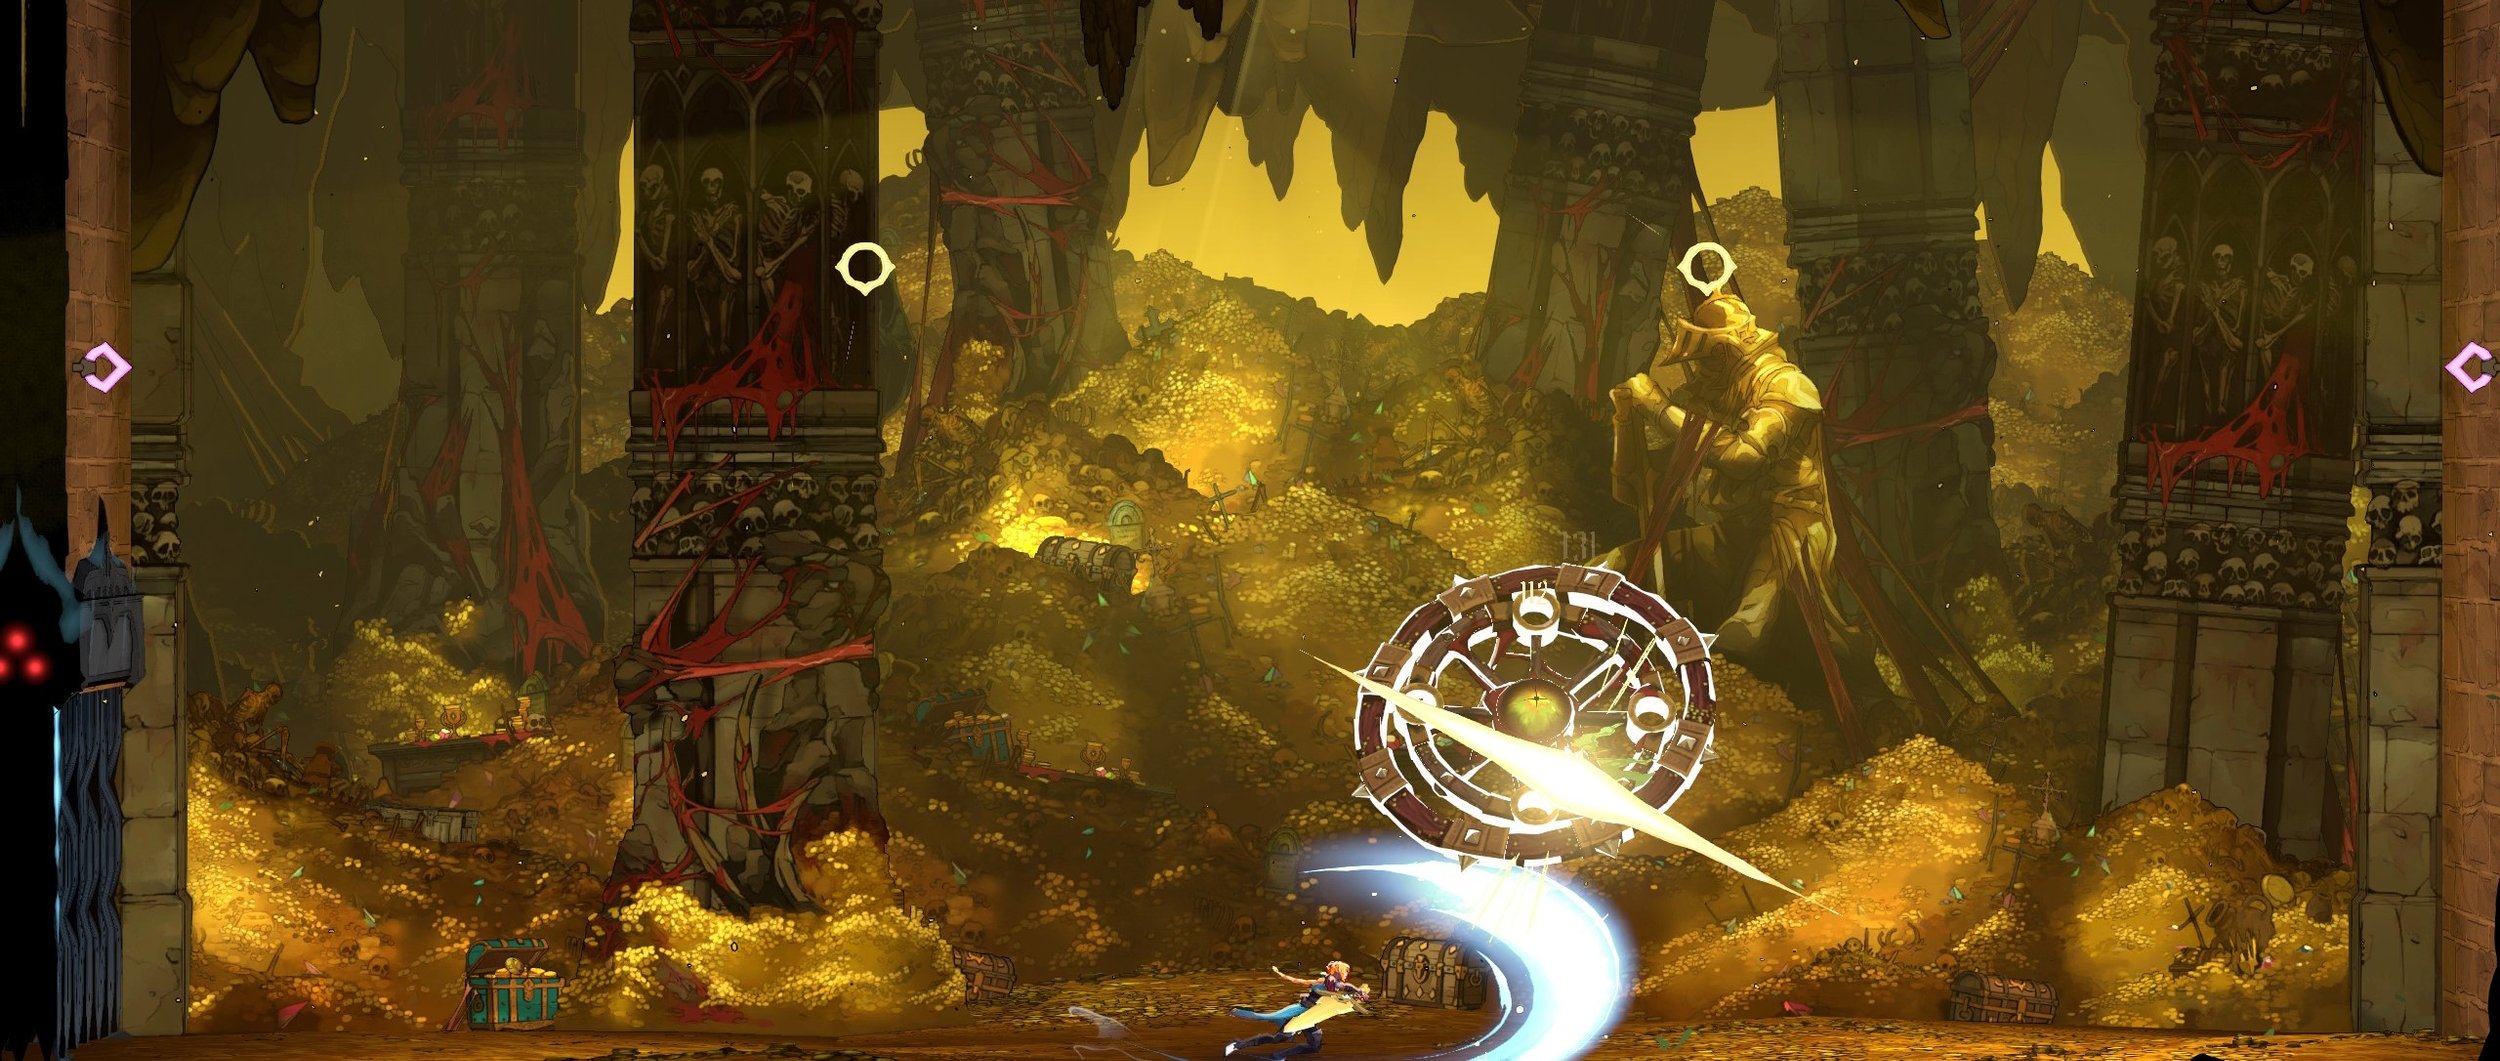
While the majority of Castlevania: Belmont’s Curse bosses have been on the easy side up to this point, Mammon can be a bit of a rude awakening. This goes doubly for if you try and tackle him in the Catacombs right after getting the stomp move from defeating Talos. It’s a much more demanding fight than most of the game’s, but we’ll be breaking down exactly how to take care of him.
How to beat Mammon
Mammon has a very focused set of moves and each has a fairly reliable counter. The thing that makes him much more of a threat than most, however, is the fact that he’ll take about half your health bar per hit depending on how high your defense stat is. As such, avoiding his attacks should be your primary focus, as getting hit by him will see you dying sooner rather than later.
He tends to start the fight with a bounce, which can be intimidating before you know how to handle it. In this part of the fight, it’s as simple as moving to a corner and crouching. Doing this will prevent Mammon from hitting you no matter what, so it’s a good choice if you want to minimize the threat during this particular move.
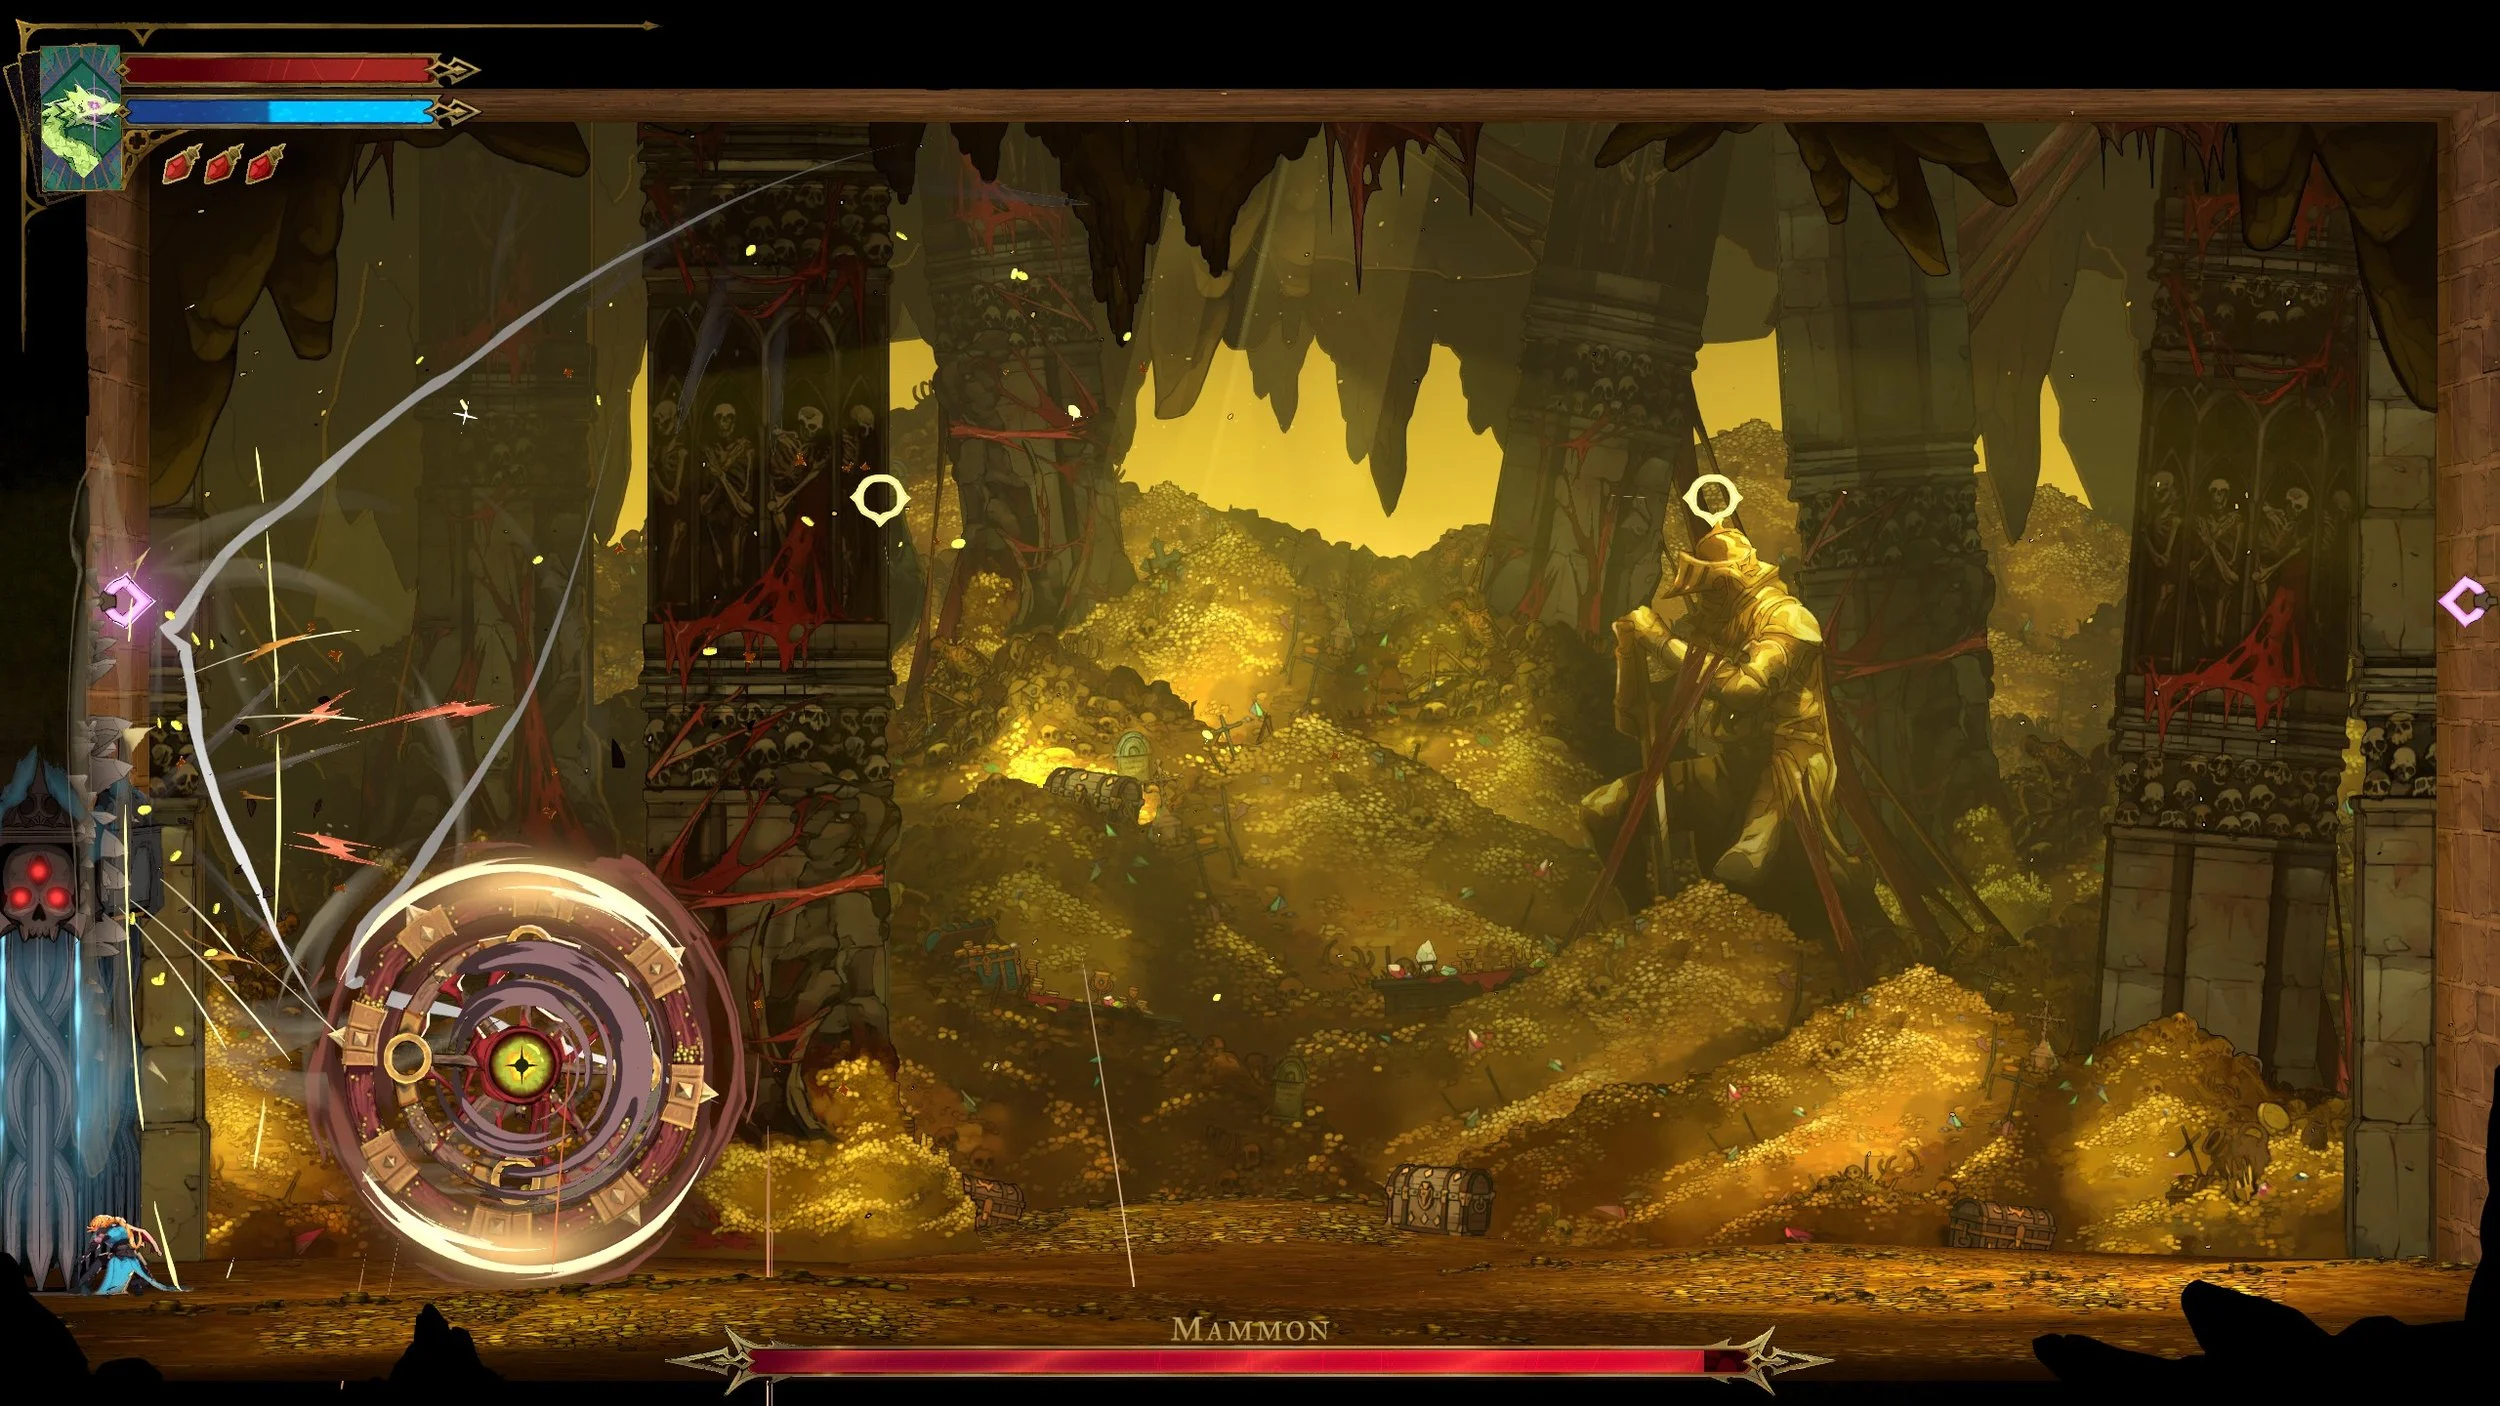
Next up, he starts leaving a weird trail of golden goo behind him while moving toward you. If the goo touches you, you’ll become immobilized, leaving yourself wide open to attack. When he begins doing this, simply move toward the left or right wall and wait for him to get close. Once he’s almost to you, use the pink grapple to move up the wall and then swing on the yellow one in the center.
Once you’re on the ground you can move toward him and get a hit in, which will push him back. With some space, you can do this at least a couple of times before he moves onto his next move. One of these will be a stomp that’s easy enough to dodge. Simply slide out of the way and he won’t be able to hit you. But there’s time to jump up and hit him after each of these.
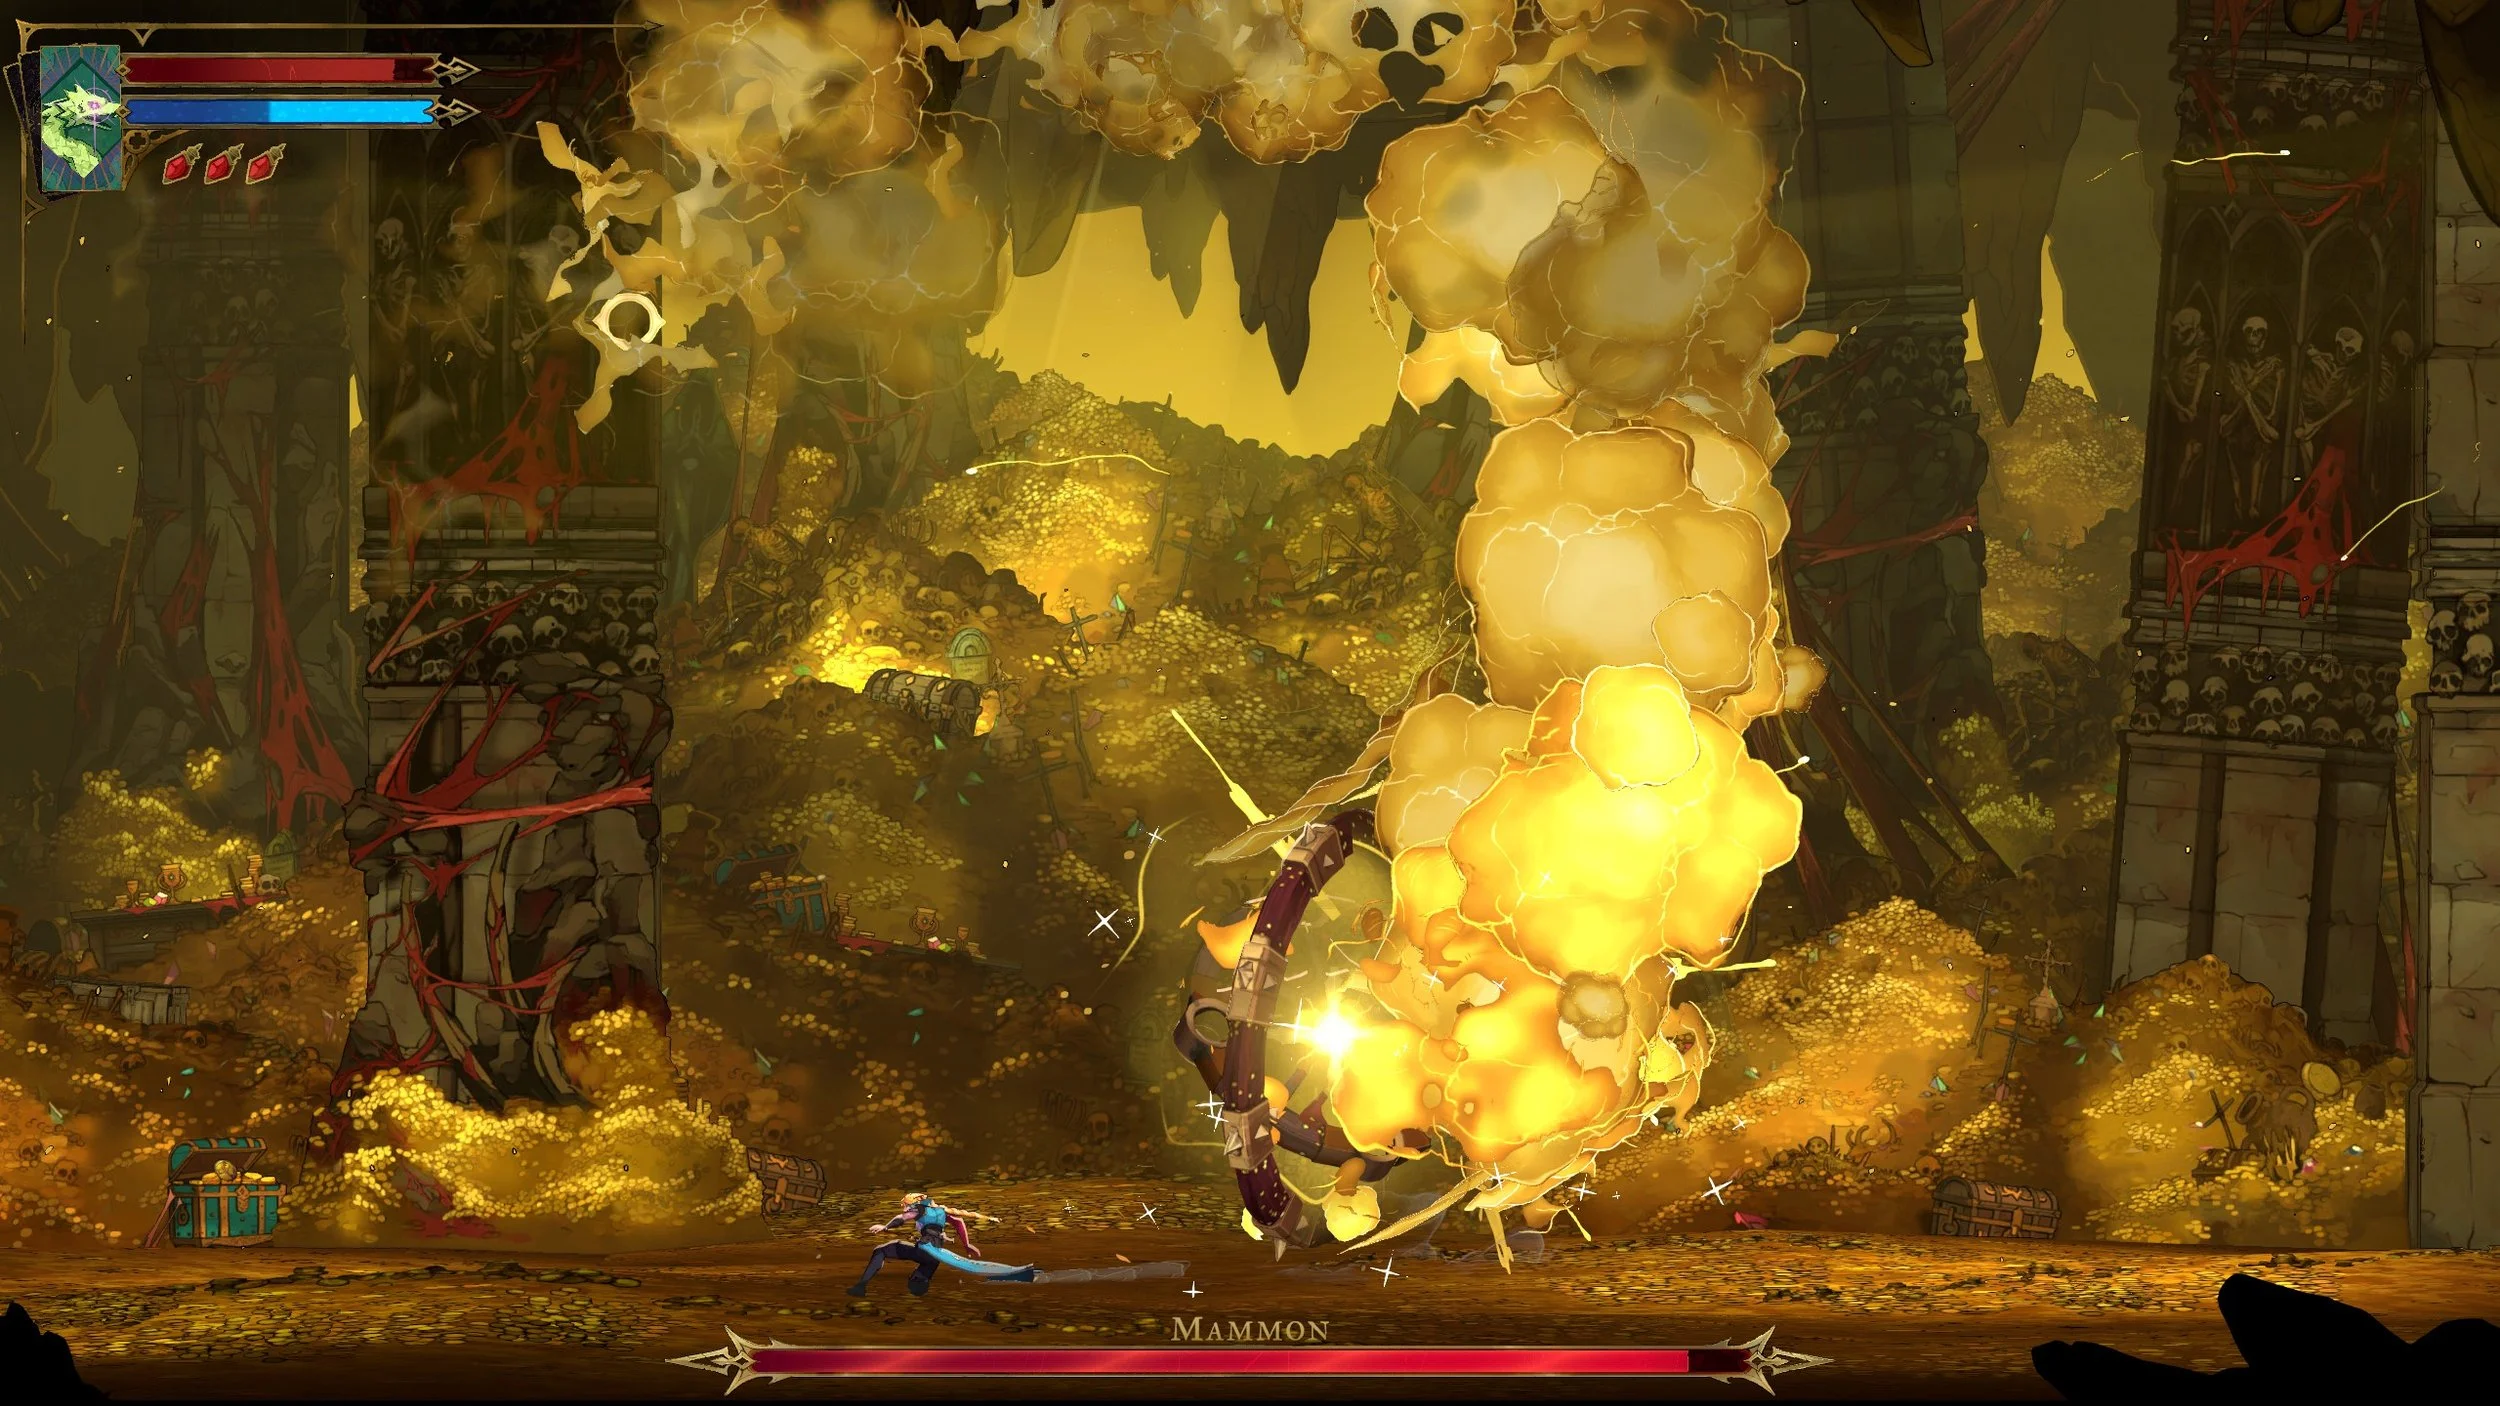
If you do this correctly, you can hit him and then slide as soon as you land, which will avoid damage. He does this four times. The final standard move in this phase is his laser attack. This fires lasers in four directions, either horizontally and vertically or at a diagonal. He picks between the two randomly, so it’s important to stay on your guard. However, this is the absolute best time in the fight to do some damage, so you just need to be on your toes.
After getting Mammon down to half health, he’ll fire a whole bunch of lasers, but get to the corners and, again, he can’t hit you. From here, the fight gets tougher, though. He retains all his moves from the first phase, but with twists. His gold goo move is still the same, so you don’t need to change anything up in regard to that.
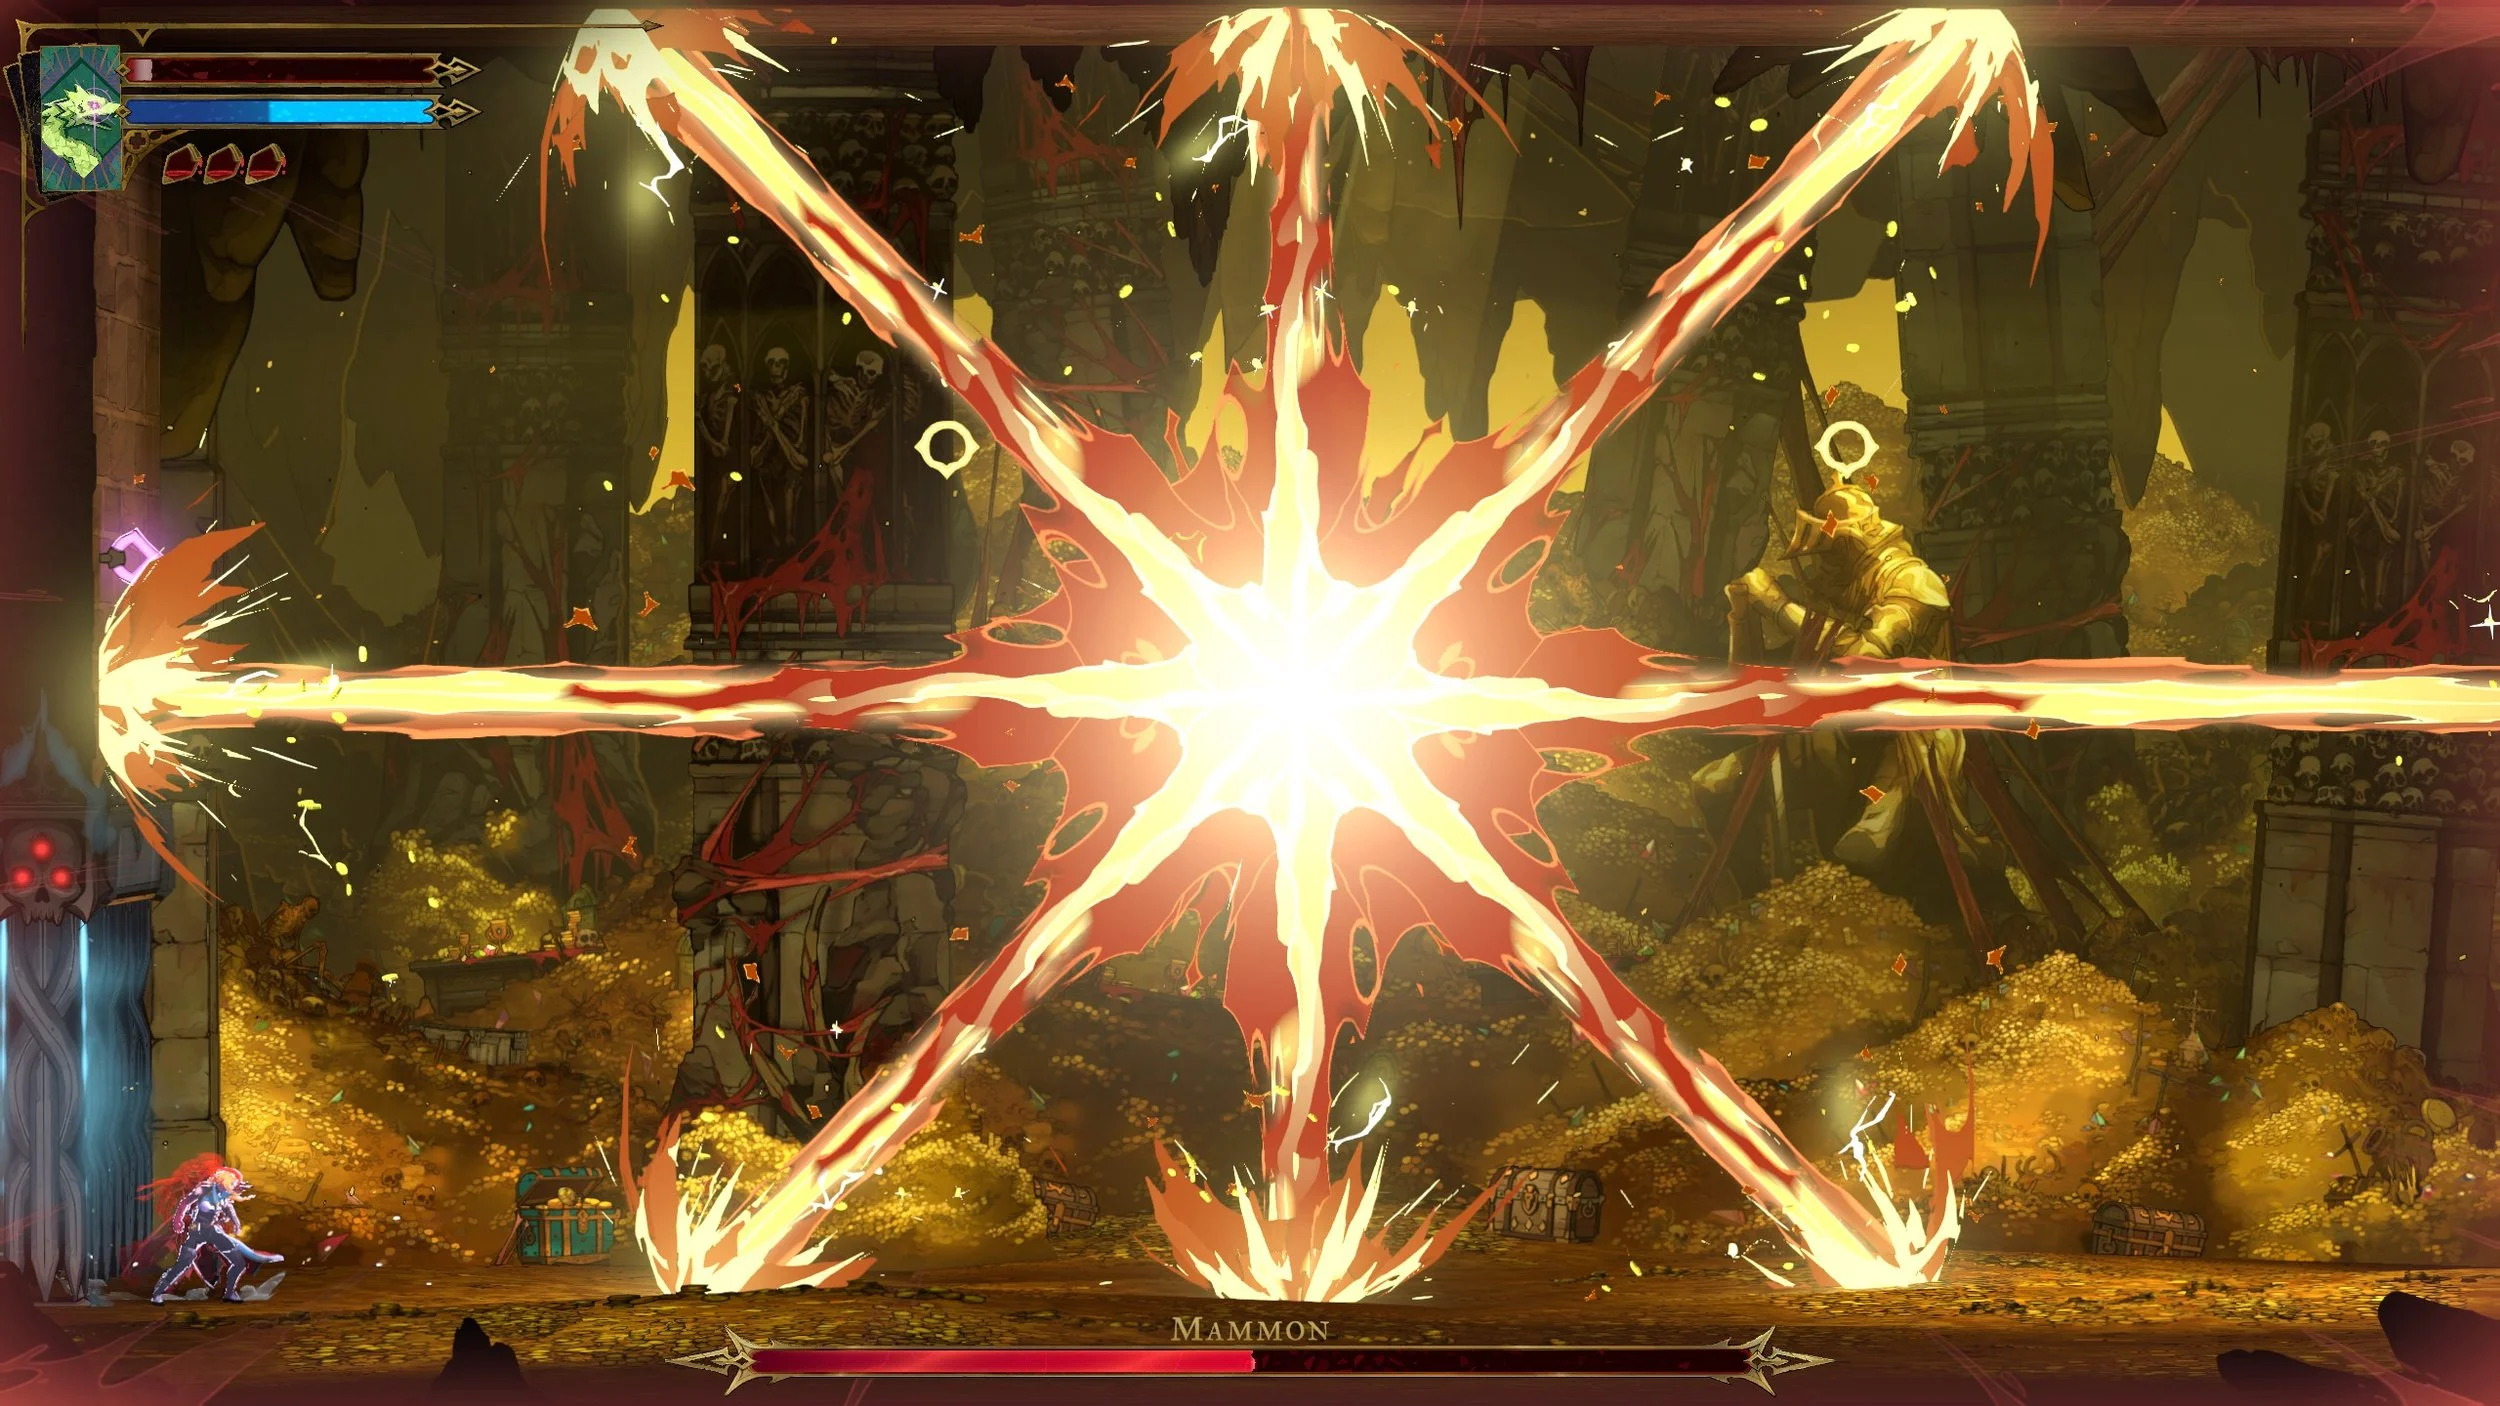
His stomp, on the other hand, can now be combined with laser blasts. Just to be safe, after you dodge these stomps, duck immediately. This way you’ll always dodge his horizontal shots. It’s easy enough, but you do need to know it’s coming to really avoid taking much damage here. Sometimes he’ll do his standard stomp and laser attacks, so you need to pay attention and react accordingly.
Finally, Mammon’s most dangerous attack becomes the bounce, although not because of the attack itself. His bounce will now cause debris to fall from the ceiling. This is clearly indicated by lines coming from the ceiling, but being in the corners isn’t really a good idea here. By this point, you should be able to reliably dodge the bounce, so stand in the center and watch the debris, carefully avoiding where it lands.
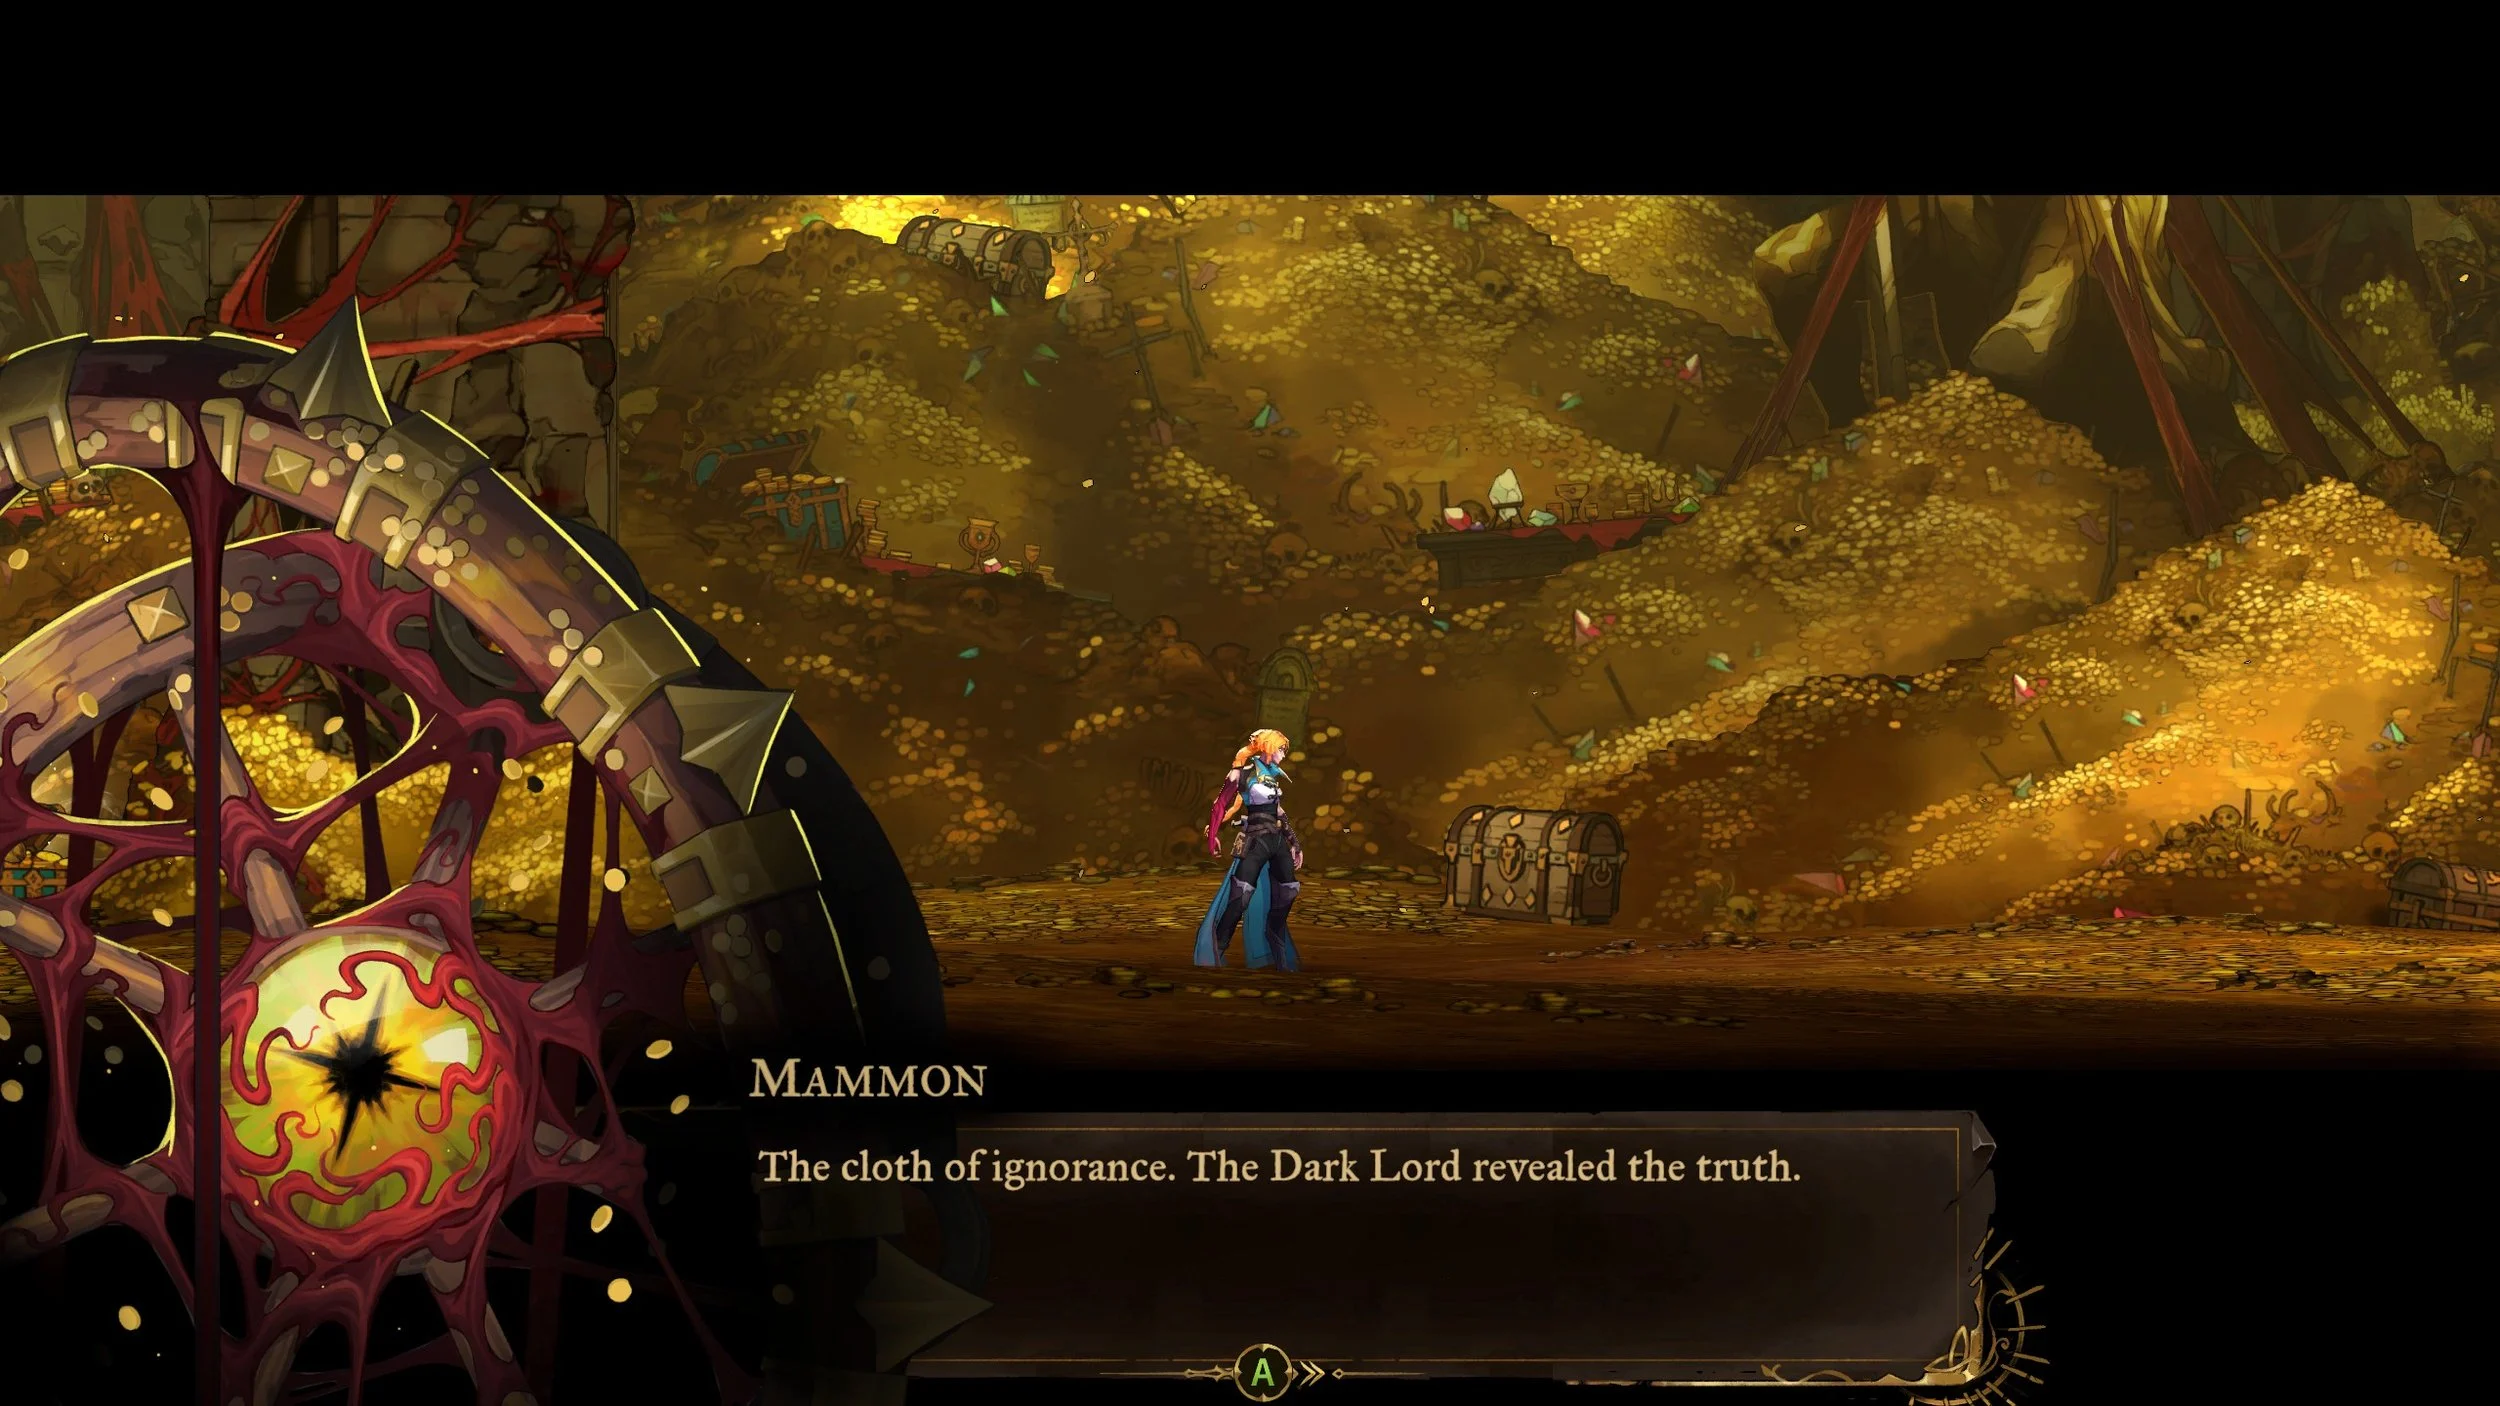
With a focus on dodging and attacking during his openings, Mammon will fall eventually, granting you a useful new arcana attack. If he seems tough at first, just keep practicing. He’s possibly the hardest boss you’ve faced yet, but a little practice goes a long way to making him far less threatening.