Season 2 came and went in a blink of an eye, to tell the truth, I didn’t even have the time to finish it because it was here and gone in less than a month. This time I made sure that I would be able to finish Season 3 with enough time to get another guide out to you guys.
This time around we didn’t get any new mesa’s but all the ones that are being used got shuffled around and have new pathways. With a few more quality of life changes, season 3 has been the most fun yet! They added more content like new survival nodes, and on important fights we get the character interactions that don’t happen nearly enough. Seasson 3 focuses on your favorite cold-hearted ninja Sub-Zero with Season of the Cryomancer.
For each mesa, I’ll break it down and below that i’ll leave a summary with quick solutions for each klue and key location.
Beyond the intricate challenges and evolving gameplay of Mortal Kombat 1’s latest season, there’s a broader trend in digital entertainment that resonates with many European players. As gamers increasingly seek immersive experiences that blend skill, strategy, and the thrill of high stakes, foreign online casinos have steadily gained popularity. With strict legal standards in place—CasinoHEX lists only legal foreign online casinos—players can explore these platforms with confidence, knowing they are secure and reputable. Much like the dynamic battlefields of Mortal Kombat, this flourishing online casino landscape offers a diverse and exciting array of experiences that reflect the growing appetite for well-regulated, high-quality digital entertainment in Europe.
BEWARE OF POSSIBLE SPOILERS
Mesa 1 - Tarkatan Colony
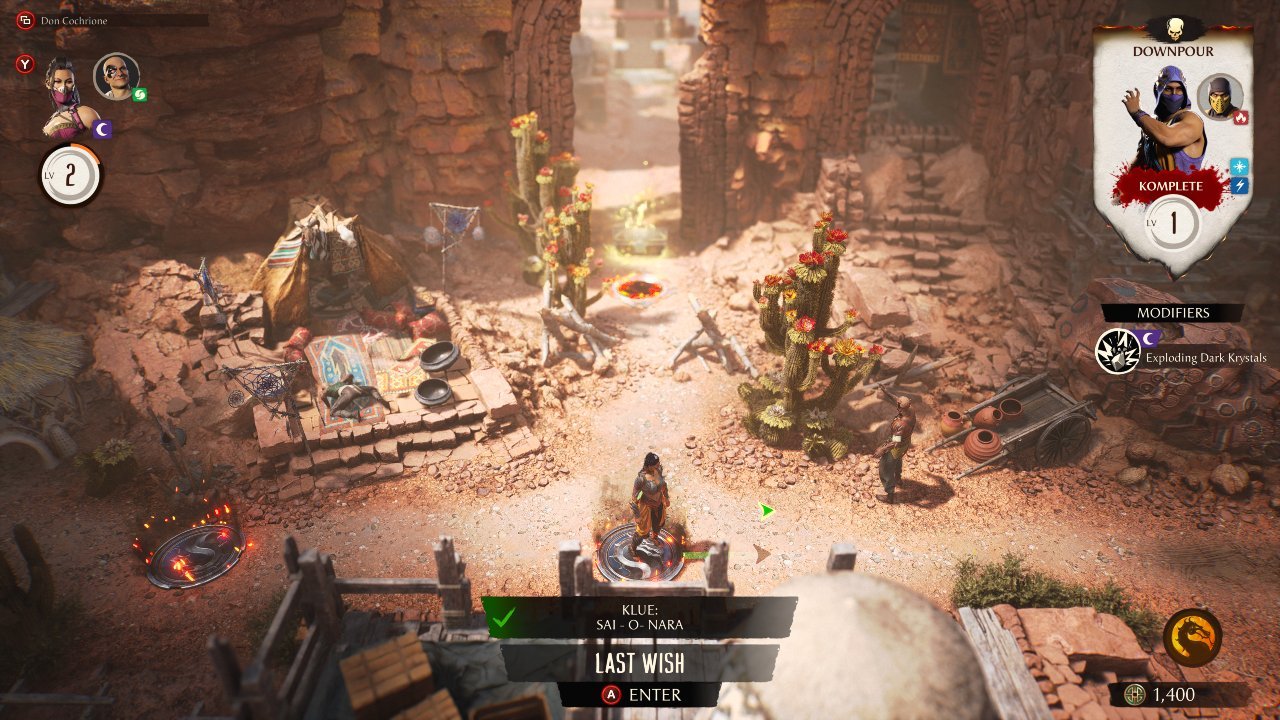
Klue #1: SAI-O-NARA
The first mesa is the Tarkatan colony, what I noticed this time around it that it’s less of a maze and more of a straight line until you get towards the end there’s a fork in the road. I think this a lot more because I don’t feel like I’m missing out on as much even though it may take a little longer. The first klue you come across is at a space called “Last Wish” with the Klue reading: SAI-O-NARA. A pretty easy start because there’s really only one fighter that uses Sai’s. The solution is to Complete the match while using Mileena and use Sai (Sai Throw or Low Sai’s) attacks eight or more times and that will unlock the klue.
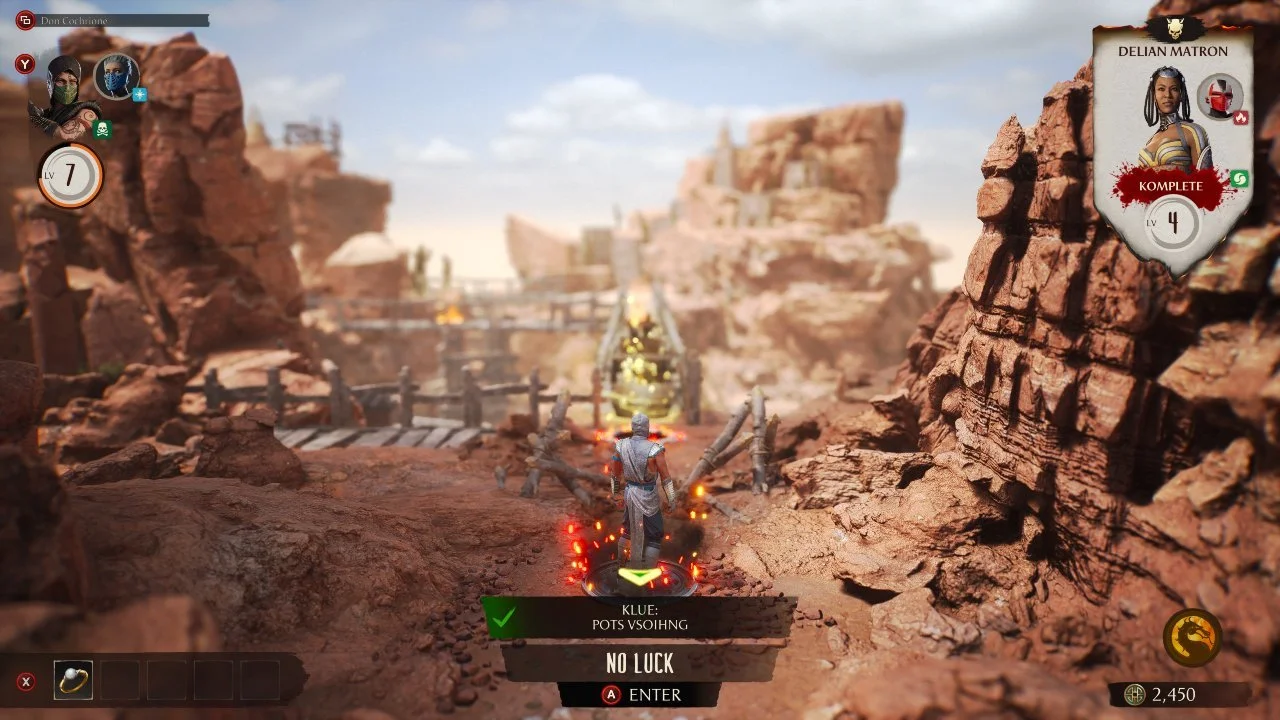
Klue #2: POTS VSOIHNG
The next klue is at a space called “No Luck” and the accompanying klue is “POTS VSOIHNG.” I know what you’re thinking, “What?” I was too, but it’s an anagram that reads out “Stop Shoving.” Stop was pretty easy to figure out but I stared at “VSOIHNG” for quite some time to realize what this one meant. After some trial and error, to complete this klue you have to finish the match using Kameo grabs five plus times. I had to try a couple times on this one, and only kameo grabs work because they’re forward throws, you’re shoving them forward.
When you get to the double locked doors, if you don’t already have the Tark Key you may have to do some back tracking. In previous seasons you’ve gotten the key’s by completing towers but this time you can find the key at a normal encounter called “Jawsome,” where you will fight Havik with Darrius as a kameo. Don’t know where that is, don’t worry, that’s why I’m here. Turn around and immidiately after the ice door you have the option to go straight or right, go right. Then at the forge turn left. and if you follow that path, just before you reach the shop you’ll get to the “Jawsome” encounter. Beat him, and BAM there’s your Tark Key.
In Season 3, you get some bonus skins for completing the season, after gaining access to the ice gates you’ll find a third klue hiding another chest. The node “SAY IT AGAIN” has Klue “HAIR NO EVIL” blocking a free chest. This being one of the more obvious klues of the season, is a reference to Sindel and her hair. To unblock the obstacle just select Sindel as your fighter and finish the match with any Brutality.
Quick Run Down:
Klue 1 - SAI-O-NARA
Solution: Win using Mileena’s Sai attacks 8+ times
Klue 2 -POTS VSOIHNG
Solution: Win using kameo forward throws 5+ times
Klue 3 - HAIR NO EVIL
Solution: Perform a Brutality with Sindel
Key Location - JAWSOME Encounter
Mesa 2 - Fengjian Village
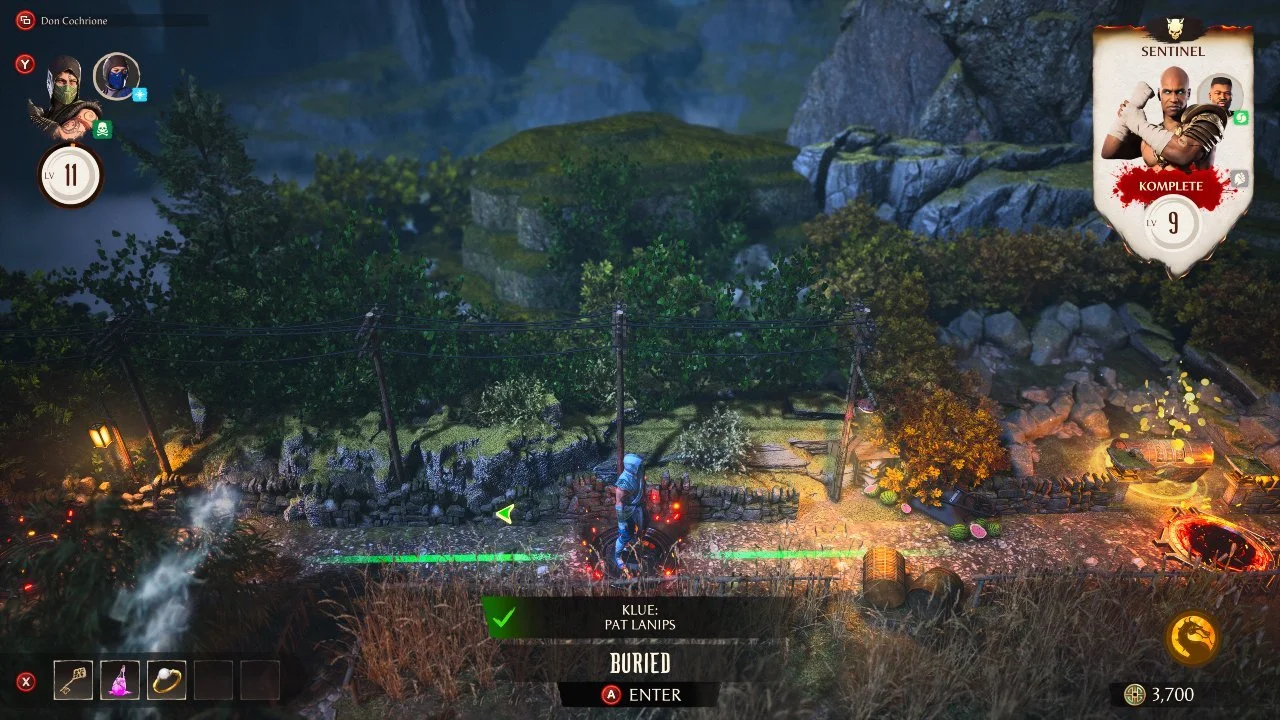
Klue #1: PAT LANIPS
This mesa is unique as there is only one klue location. That klue on a space called “Buried” with the klue reading PAT LANIPS. This was fairly simple as it’s SPINAL TAP backwards, and the first thing that comes to mind when thinking of spines is OG Sub-Zero’s fatality, and that’s exactly what needs to be done, complete the match and execute Kameo Sub-Zero’s fatality.
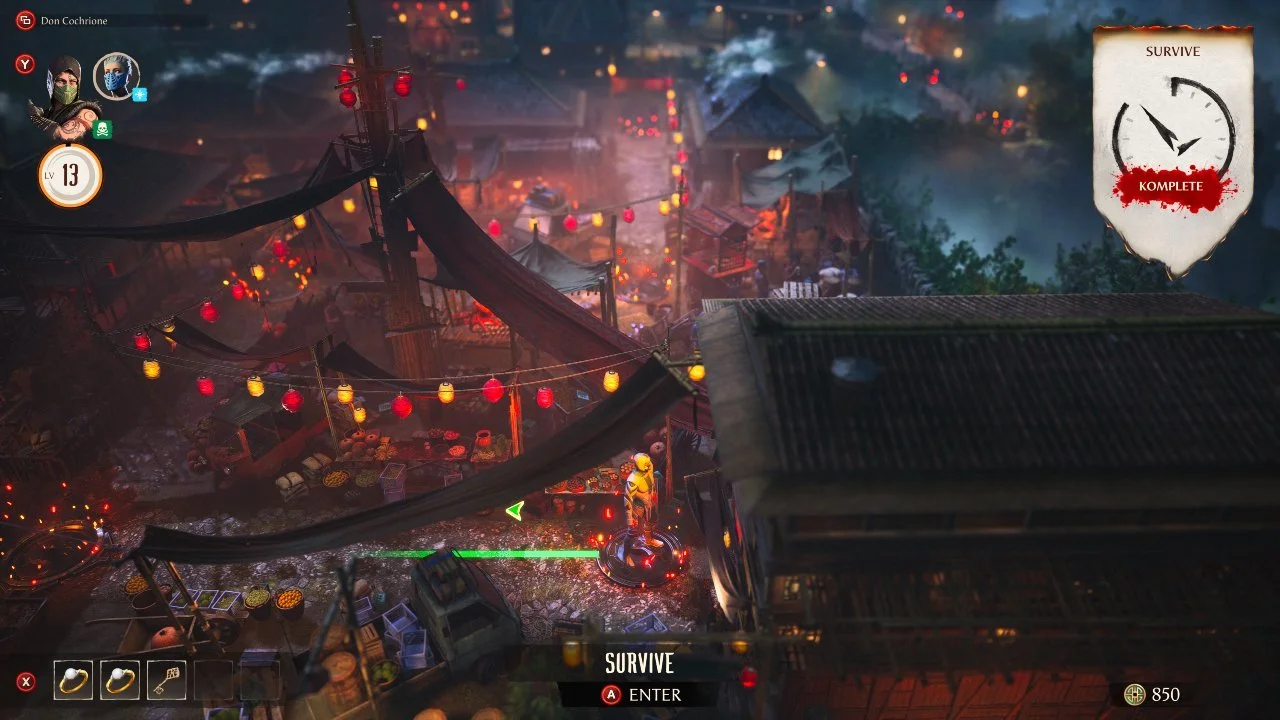
The difference here is that instead of having two klue’s the second chest is hidden behind a fairly difficult Survive node. For this survival node you’ll need to hide behind a block of ice while the arena heats up and the ice will protect you. The hard part is that when the ice melts you’ll have a short period of time where you need to attack an ice crystal to rebuild the block of ice. I tried this time and time again doing combos, punching it repeatedly and the way I found was easiest was selecting Scorpion and using is special move where he swings his kunai around really fast. I found that it’s not about the damage output it’s about the amount of times the crystal is hit and this is the fastest way to do it.
BO’s WMD Key Location
I’m not sure if it was the theme of this mesa but the key to unlocking the gate for the boss is also hidden behind a survive node. To unlock BO’s WMD key you’ll need to beat a survive node that is kind of far back. If you follow the path back towards the bottom of the map until you find a node called “Part Time Mime” and turn left you’ll be in a little outlet where you will find a chest that requires a key and a survive node, that survive node will get you BO’S WMD. My recommendation for this survive node is to hug the left side and time your jumps right, it’s not too difficult though.
Quick Run Down:
Klue 1 - PAT LANIPS
Solution: Kameo Sub-Zero fatality
Survive 1
Tip: Use Scorpions swinging Kunai attack to hit the ice crystal
Key Location - Survive 2
Tip: Hug left side
Mesa 3 - Fire Temple

Klue #1: BOLTS & JOLTS
We see the fire temple returning again, but this time instead of it being the final mesa it’s kind of the midway point where computers start catching back up to you. My recommendation if you haven’t yet, go buy some leveling items from the Kollector at the Academy. After you do that if you take the main path and hug the left, you’ll come across a node called “PROS & KHAN” with the Klue reading “BOLTS & JOLTS.” If it’s not obvious the Klue is a reference to Raiden with his lightning abilities, to remove the obstacle simply complete the match as Raiden finishing the enemy with a Brutality.
The second Klue you will find is on a node called “TELL US AGAIN.” The Klue “UP IN…” is very vague and I had speculated maybe it was a Nitara reference because she can fly but then it clicked, duh, Up In SMOKE. This klue is a reference to Smoke’s second fatality where he disappears into a cloud of smoke. To clear the obstacle, select Smoke as your fighter and perform his second fatality (Xbox - Down, Forward, Back, Y; PlayStation - Down, Forward, Back, Triangle; At any range).
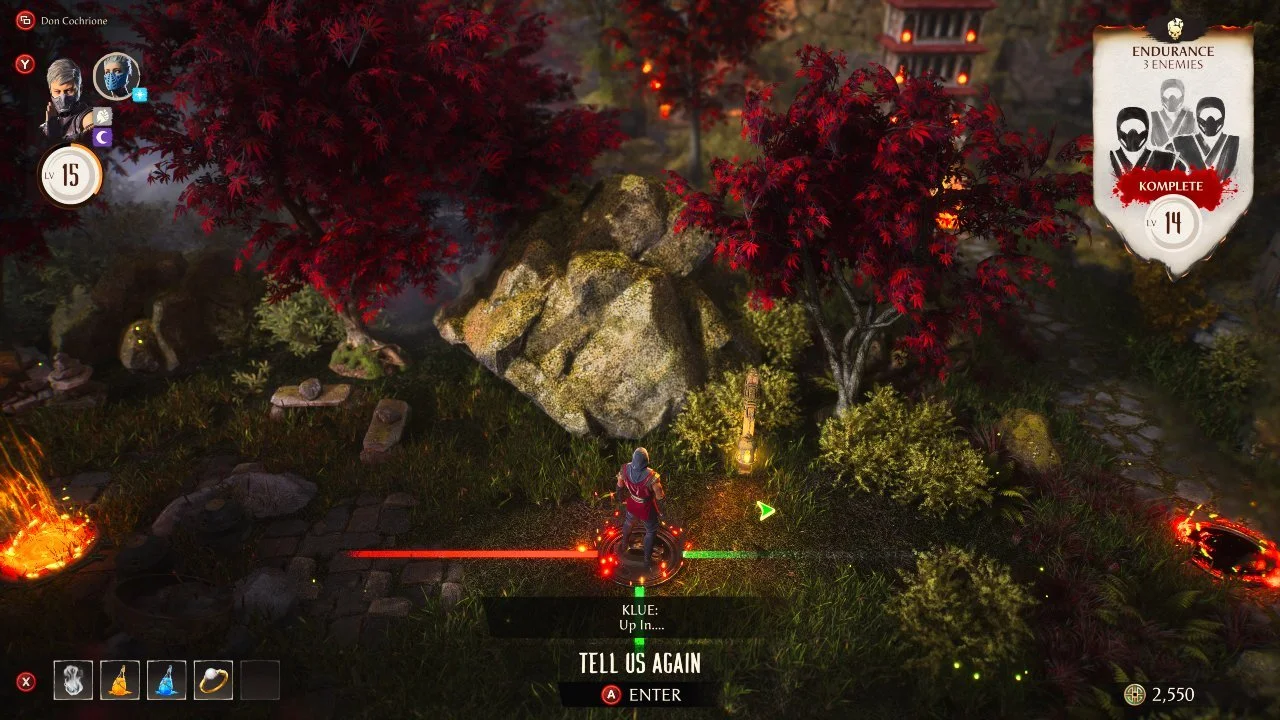
KLUE #2: UP IN…
The first survive node that you encounter is a pretty difficult one, you have to destroy 30 energy rocks before time runs out while at the same time avoiding a green hammer of dawn. This one took me a few tries but the one tip I can give is be sure to pick a character with some sort of ranged attack so you can hit rocks while in the force field. If you continue on from this survive node you’ll come across a tower called “EVERYBODY’S HERE,” just like in the first season, you have to complete this tower in its entirety and you’ll gain the Mad Monk Key to get to through the gate for the final boss.
After finishing the season you gain access to the ice gates, in the fire temple this brings along another klue on a node called “WHISPERING.” The Klue, “LTAHEL SPIL,” is an anagram for “Lethal Lips” in reference to Kitana’s 2nd fatality where she seals her victory with a deadly kiss. To clear the obstacle, select Kitana and finish the match using her second fatality (Xbox - Down, Down, Back, B; PlayStation - Down, Down, Back, Circle; At close range).
Quick Run Down:
Klue 1 - JOLTS & BOLTS
Solution: Brutality with Raiden
Klue 2 - UP IN…
Solution: Smoke’s 2nd Fatality
Klue 3 - LTAHEL SPIL
Solution: Kitana’s 2nd Fatality
Survive 1 - Energy Rocks
Tip: Fighter with ranged attack
Key Location - EVERYBODY’S HERE Tower
Mesa 4 - Living Forest
I don’t have an exact reason why, but for some reason Living Forest has consistently been my least favorite mesa (not saying it’s bad just not my favorite, sorry NetherRealm). None-the-less we see Living Forest return with a whopping 4 Klue spaces, which makes up for the mesa’s with less. The first of the 4 klue’s is “DEADLY TAIL.” Now there’s not too many characters with tails, but we have Motaro with his scorpion tail and Sareena with his devil tail, to complete this klue simply finish a match with one of their fatalities. Klue #2 is “FOR HARM,” I had no clue what this one meant at first, I was thinking too literal. Then I started saying it out loud, for harm, for harm, fore harm, forearm? FOUR ARM, to finish this klue you have to finish a match with Goro’s fatalities.
Then the two bonus klue’s at this mesa come after the Cryomancer gate, the first one being “RETAL EM EXA.” Now that I’m starting to get used to these backwards klues I quickly figured out that it was “Axe Me Later” backwards and that’s obvious there’s only one character that uses an Axe. To finish this klue finish the match with General Shao and use his first fatality. The second klue behind the gate is “HELPING HANDS,” easy, The Kollector, sorry wrong game. To finish this klue select Tanya as your fighter and finish the match with her first fatality in reference to the extra hands that “help.”
In the Living Forest there are two survive spaces, the first one is actually really easy, all you need to do is destroy 10 rocks before time runs out. The easiest tip I have for you, remember your flip stance button and go to the center of the screen and upper cut the rocks, you’ll be able to hit the bottom and mid rocks which should give you plenty before the time runs out. Then the second survive is the same dodge the orbs as usual.
Lastly, the gate to reach the boss of this mesa is locked and you need to find Koshoo’s tail to unlock it. You’ll find Koshoo’s Tail after completing a tower called “TOWERING OVER YOU.” Like always, when a key is locked behind a tower you must complete the entire tower to gain all the rewards, meaning you have to beat the Test Your Might.
Quick Run Down:
Klue #1: DEADLY TAIL
Solution: Fatality with Motaro or Sareena
Klue #2: FOR HARM
Solution: Goro Fatality
Klue #3: RETAL EM EXA
Solution: General Shao’s 1st fatality
Klue #4: HELPING HANDS
Solution: Tanya’s 1st fatality
Key Location - Tower: TOWERING OVER YOU
Mesa 5 - Shang Tsung’s Laboratory
Shang Tsung’s Laboritory, following trends is again the shortest mesa (also one of my favorites). For this mesa there are two survives like usual but only one klue space. The one and only klue is “REWOP RATS.” Like I said, these backwards klues are becoming a dnoces language to me. Sorry for the bad joke, but “REWOP RATS” spells out “Star Power” backwards, all you have to do is pick your favorite super star Johnny Cage and perform is first fatlity where he slams their face into their Hollywood Star.
The two survive nodes are a destroy the rocks challenge and another dodge the projectiles. I think pretty much every mesa will have a projectile based survive and one unique. The unique survive, rocks will fall from the sky and you have to destroy the fire rocks while avoiding the dark rocks and lasting the entire time limit. It’s going to be very difficult to get every single rock, my tip for you is to try your best on getting the fire rocks but don’t stress if they hit the floor because they only take a chip of your health if you miss, however if you hit a dark rock it will take quite the chunk. Make sure that you are paying attention to the dark rocks, is the best piece of advice I can give.
As for the locked gate you’ll need to find the Lost Experiment Key. You can find this key by fighting the mid-boss as the node titled “DAMNED IF YOU DON’T.”
Quick Run Down:
Klue #1 - REWOP RATS
Solution: Johnny Cage’s 1st Fatality
Key Location - Mid-boss Fight: DAMNED IF YOU DON’T
Mesa 6 - Rampart (Final Mesa)
Last but not least, we come back to the newest mesa, Rampart. The snow zone, I think this mesa is the most fitting for the season of the cryomancer, I’m actually surprised the mesa’s weren’t covered in snow. This mesa comes with three klue spaces, three survive nodes, and the final boss, Sub-Zero. The first klue space is “ATOMIC,” this is in reference to Havik’s first fatality where he reveals his atomic heart and puts it in their chest. To complete this klue finish the match with Havik’s 1st fatality. The second klue, “SLAPPED TOGETHER,” to complete this klue you have to select Kung Lao and perform his second fatality (back, down, down, A/X at mid range) where Kung Lao cuts the opponent in half and slaps the two halves together. The final klue space that you’ll find this season is “BIG FINISH,” fittingly. For this klue select Li Mei and finish the match with her first fatality where she sets off fire works in a big finish!
The first survive node is a repurposed survive from season 1, the chains will appear on the screen and you need to avoid them. My tip for this survive, you should either purchase or already have an item to reset your stat points, put all your points into health and defense and this will be practically impossible to lose, just don’t forget to set your stat points back after. The second survive is new and ice themed, the health stat would help with this one as well. For this survive you’ll need to run out the timer without dying, there is an orb that will bounce around the screen that you can try to stay near to not lose health, my tip for this survive is to make sure you’re jumping side to side not straight up because you’re likely to hit more ice spikes that way. Lastly, big surprise, another dodge the projectiles as the third survive.
To unlock the gate to fight Sub-Zero, you’ll need the Armory Key. You’ll find this key at another mid-boss fight called “SQUISHY SHOES.” Defeat the mid-boss Rain and you’ll obtain the key and gain access to Sub-Zero. After defeating Sub-Zero you’ll be able to go back and unlock all the Cryomancer gates.
Quick Run Down:the final bos
Klue #1 - ATOMIC
Solution: Havik’s 1st Fatality
Klue #2 - SLAPPED TOGETHER
Solution: Kung Lao’s 2nd Fatality
Klue #3 - BIG FINISH
Solution: Li Mei’s 1st Fatality