The Nintendo Switch 2 comes packing 256GB of storage space out of the box, which is actually fairly reasonable when considering that most games on the system don’t take up a significant amount of space. However, if you’re downloading a handful of larger games — or perhaps a smorgasbord of smaller ones — you’ll find that you run out of space eventually. As such, you may be looking to expand your storage using an external SD card.
Important: Please note that the Nintendo Switch 2 only accepts MicroSD Express cards, which means old cards you used on your original Nintendo Switch aren’t going to be compatible.
Once you purchase a supported MicroSD Express card — we’re particularly fond of the Samsung P9 Express — you’ll need to install it. Here’s how.
How to add a MicroSD Express card to Nintendo Switch 2
To add a MicroSD Express card to your Nintendo Switch 2, flip the console and note the kickstand on the back. Pull the kickstand away from the console to reveal a MicroSD Express slot hidden away underneath it.
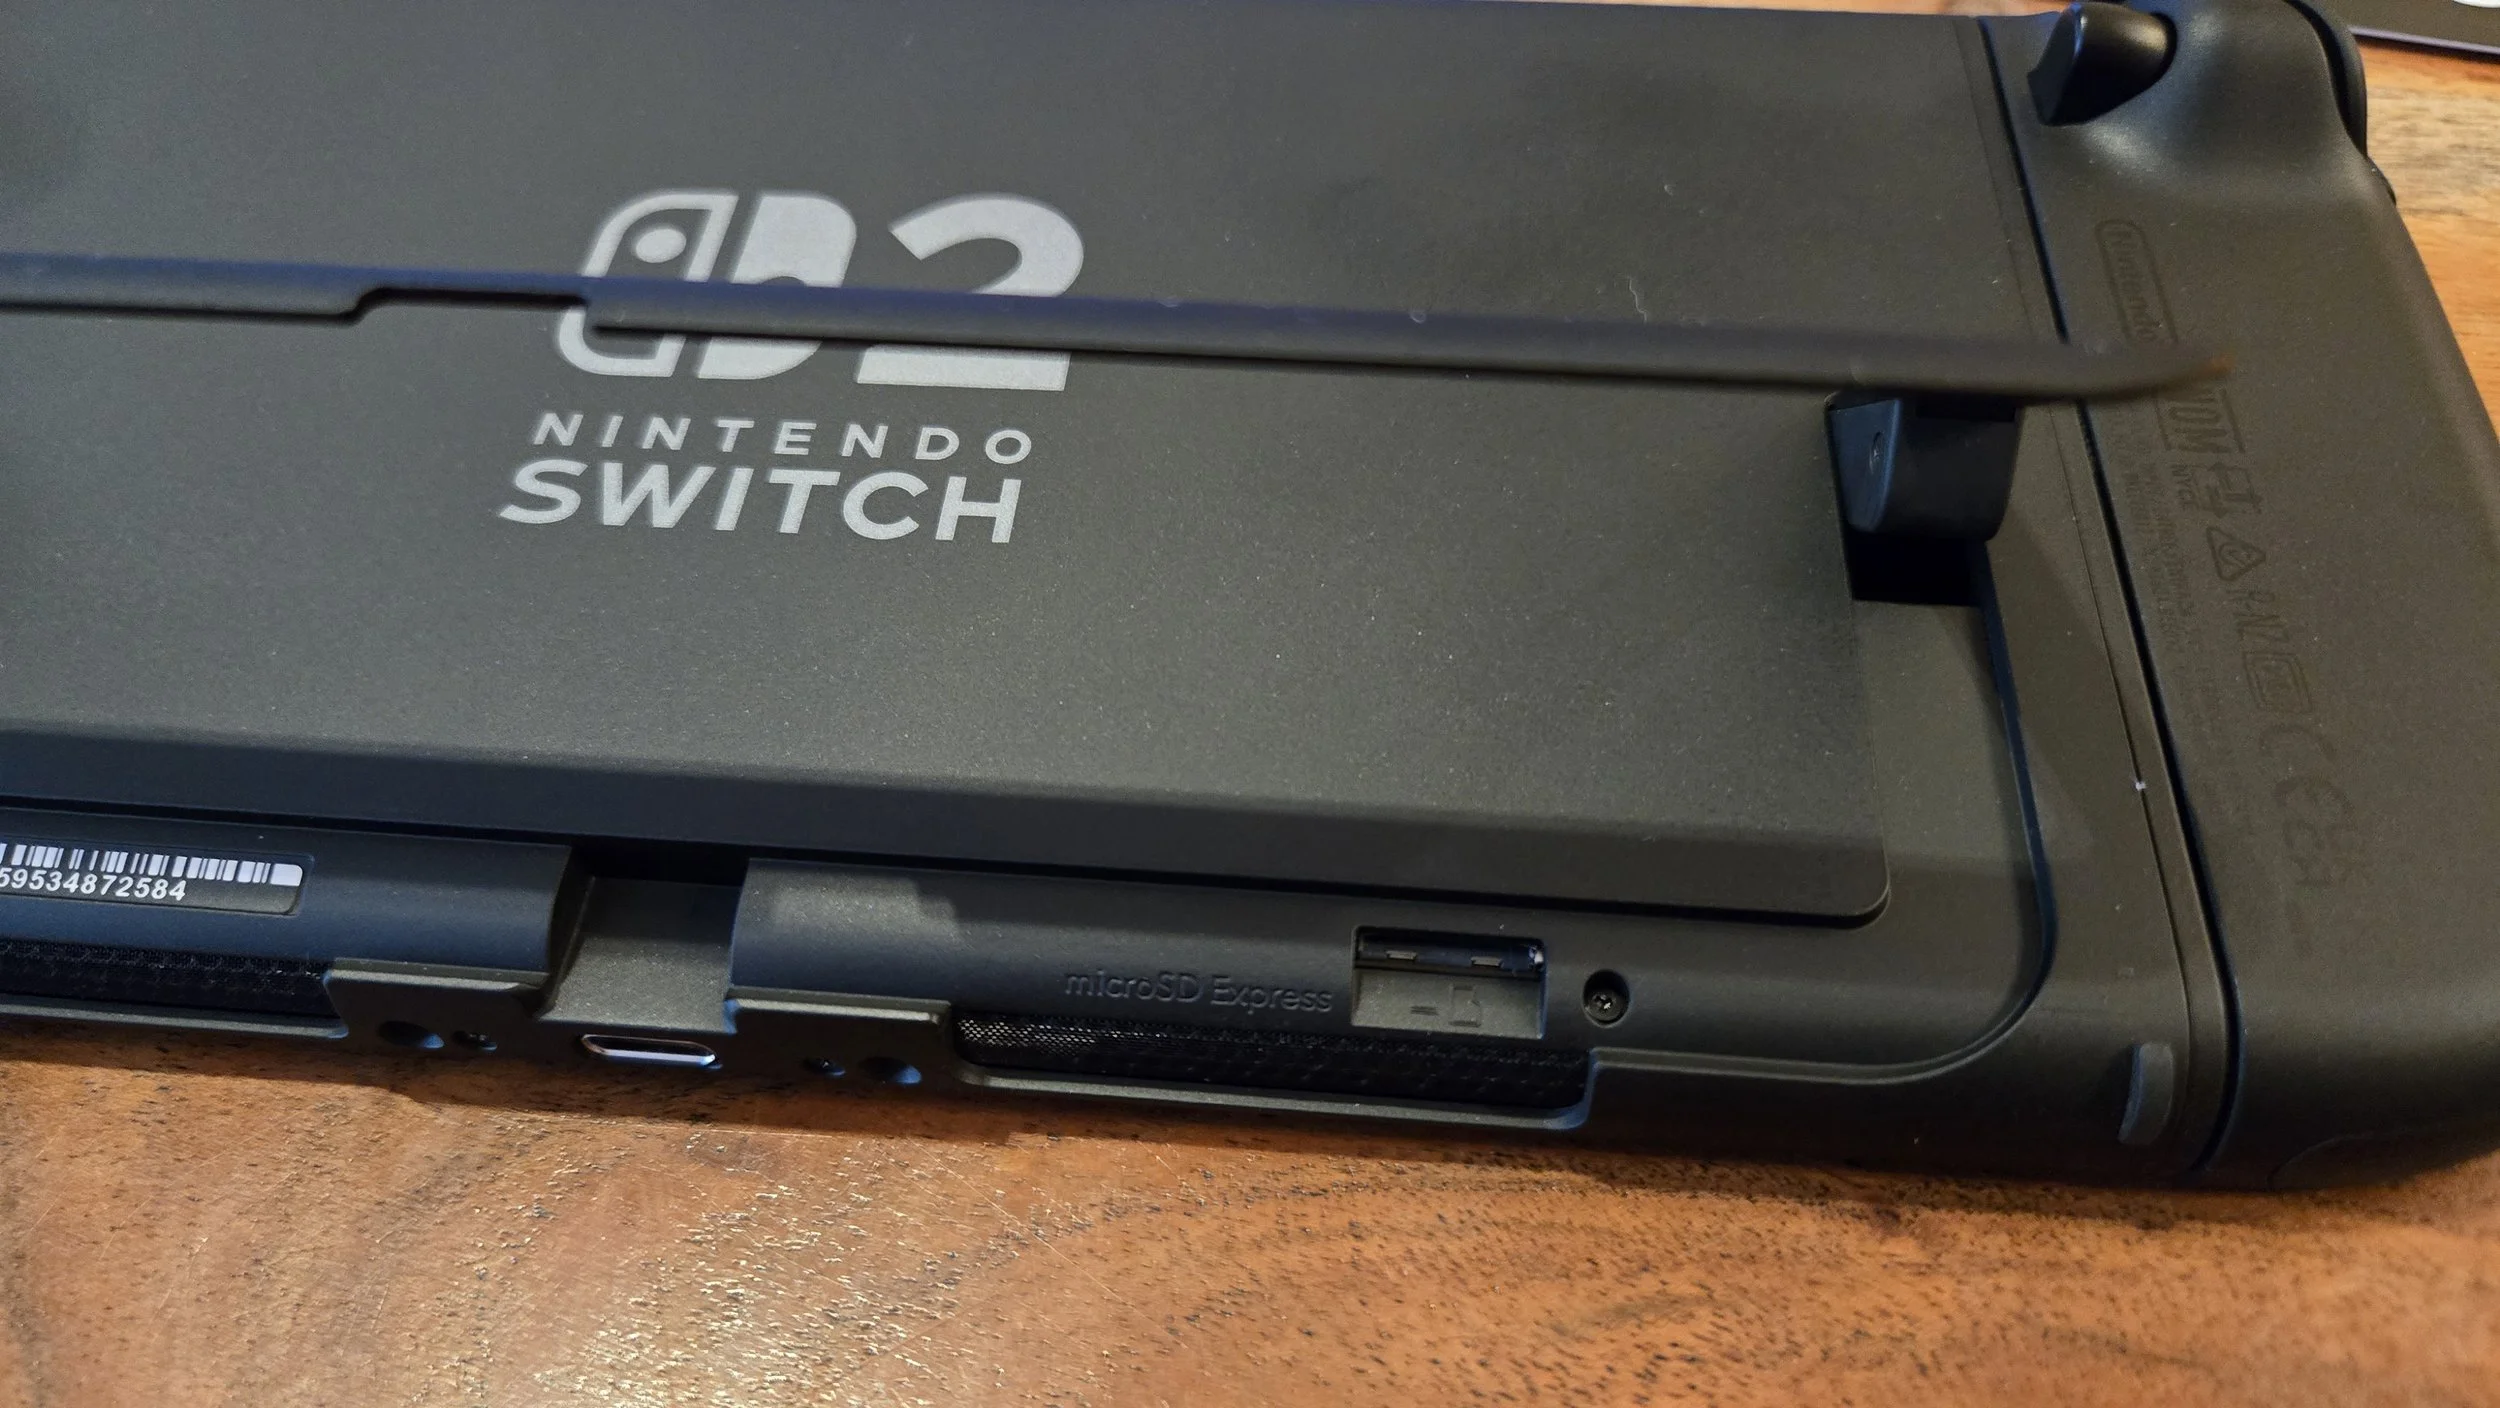
With the MicroSD Express card facing upward (you should be able to see the text on the card), firmly press it into the slot until it clicks. This indicates that it has been properly installed. If you ever need to remove the MicroSD Express card, you can firmly push on it again to eject it.
You can now open your Nintendo Switch 2’s settings and navigate to the Data Management section to verify that the expanded storage has been accepted. Here, you can also move games to and from the MicroSD Express card, making it easy to decide where you want your data to be at any time.
With all of that handled, you’re ready to start installing more games. Godspeed!