Goosebumps. That is is all.
Dustin has been gaming hardcore since 1982 starting with the Atari 2600. After several years with a ColecoVision, Vectrex, NES, SNES, Sega Genesis, 386/16mhz DOS PC... wait, are you still reading? Dustin now dabbles in hardware and tech reviews, 4K PC gaming and the occasional console title when duty calls. #FirstWorldProblems
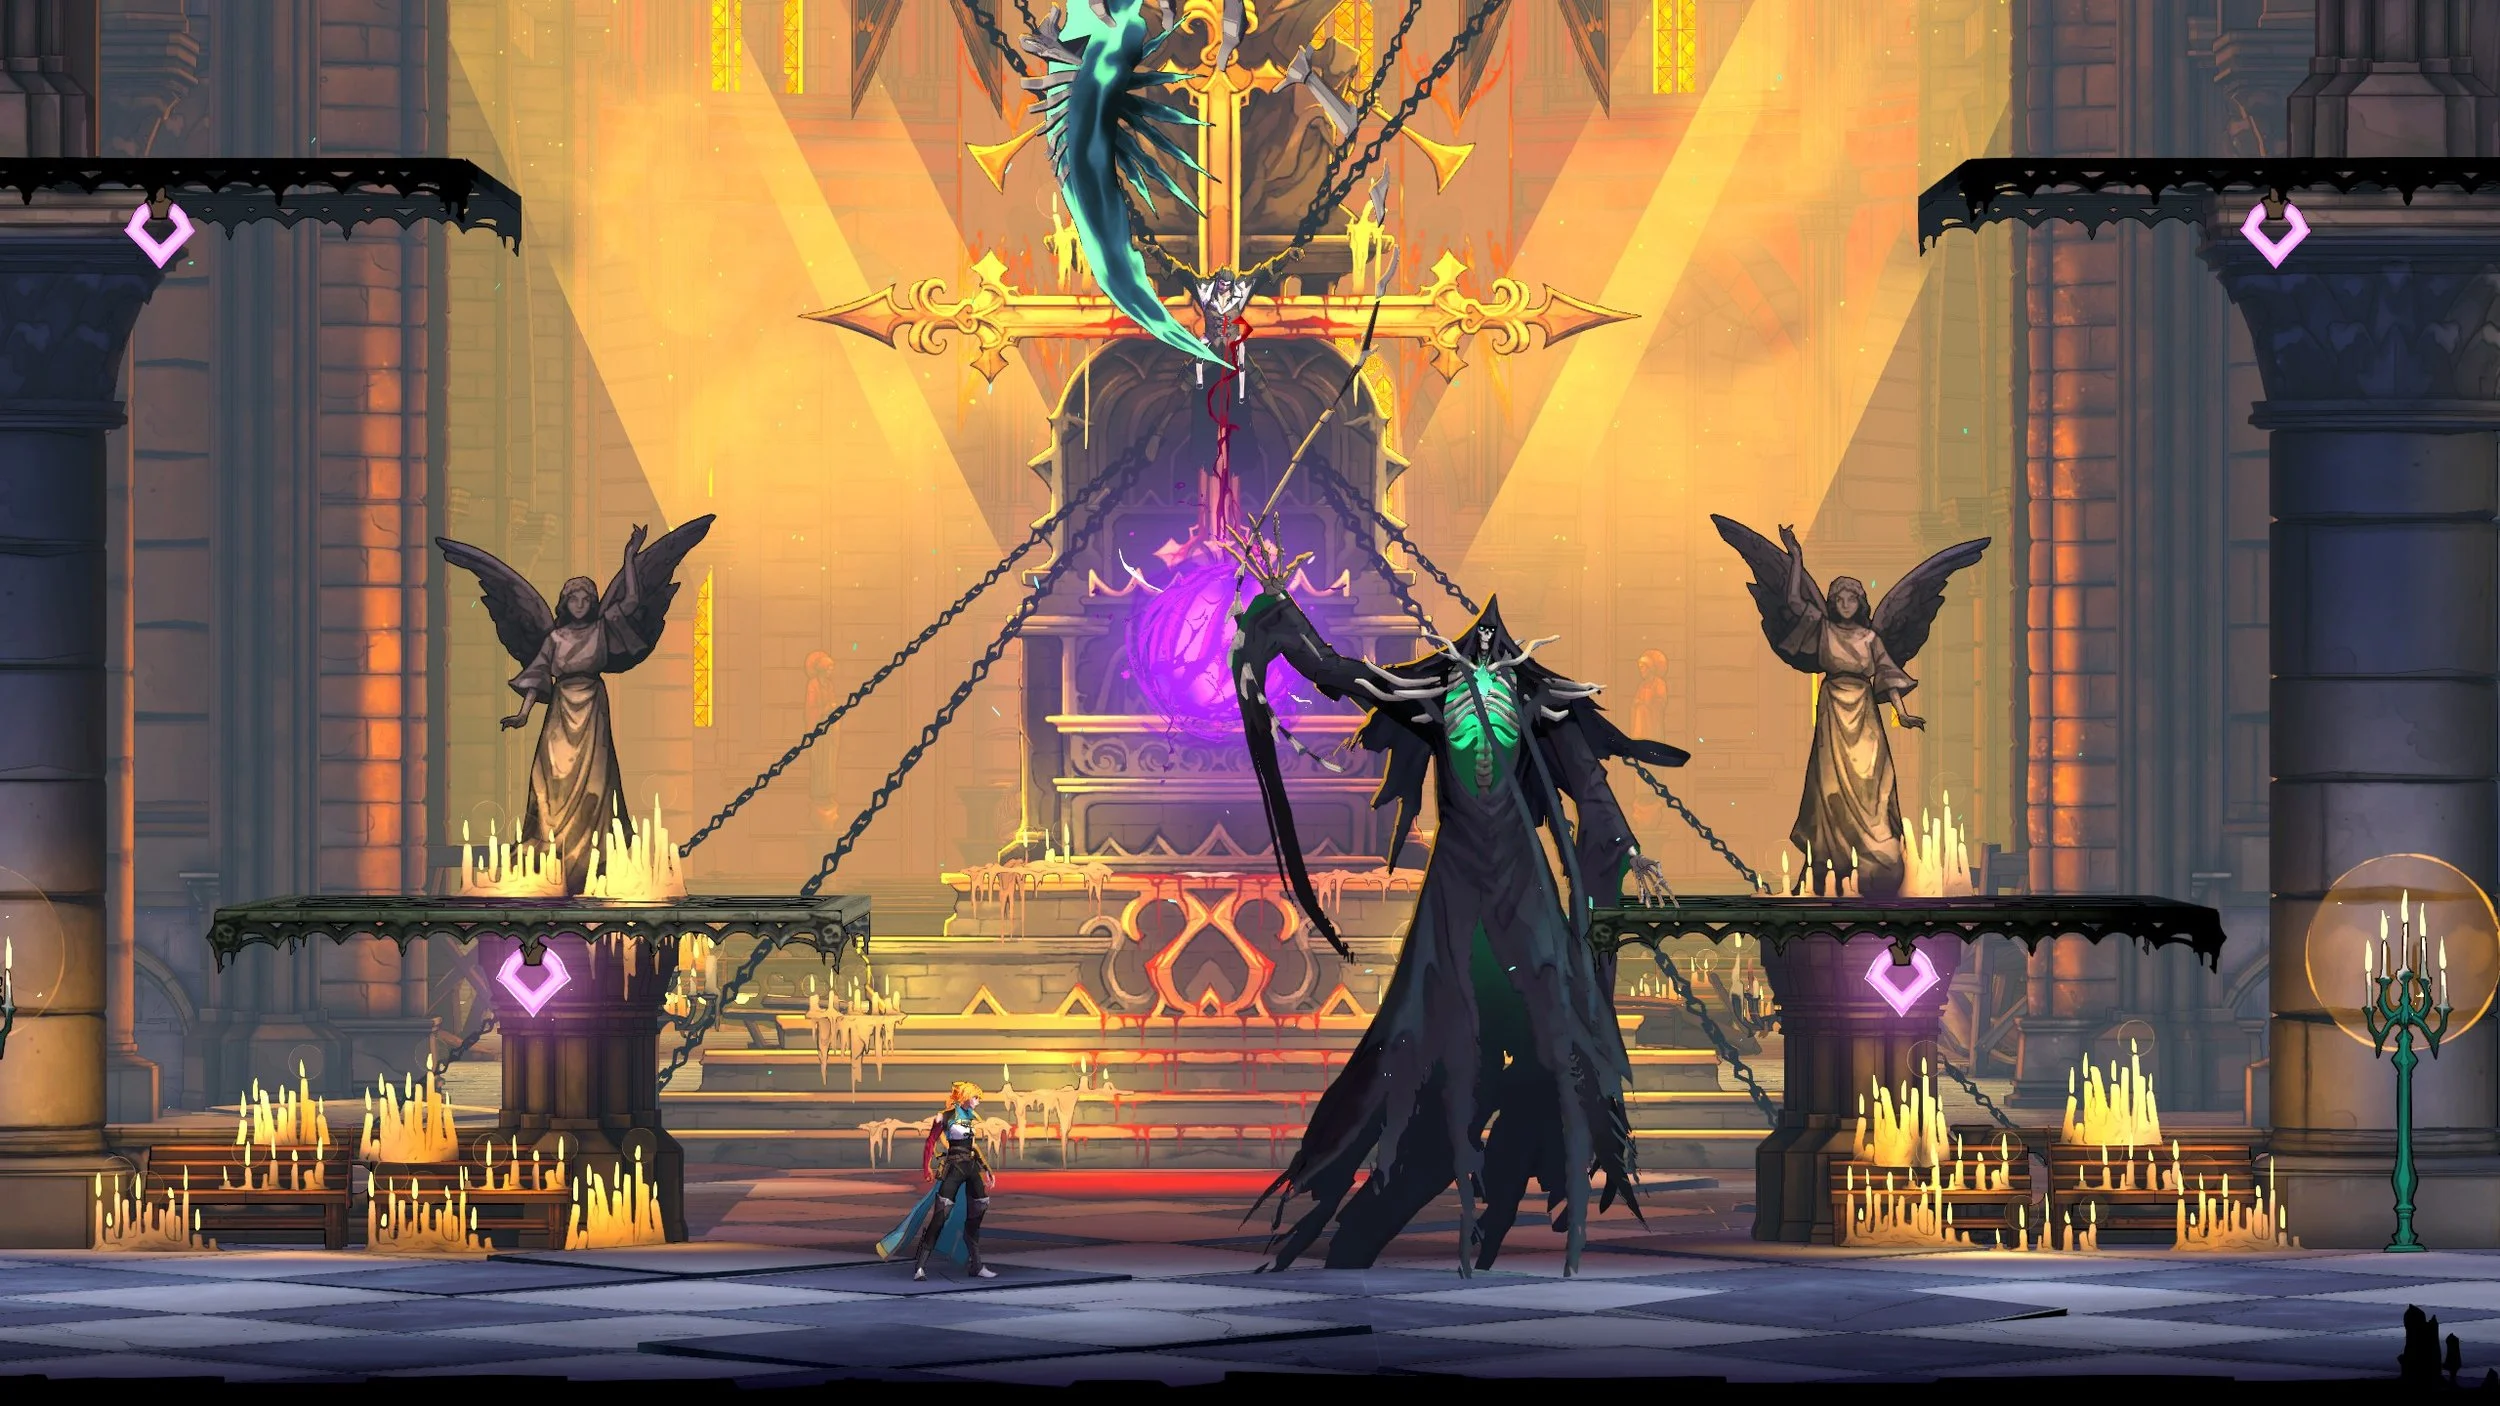
Death is typically a famously tough fight in most Castlevania games. Even though most of the bosses throughout Castlevania: Belmont’s Curse are on the easy side, don’t expect Death to a be a cakewalk here either. He’s a solid host of attacks (some of which you’ll no doubt remember from past games), but knowing how to handle him will make him back off much more quickly.
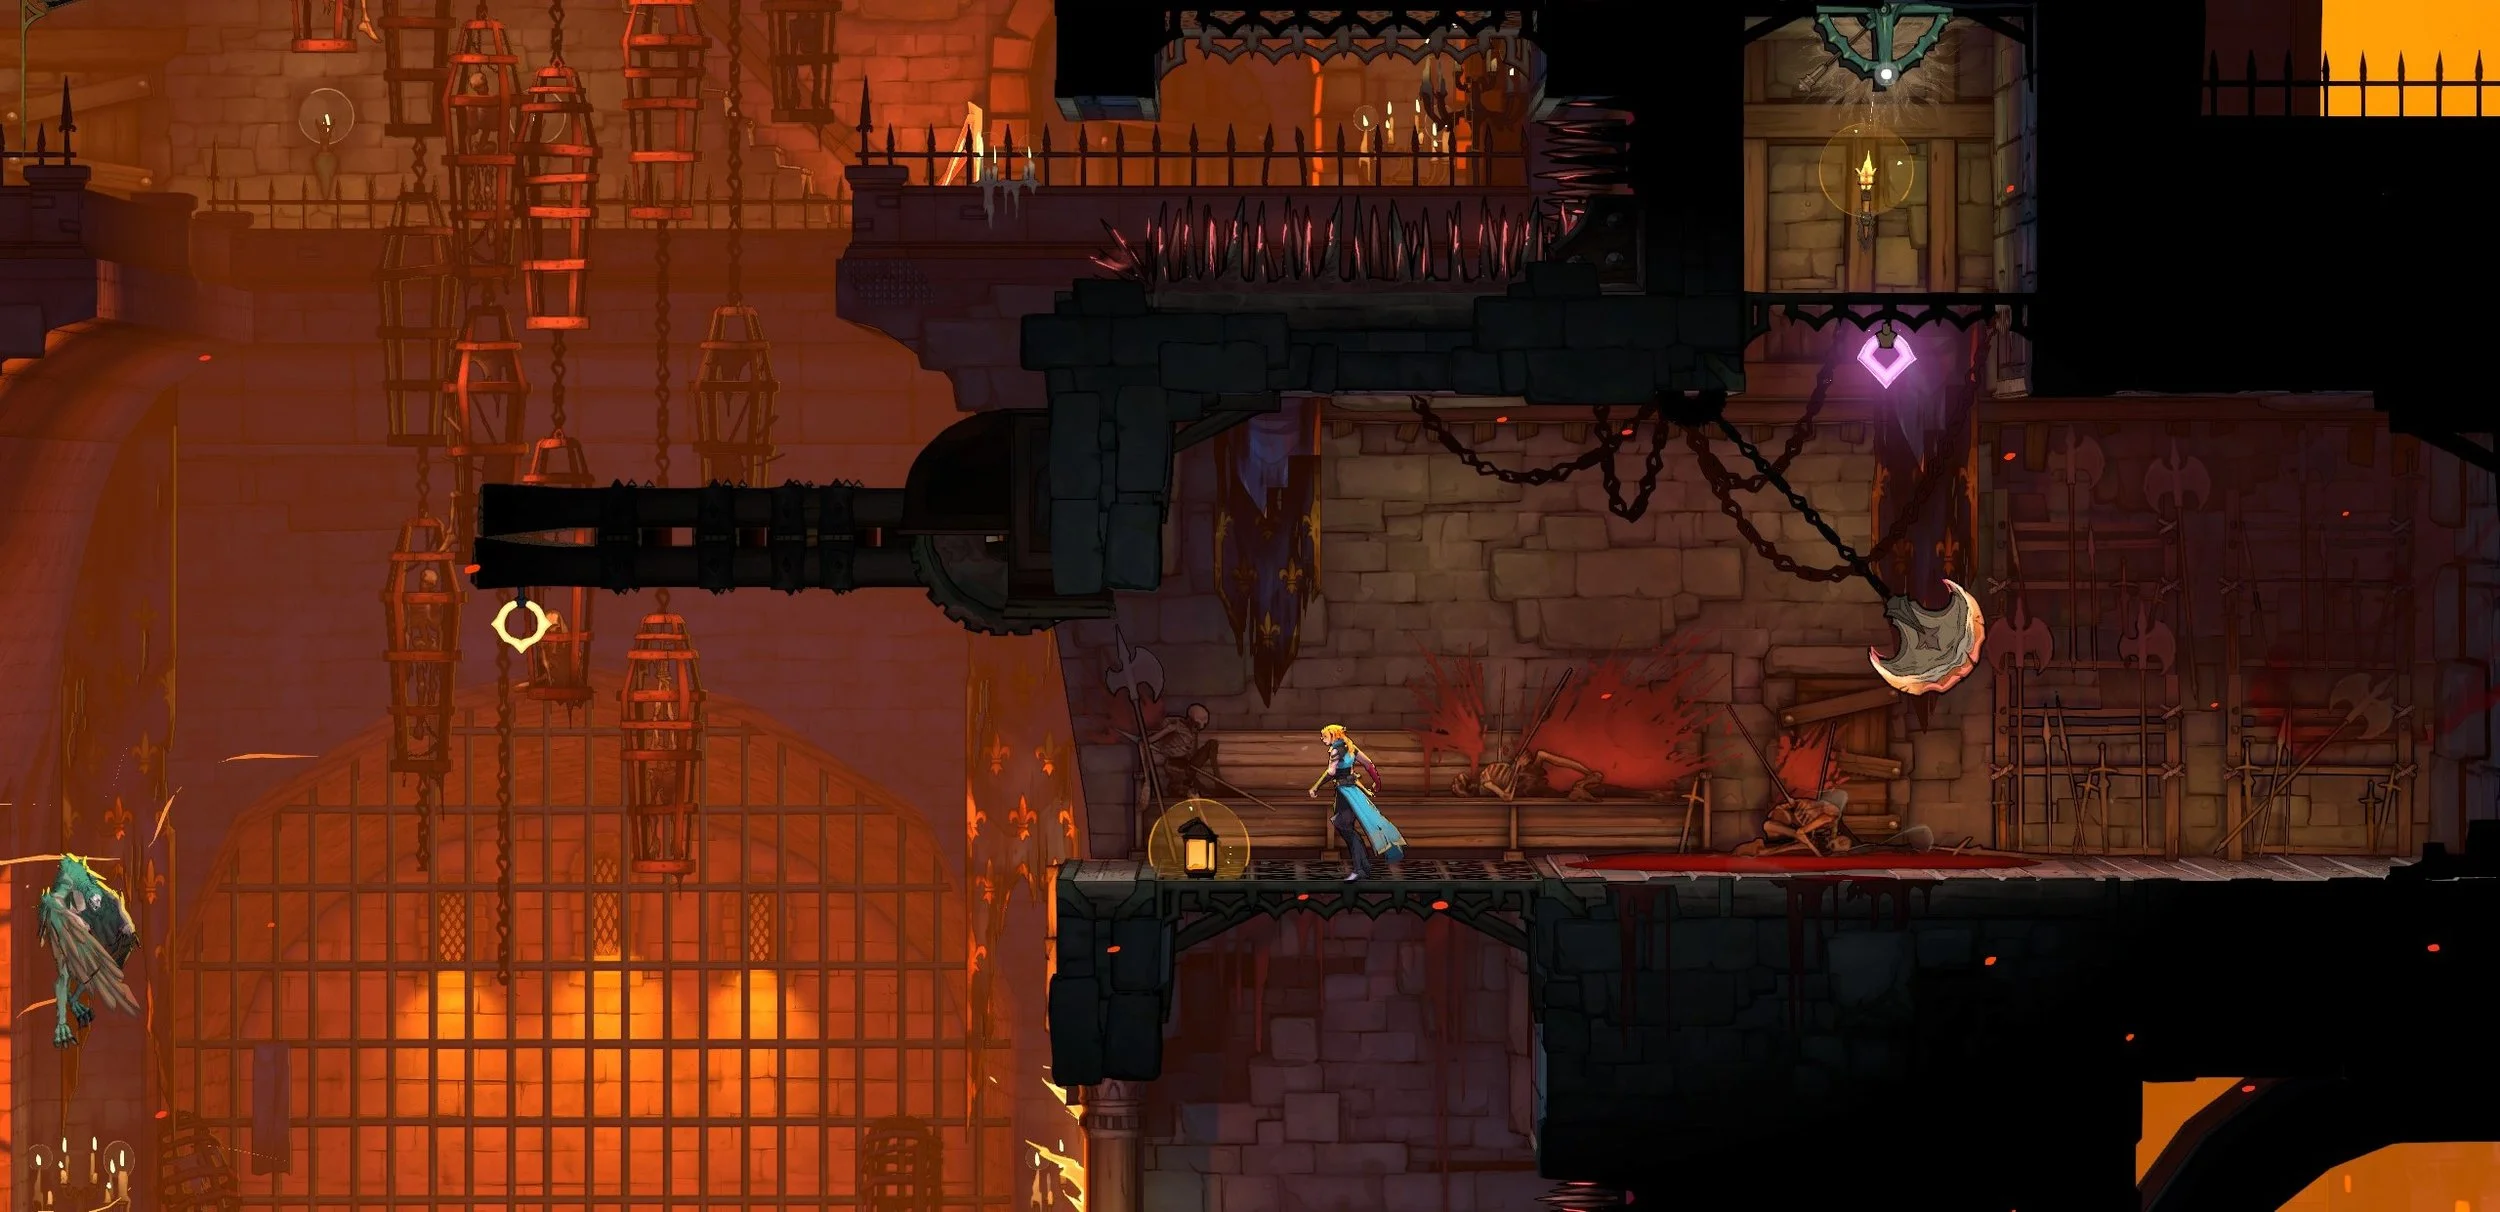
On your way to fighting one of the first three bosses in Castlevania: Belmont’s Curse, you’ll find a strange clue. It shows you that you need to interact with a certain spot on a map, but you may not recognize the location due to the way it’s formatted. Don’t worry, though, as we’re going to show you exactly where to go and what to do with the Carpenter’s Crane Sketch.
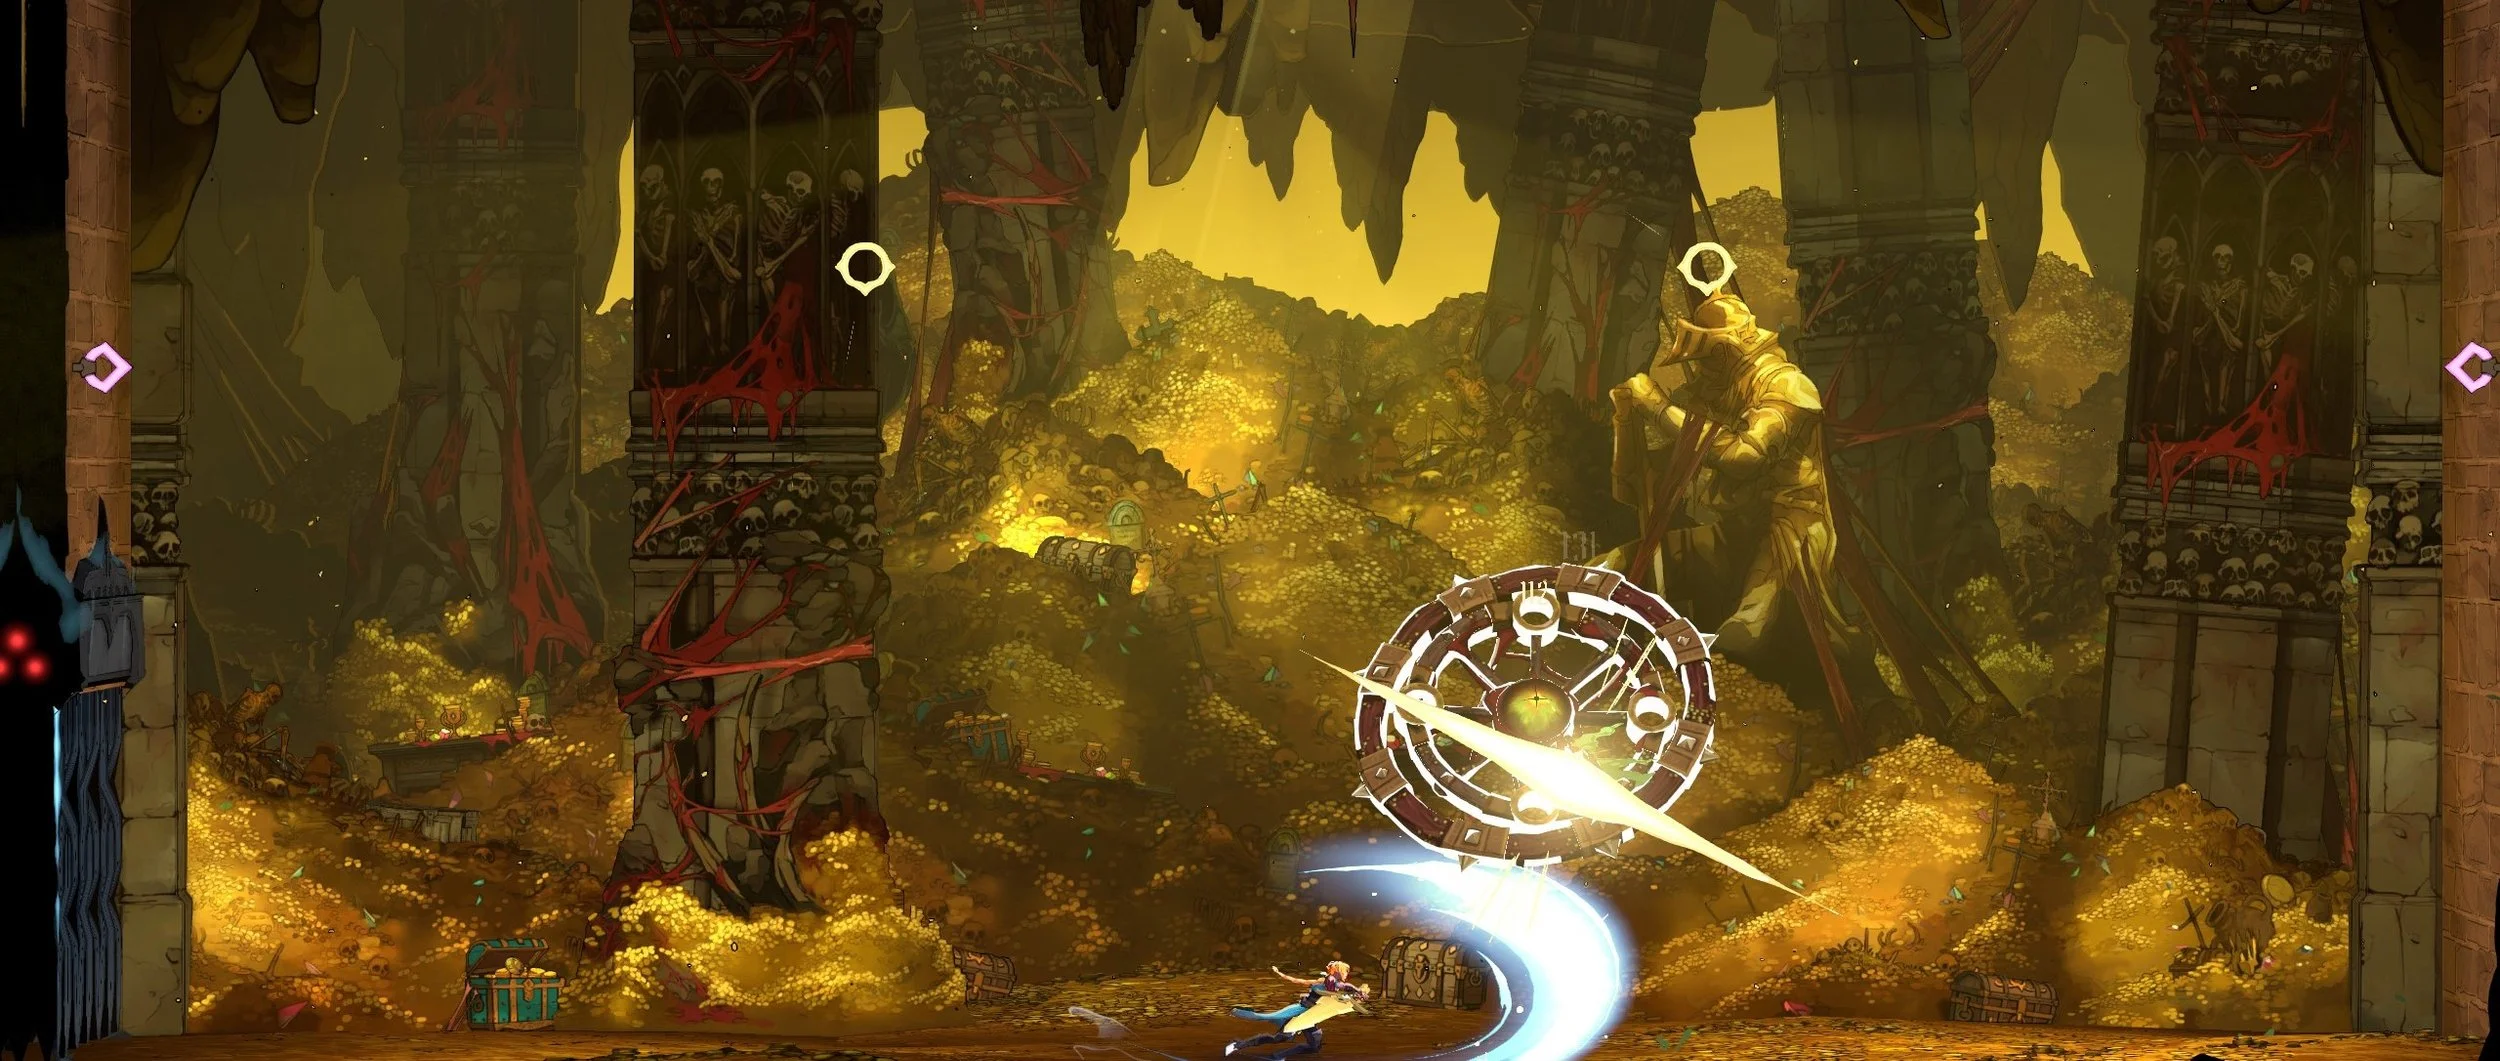
While the majority of Castlevania: Belmont’s Curse bosses have been on the easy side up to this point, Mammon can be a bit of a rude awakening. This goes doubly for if you try and tackle him in the Catacombs right after getting the stomp move from defeating Talos. It’s a much more demanding fight than most of the game’s, but we’ll be breaking down exactly how to take care of him.