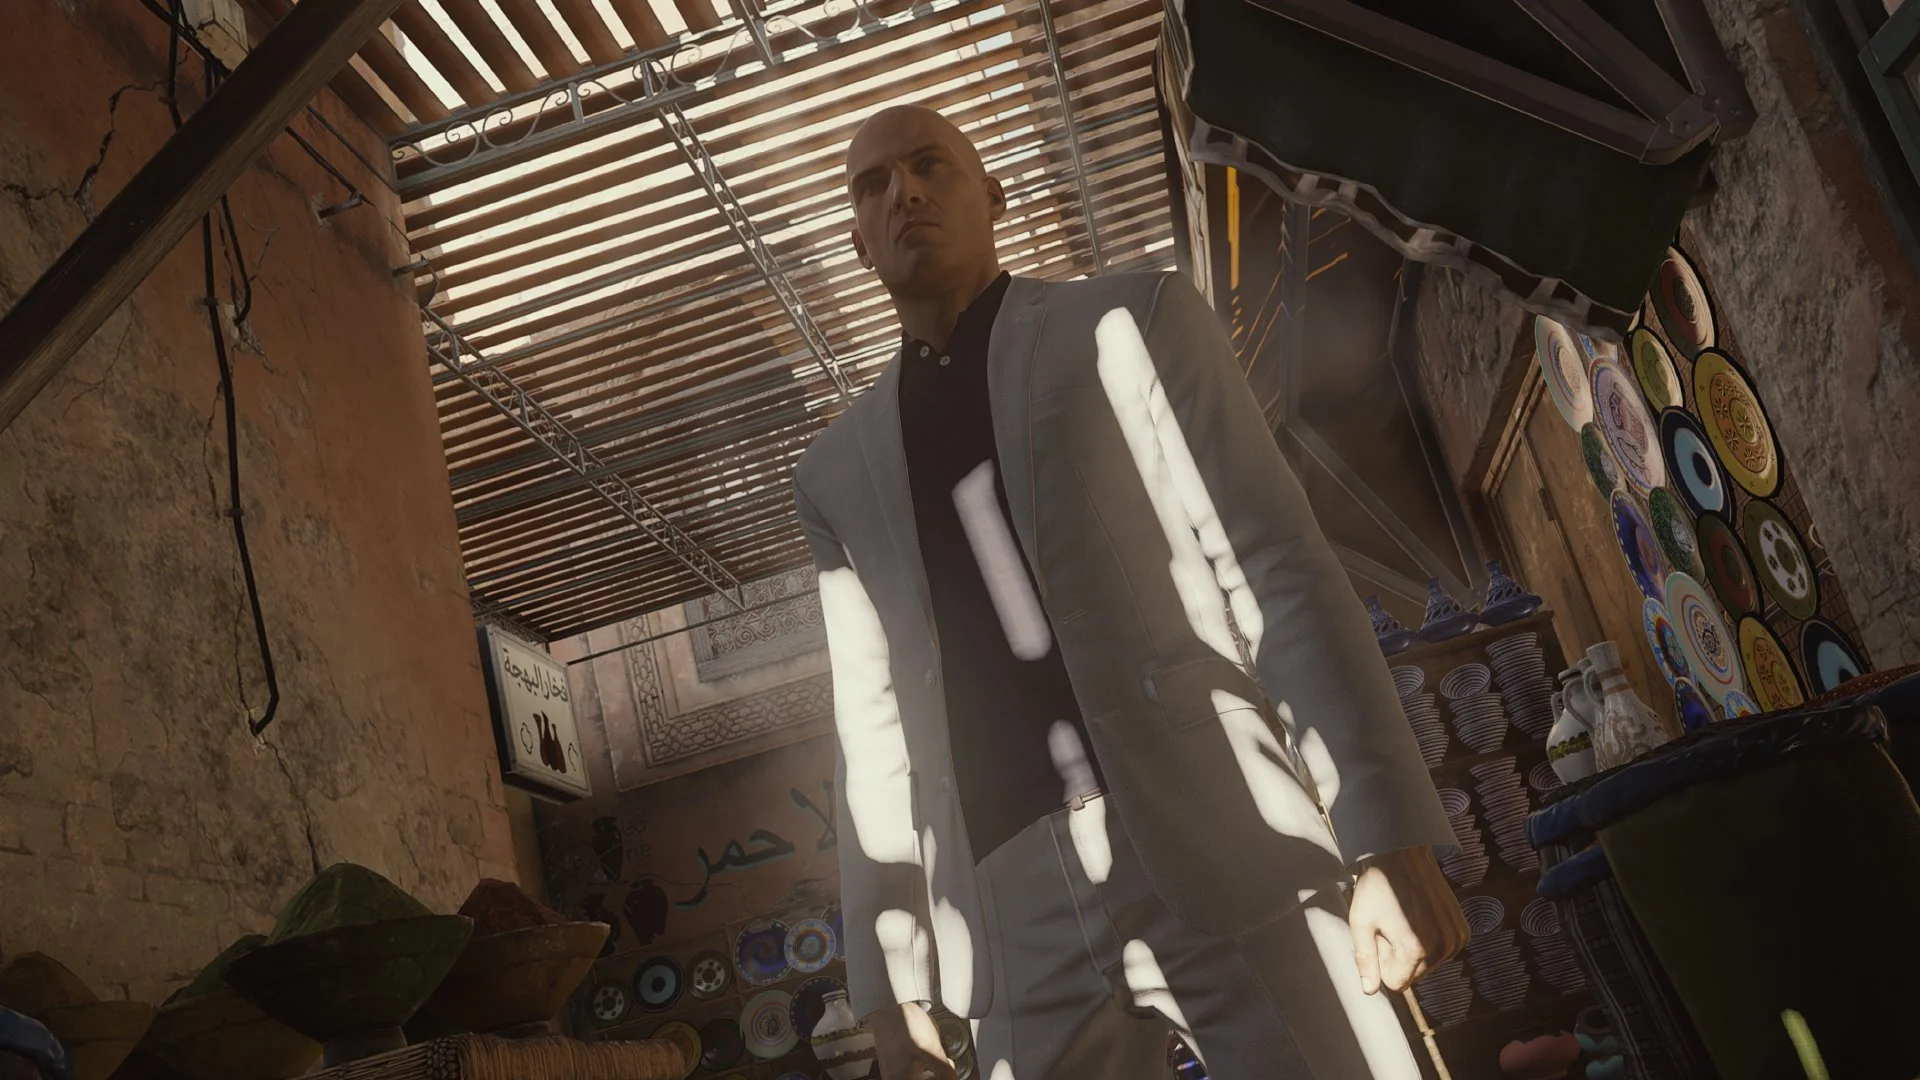
Never been to Morocco? Feel like you're actually in Marrakesh in the latest promotional video for Hitman! The level looks a lot better than the second level in my opinion! At least there's a lot more going on! See it all below.
Experience HITMAN'S Newest Level In 360 Degree Video
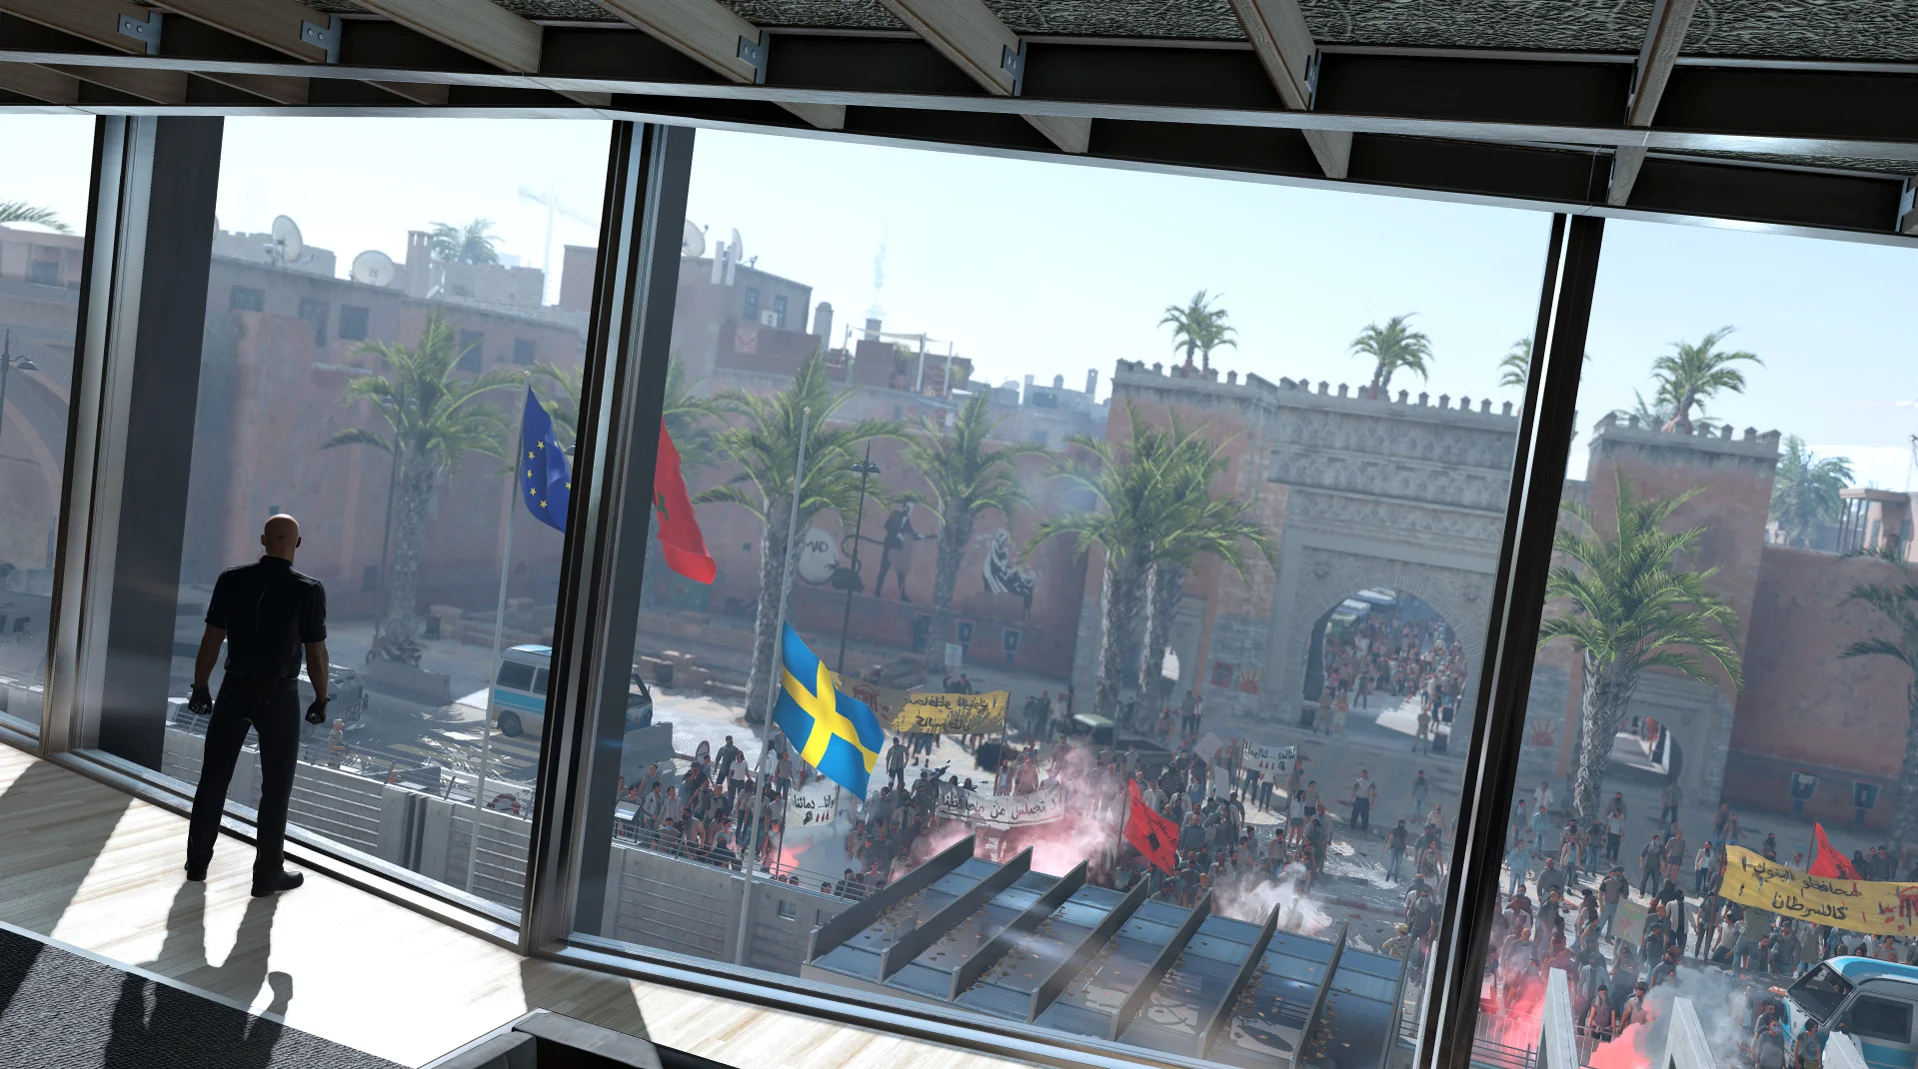 HITMAN Episode 3 Out Next Tuesday
 Video: Kill An Indie Music Sensation In Latest HITMAN Episode
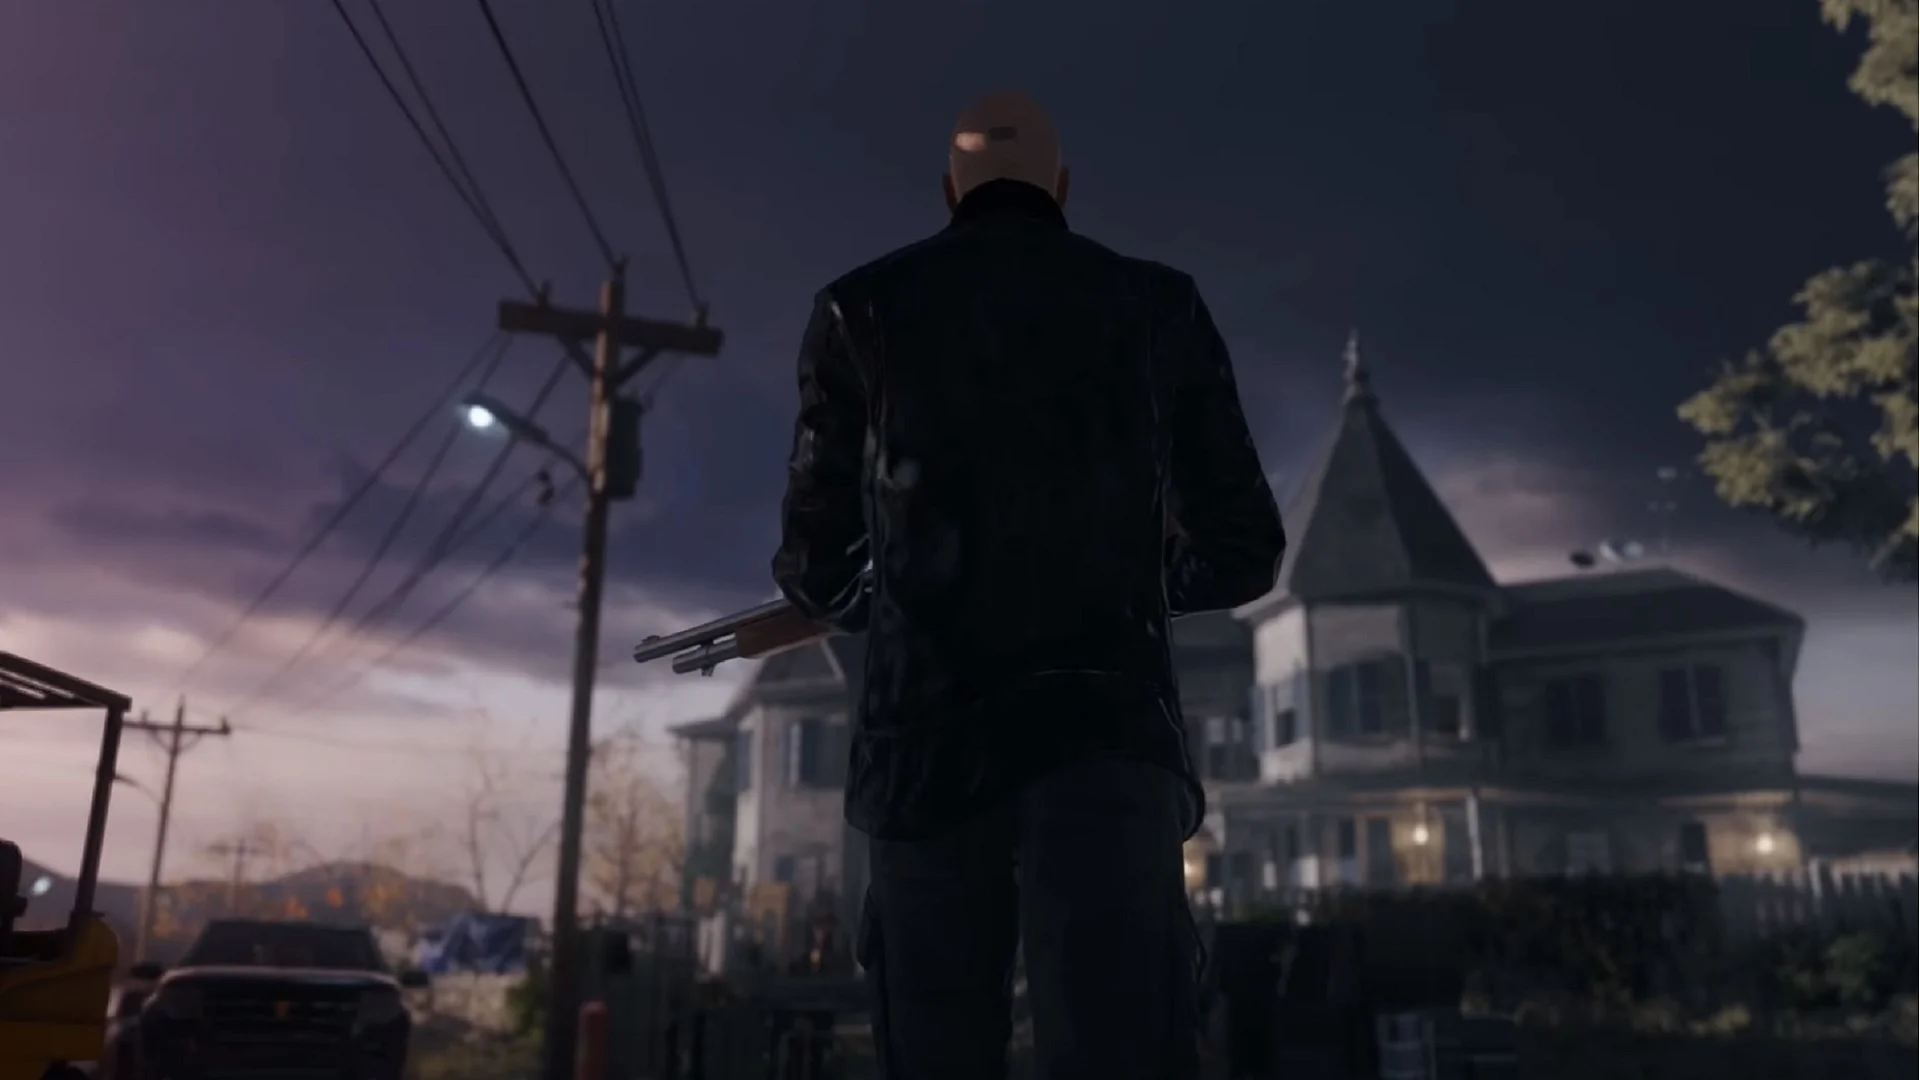 Agent 47 Takes On A Colorado Compound In Latest HITMAN Trailer
 Season Finale Of Episodic HITMAN Launches Today
 HITMAN Gets In The Holiday Spirit With "Holiday Hoarders" Update
 HITMAN'S Holiday Update Has You Assassinate Harry And Marv From HOME ALONE